Sticker

| Sticker | |
|---|---|
 Stickers | |
| Universe | Super Smash Bros. |
| Appears in | Brawl |
| Item class | Collectible |
| Requirements | Several ways |
A sticker (シール, Seal) is a collectible item in Super Smash Bros. Brawl, similar to a trophy. Stickers can be used in The Subspace Emissary to boost certain aspects or stats of a character. Additionally, stickers can be added to a background and made into a collage inside the "Sticker Album" menu.
There are 700 stickers. Collecting all of them will unlock the Stickers Trophy.
Collecting stickers[edit]
Compared to trophies, stickers are far more common, as there are 700 stickers total, and only a handful of trophies that can be found randomly. Stickers can be earned via the following methods:
- Stickers appear randomly in regular Brawls, as long as Item Switch is not set to none.
- Wi-Fi's Spectator Mode can also yield stickers.
- Stickers can be dropped in The Subspace Emissary.
- Stickers can be won in Coin Launcher.
- Sandbag can drop stickers.
- Some players "farm" stickers from Sandbag through the use of a CD Factory.
- When Jirachi is released from a Poké Ball, it can drop several stickers. Mew can drop one sticker if all random CDs are unlocked.
The maximum number of stickers the player can collect per battle is 255, and exceeding this limit will get rid of the stickers the player had collected at the time. The reason for this limit is a wrapping issue; the per-battle sticker count is stored in a single byte, and when the count goes above 255 (binary 11111111) to 256 (binary 100000000), only the last 8 bits (digits) are stored, setting the count to 0.
Power-ups[edit]

On Friday, Jan 18th 2008, Smash Bros. DOJO!! announced that stickers can be used as power-ups. To do so, the stickers must be placed on the undersides of character trophies. Different stickers give different boosts, as well as some that are character-specific (most of them can be used by any character). Larger stickers give higher boosts, but take up more space on the trophy base. The statistical boost is only for The Subspace Emissary and does not apply to any other modes. Applied stickers can be moved around, but removing one discards it permanently (though they can be regained through playing).

Stickers with the same effects do not stack; e.g. if an Arm +13 and an Arm +20 are placed on the base of a trophy, that character will only receive the larger +20 boost to arm attacks, not +33, although an Arm/Leg sticker will stack with individual Arm and Leg stickers - i.e., an Arm/Leg + 10, an Arm +10 and a Leg+10 sticker will all combine to boost Arm and Leg attacks by 20. It is also possible for a single attack to fall under several categories, like Captain Falcon's Falcon Punch, which deals Arm, Specials: Direct, and Fire damage.
The stickers page can be accessed in The Subspace Emissary by pressing the 1 or B button on the level map and selecting the "Stickers" option to the left of the "Save" option. Also, using a Continue in The Subspace Emissary deducts half of the stickers currently earned in the level.
Power-Up Effects[edit]
Each sticker has a single effect which may be any of the following. The number listed with the effect indicates how much the aspect is improved.
Attack-based effects[edit]
The largest category of stickers simply increases the damage dealt by the user's attacks.
The formula for the damage multiplier is:

[Specials: Indirect] Attack is an exception and uses:

Where v is the value given by the sticker description and r is the damage multiplier; r cannot be greater than 25.675, though this can't be reached without hacking. For example, a sticker with a value of 20 will deal 1.25× damage compared to base damage. Note, in the code the sticker's value is cut in half and rounded down, resulting in every odd number being the exact same as the even number before it (e.g. 3=2, 25=24, etc.).
| Icon | Effect | Description |
|---|---|---|
| [Arm] Attack | Increases the damage done by punches, slaps, pokes, and elbows. | |
| [Leg] Attack | Increases the damage done by kicks, knees, and stomps. | |
| [Arm],[Leg] Attack | Increases damage done by the previous two categories as a single sticker. | |
| [Head] Attack | Increases the damage done by headbutts and the like. | |
| [Body] Attack | Increases the damage done by full-body attacks such as King Dedede's dash attack or Yoshi's Yoshi Bomb. Always paired with [Spin] attack boosts in a sticker. | |
| [Spin] Attack | Increases the damage done by attacks which involve spinning. Always paired with [Body] attack boosts in a sticker. | |
| [Tail] Attack | Increases the damage done by tail attacks. Only Yoshi, Pikachu, Diddy Kong, Pokémon Trainer, Fox, Falco, and Wolf can apply stickers with this effect. | |
| [Bite] Attack | Increases the damage done by attacks which involves fangs or biting. Only Yoshi, Wario, Pokémon Trainer, and Wolf can apply stickers with this effect. | |
| [Slash] Attack | Increases the damage done by slash attacks. | |
| [Weapon] Attack | Increases the damage done by any weapon, including swords, hammers, bats, umbrellas, and so on. | |
| [Throwing] Attack | Increases the damage done by throws. | |
| [Flame] Attack | Increases the damage done by fire-based attacks. | |
| [Electric] Attack | Increases the damage done by electric attacks. | |
| [Freezing] Attack | Increases the damage done by ice-based attacks. | |
| [Water] Attack | Increases the damage done by water-based attacks. Only the Pokémon Trainer's Squirtle can apply stickers with this effect. | |
| [Grass] Attack | Increases the damage done by plant-based attacks. Only the Pokémon Trainer's Ivysaur can apply stickers with this effect. | |
| [Energy] Attack | Increases the damage done by energy-based attacks such as Fox's Blaster. | |
| [Magic] Attack | Increases the damage done by magical attacks. Only Peach and Zelda can apply stickers with this effect. | |
| [PK] Attack | Increases the damage done by PK-based attacks. Only Ness and Lucas can apply stickers with this effect. | |
| [Aura] Attack | Increases the damage done by aura-based attacks. Only Lucario can apply stickers with this effect. | |
| [Pikmin] Attack | Increases the damage done by Pikmin-based attacks. Only Olimar can apply stickers with this effect. | |
| [Darkness] Attack | Increases the damage done by dark-based attacks. Only Ganondorf can apply stickers with this effect. | |
| [Explosives] Attack | Increases the damage done by explosion-based attacks. | |
| [Specials: Direct] Attack | Increases the damage done by moves that are considered to be direct. The exact criteria are unknown. | |
| Increases the damage done by moves that are considered to be indirect. This includes all projectiles and a few regular, distanced attacks. |
Defense-based effects[edit]
When used, these stickers reduce the damage taken by incoming attacks.
The formula for damage reduction is:

Where v is the value given by the sticker description and r is the damage multiplier. For example, a sticker with a reduction of 20 will cause attacks to be scaled to 0.75 of the original damage, or a damage reduction of 25%. Note, in the code the sticker's value is cut in half and rounded down, resulting in every odd number being the exact same as the even number before it (e.g. 3=2, 25=24, etc.).
To prevent the player from taking no damage, values of 80 or more set damage to 1%; this is not possible without hacking, as the highest value on a resistance sticker is 44. Values below 80 behave normally and can potentially reduce damage below 1%.
| Icon | Effect | Description |
|---|---|---|
| [Battering] Resistance | Decreases damage taken from normal attacks. | |
| [Slash] Resistance | Decreases damage taken from slash attacks. | |
| [Flame] Resistance | Decreases damage taken from fire-based attacks. | |
| [Electric] Resistance | Decreases damage taken from electric attacks. |
Special stickers[edit]
These stickers have varied and unusual effects.
| Icon | Effect | Description | Meaning of value |
|---|---|---|---|
| Launch Power | Increases the distance a character's attacks can send enemies. | Acts as a multiplier to all knockback delivered, following the formula ; it ranges from 4 to 53. | |
| Launch Resistance | Decreases the distance a character flies when hit. | Acts as a multiplier to all knockback received, following the formula ; it ranges from 6 to 57. | |
| Flinch Resistance | Makes it more difficult for a character to flinch. | Grants knockback-based armor equal to the sticker's value; it ranges from 35 to 168. Launch Resistance reduces knockback before Flinch Resistance occurs, allowing for stronger attacks to be armored when combined. | |
| Shield Resistance | Increases the strength of a character's shield by the number indicated. | Adds the sticker's value to the shield's health. | |
| Shield Recovery | Improves the recharge rate of a character's shield. | Adds 1/10th sticker's value to the amount of shield health regenerated per second. | |
| Dizzy Time | Reduces the length of time spent stunned. The only sticker effect given as a negative number. | Reduces the number of stun frames by the sticker's value. | |
| Swim Time | Increases the duration a character can swim before drowning. | Adds the sticker's value in seconds to how long a character can safely swim for. | |
| Food Effect | Increases the healing effect of food items by the number indicated. | Adds to how much damage food heals. | |
| Maxim Tomato Effect | Increases the healing effect of a Maxim Tomato by the number indicated. Unique to Kirby series characters. | Adds to how much damage a Maxim Tomato heals. | |
| Heart Container Effect | Increases the healing effect of a Heart Container by the number indicated. Unique to Zelda series characters. | Adds to how much damage a Heart Container heals. | |
| Trophy Stand Drops | Increases the frequency of trophy stands. | Adds to the frequency ratio of Trophy Stands. This only affects boxes and enemies that already have a greater than 0 chance of dropping Trophy Stands. | |
| Sticker Drops | Increases the frequency of stickers. | Adds to the frequency ratio of stickers. This only affects boxes and enemies that already have a greater than 0 chance of dropping stickers. | |
| Trophy Drops | Increases the frequency of trophies. | Adds to the frequency ratio of trophies. This only affects boxes and enemies that already have a greater than 0 chance of dropping trophies. | |
| Carry [Item] | Every new step (i.e., every time a character goes through a door), the character will start off holding the listed item. Possible items include Beam Sword, Bob-omb, Cracker Launcher, Fan, Fire Flower, Home-Run Bat, Lip's Stick, Mr. Saturn, Ray Gun, Star Rod, and Super Scope; there is only one sticker for each item. | ||


Trophy[edit]

- Stickers
- In The Subspace Emissary, you can place stickers on trophy stands to augment the offensive and defensive abilities of your characters. But stickers must be applied neatly--they must be fully on the stand and must not overlap. Sticker power generally corresponds to sticker size--bigger is better. But big stickers take up more room, so you must strike a balance.
 : Super Smash Bros. Brawl
Trivia[edit]
- The internal file names of the sticker images are organized by a technical abbreviation of their console of origin, such as "DOL" for GameCube, "NTR" for Nintendo DS, and "RVL" for Wii. These abbreviations are references to their original codenames: Dolphin, Nitro, and Revolution, respectively. Third-party stickers are given "KONAMI" and "SEGA" designations instead, and Pokémon stickers with Brawl-original artwork are under "Comp", most likely referring to The Pokémon Company.
- While seven characters can use Tail stickers, no Tail sticker can be used by all seven. They can be used by either the space animals, or by the other four, but never both.
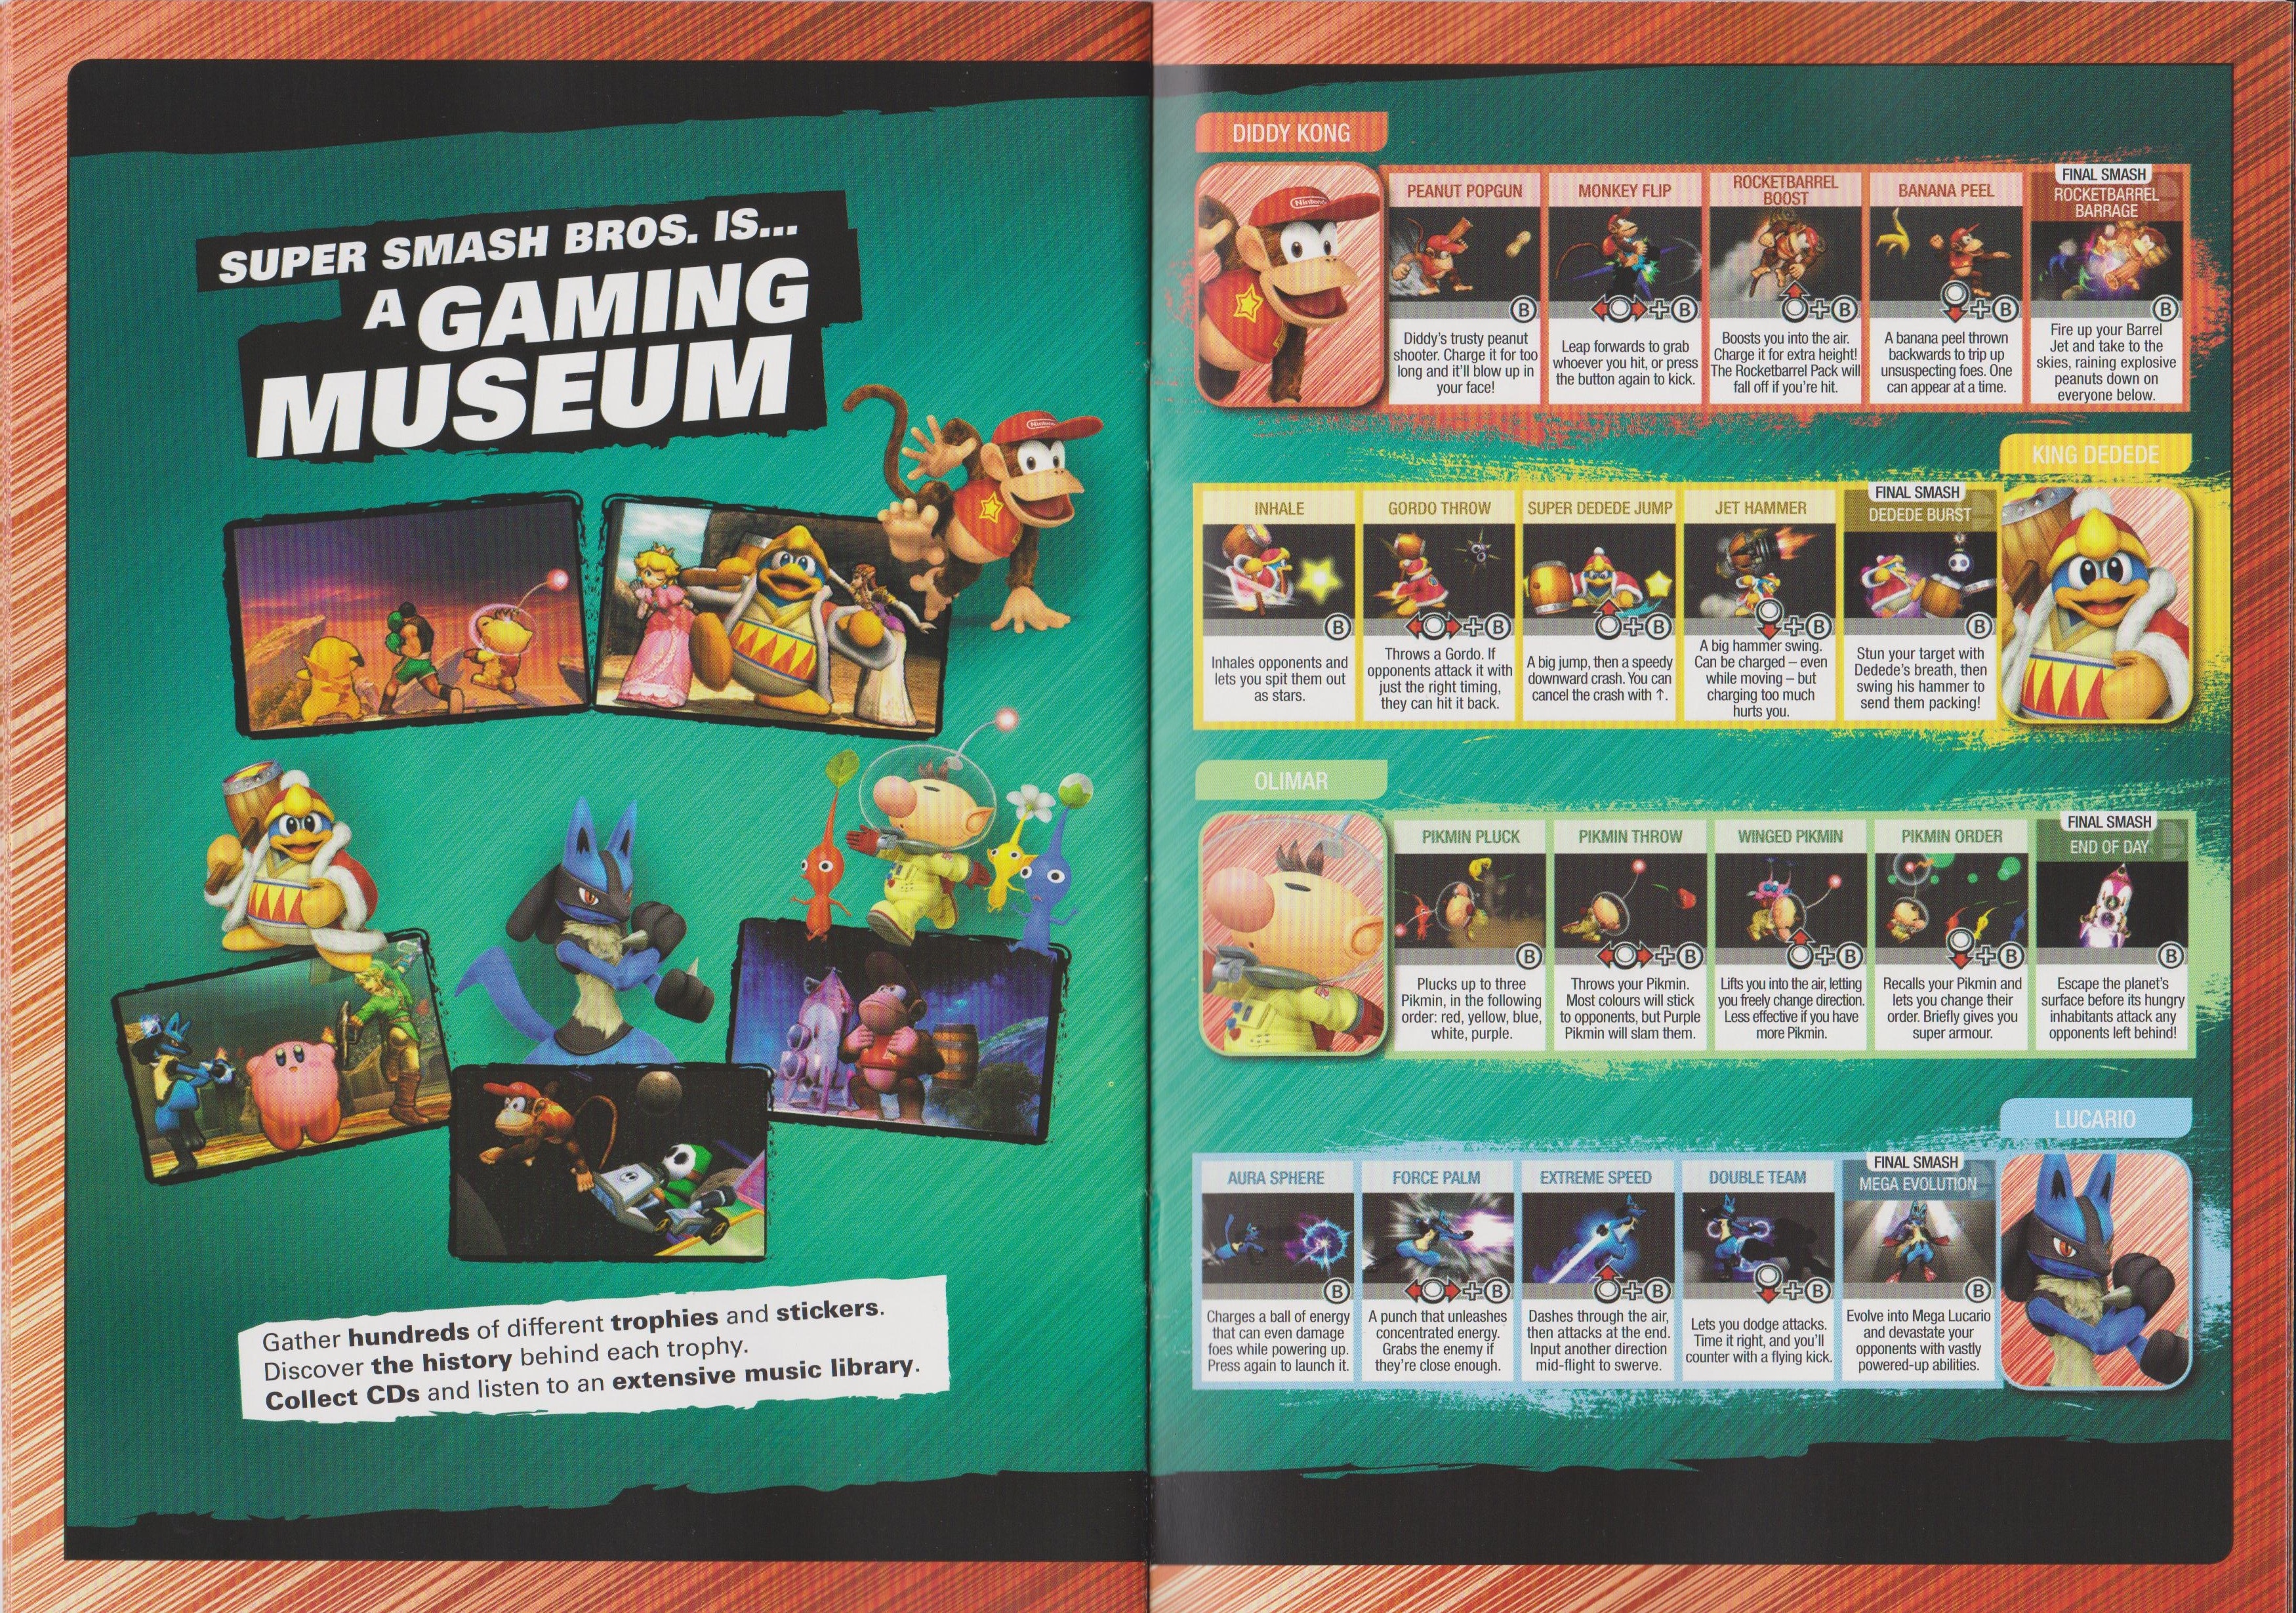
- A booklet handed out at EGX 2014 states that in Super Smash Bros. for Nintendo 3DS, stickers and CDs are collectable, and one can see where trophies originated, all of which are false.
- Pokémon Trainer (via Squirtle) is the only character that can equip Water-enhancing stickers, despite Mario's F.L.U.D.D. also being Water-elemental. This is presumably because F.L.U.D.D. does not deal any damage.
- In Brawl's Boss Battles mode, the player is unable to earn or use any sticker.
- The Legend of Outset is the only sticker that is a location instead of a character or an object.
See also[edit]
External links[edit]
| Items in Super Smash Bros. Brawl | |
|---|---|
| Normal | Assist Trophy · Banana Peel · Beam Sword · Blast Box · Bob-omb · Bumper · Bunny Hood · Cracker Launcher · Deku Nut · Dragoon · Fan · Fire Flower · Food · Franklin Badge · Freezie · Golden Hammer · Gooey Bomb · Green Shell · Hammer · Heart Container · Home-Run Bat · Hothead · Lightning Bolt · Lip's Stick · Maxim Tomato · Metal Box · Motion-Sensor Bomb · Mr. Saturn · Pitfall · Poison Mushroom · Poké Ball · Ray Gun · Screw Attack · Smart Bomb · Smash Ball · Smoke Ball · Soccer Ball · Spring · Star Rod · Starman · Super Mushroom · Super Scope · Superspicy Curry · Team Healer · Timer · Unira · Warp Star |
| Containers | Barrel · Capsule · Crate · Party Ball · Sandbag · Rolling Crates |
| The Subspace Emissary |
Key · Stock Ball · Trophy Stand |
| Collectibles | CD · Coins · Sticker · Trophy |
| Other | Smash Coins and Bills |
| Stickers by series | |
|---|---|
| Mario · Donkey Kong · The Legend of Zelda · Metroid · Yoshi · Kirby · Star Fox · Pokémon · F-Zero · EarthBound · Ice Climber · Wario · Kid Icarus · Pikmin · Fire Emblem · Game & Watch · Animal Crossing · Others · Metal Gear · Sonic the Hedgehog · (All stickers) |
| Super Smash Bros. Brawl menu items | |
|---|---|
| Group | Brawl (Time · Stock · Coin Battle · Team Battle) · Rules · Special Brawl · Rotation · Tourney · Names |
| Solo | Classic · All-Star · Adventure Mode: The Subspace Emissary · Events · Stadium (Target Smash!! · Home-Run Contest · Multi-Man Brawl · Boss Battles) · Training |
| Wi-Fi | Spectator Mode · With Anyone · With Friends |
| Vault | Trophies & Stickers (Trophy Gallery · Trophy Hoard · Coin Launcher · Sticker Album · Sticker Center) · Stage Builder · Album · Challenges · Replays · Masterpieces · Chronicle |
| Options | Screen · Deflicker · Rumble · Controls · Sound · My Music · Erase Data |
| Data | Movies · Records (Group Records · Brawl Records · Notices) · Sound Test |