King K. Rool (SSBU)/Forward throw
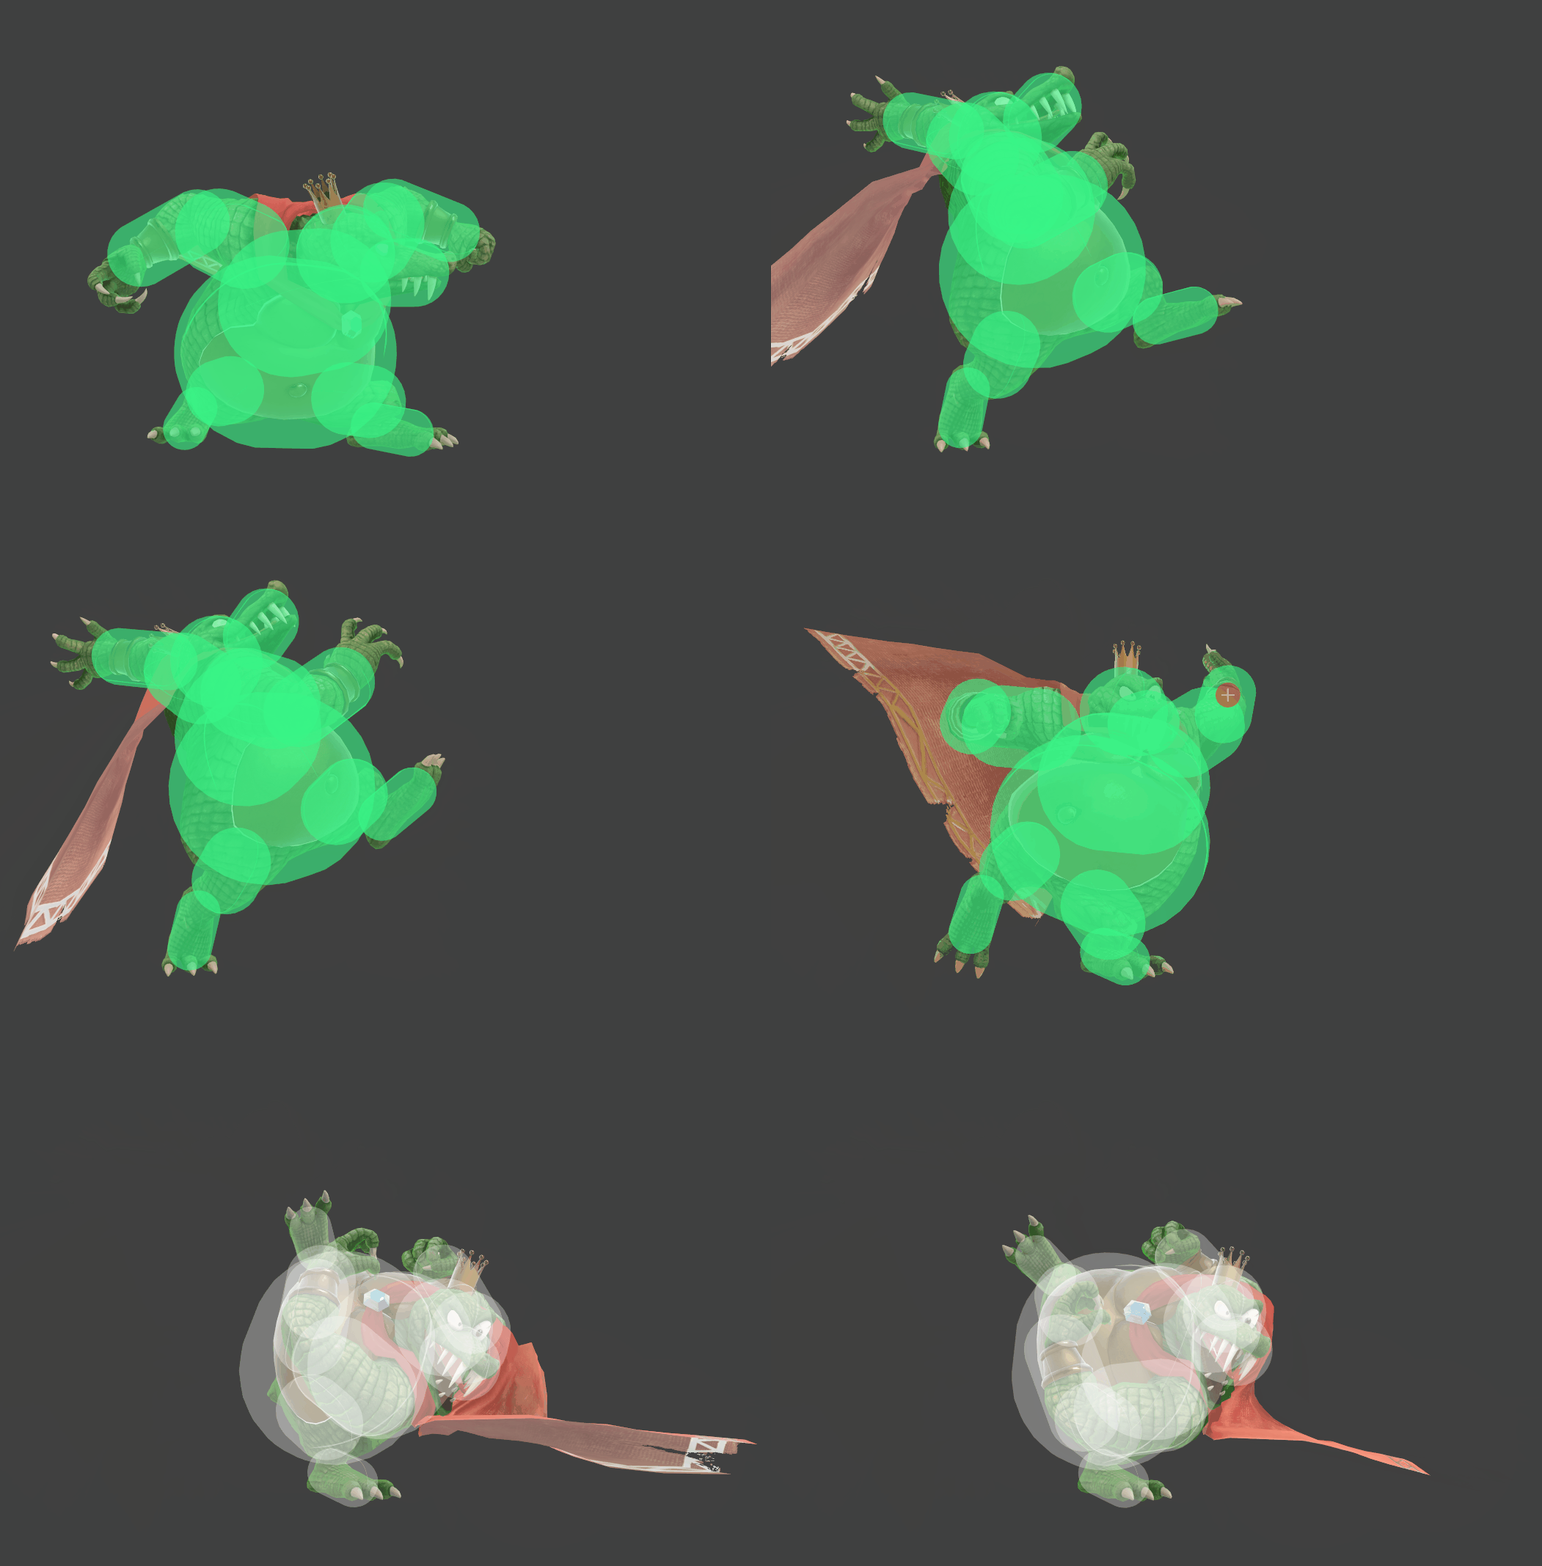
| King K. Rool forward throw hurtbox visualization | ||||
|---|---|---|---|---|

| ||||
Overview
King K. Rool slams opponents to the floor. Forward throw is usually used for advancing game state and building momentum. This is done through okizeme-style techniques just after dash attack stops working, particularly with Crownerang. If opponents don't jump, it can lead into high-pressure situations that usually end in K. Rool's favor. Simply dashing at opponents afraid of the threat of this and catching their jumps with up aerial is also a solid mixup.
King K. Rool's forward throw is the source of his main bread and butter combo at 0%, that being forward throw into dash attack. It can also be used to confirm neutral attack, which can lead to better game states thanks to the tech situation it provides, as well as ledgetrap situations. In addition, these combos are always true due to forward throw not sending into tumble until 10.9% (tested on Mario); throws cannot be SDI'd either, making them absolutely impossible to escape. Once it sends into tumble however, both combos can be escaped by DI-ing up and away. If opponents don't know how to DI the confirms post-tumble, getting a grab confirm with pre-tumble forward aerial before going into the combo leads to heavy damage. Crownerang makes a good followup instead in these scenarios.
Forward throw can also be used for platform tech situations at around 30% (considering Battlefield as the example), allowing for a virtually guaranteed forward aerial, Blunderbuss Kannonball or Crownerang. This can be used for further play extensions thereafter, although it is risky and not always true. If opponents DI in and K. Rool remains close, down aerial is a difficult but possible follow-up. Similarly, Forward throw is also used for positioning when near the ledge, for setting up ledgetrap situations. However, after ~60%, down throw to neutral attack is preferred for more damage. The DI mixup is very useful for confirming back aerial meteor smashes however, which is true if opponents DI in at around 25%, although it is extremely difficult to pull off.
Forward throw also has a collateral damage hitbox for multiple opponents; this allows it to hit both of the Ice Climbers, Luma and Olimar's Pikmin. This hitbox uses the opponent's hurtbox during the throw, and uses the actual throw's statistics. In doubles this can be very useful for lock combos at lower percentages, and for kill confirms at higher ones.
Forward throw does have flaws, however. Very few of the move's followups are actually true combos, due to the angle opponents are sent: K. Rool's moves don't connect into it very well. Forward throw into dash attack is by far its biggest saving grace. The damage dealt by non-true interactions are also generally worse than up throw's, meaning that outside of dash attack range, forward throw plays are seen as suboptimal outside of advancing game state by K. Rool's playerbase.
Throw Data
| Kind | ID | Damage | Angle | Angle type | BK | KS | FKV | H× | Effect | Type | Sound | ||||||||||||||||||||||||||||||
|---|---|---|---|---|---|---|---|---|---|---|---|---|---|---|---|---|---|---|---|---|---|---|---|---|---|---|---|---|---|---|---|---|---|---|---|---|---|---|---|---|---|
| Throw | |||||||||||||||||||||||||||||||||||||||||
| Throw | 0 | 10% | Forward | 60 | 55 | 0 | 0.0× | ||||||||||||||||||||||||||||||||||
| Throw Release | |||||||||||||||||||||||||||||||||||||||||
| Throw | 0 | 3% | Forward | 60 | 100 | 0 | 0.0× | ||||||||||||||||||||||||||||||||||
Timing
| Invincibility | 1-28 |
|---|---|
| Throw Release | 28 |
| Interruptible | 40 |
| Animation length | 68 |
| Throw Release | ||||||||||||||||||||||||||||||||||||||||||||||||||||||||||||||||||||
| Throw Invincibility |
Lag time |
Vulnerable |
Invincible |
Throw point |
Interruptible |
|