Captain Falcon (SSB)/Up aerial: Difference between revisions
From SmashWiki, the Super Smash Bros. wiki
Jump to navigationJump to search
mNo edit summary |
SuperSqank (talk | contribs) |
||
| (9 intermediate revisions by 4 users not shown) | |||
| Line 2: | Line 2: | ||
==Overview== | ==Overview== | ||
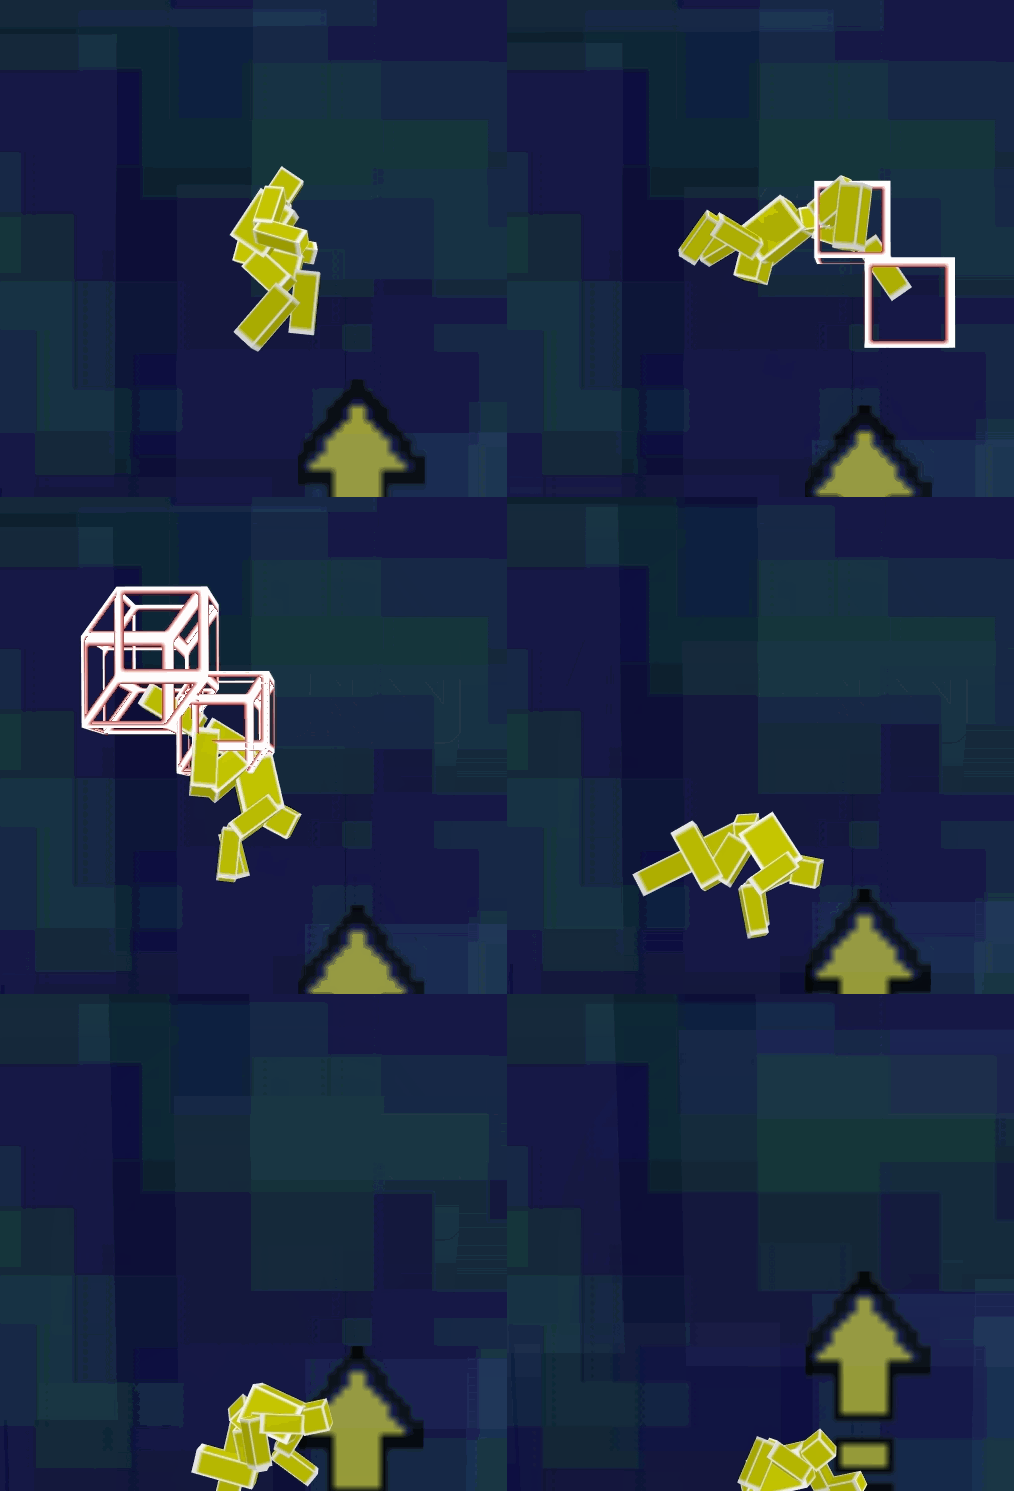
[[File:Captain Falcon Up Aerial Hitbox Smash 64.gif|thumb|The hitbox of Captain Falcon's | [[File:Captain Falcon Up Aerial Hitbox Smash 64.gif|thumb|The [[hitbox]] of Captain Falcon's up aerial.]] | ||
Captain Falcon does a flip kick in the air. A very versatile attack, being very useful for | Captain Falcon does a flip kick in the air. A very versatile attack, being very useful for [[combo]]s, and on par with {{mvsub|Pikachu|SSB|up aerial|poss=y}} for being the best [[aerial attack]] in the game. Depending on what part of the hitbox hits, it can send the opponent at different angles: | ||
* | *During its first few frames, the heel launches upwards which can be chained into itself multiple times to rack up damage, with multiple combo finisher options available. The most common are {{mvsub|Captain Falcon|SSB|up special|alt=Falcon Dive}} (which can easily KO offstage due to sending opponents a difficult-to-[[DI]] diagonal upward trajectory, and can also [[Star KO]] near the upper [[blast line]] at any part of the stage) and {{mvsub|Captain Falcon|SSB|down aerial}} (which is an effective [[edgeguarding]] option, and could be considered a [[Ken Combo]] variation). Other combo finishers available are the {{mvsub|Captain Falcon|SSB|neutral special|alt=Falcon Punch}} in certain situations, and the up aerial with the [[semi-spike]] portion of the hitbox landed (back of his foot/the heel). | ||
*The mid-section of the leg | *The mid-section of the leg launches forwards, with two medium-sized hitboxes. This part of the hitbox while Falcon is moving back hits the opponent backwards at the [[Sakurai angle]], having equal KO power to Captain Falcon's {{mvsub|Captain Falcon|SSB|back aerial}}. The mid hit is not very easy to land, and is not seen too much in competitive play. | ||
*The back of his foot/the heel | *The back of his foot/the heel launches at a 20 degree angle backwards, with semi-spike properties, meaning that it is rather useful and effective for edgeguarding. Not too difficult to land, can intercept certain [[recover]]ies such as {{SSB|Pikachu}}'s [[Quick Attack]] and {{SSB|Fox}}'s [[Fire Fox]]. | ||
{{ | ==Hitboxes== | ||
{{SSB64HitboxTableHeader}} | |||
{{HitboxTableTitle|Clean|19}} | |||
{{SSB64HitboxTableRow | |||
|id=0 | |||
|damage=16% | |||
|angle=80 | |||
|bk=10 | |||
|ks=100 | |||
|fkv=0 | |||
|r=110 | |||
|bn=21 | |||
|xpos=-60 | |||
|effect=Normal | |||
|slvl=L | |||
|sfx=Kick | |||
}} | |||
{{SSB64HitboxTableRow | |||
|id=1 | |||
|damage=16% | |||
|angle=80 | |||
|bk=10 | |||
|ks=100 | |||
|fkv=0 | |||
|r=130 | |||
|bn=21 | |||
|xpos=220 | |||
|effect=Normal | |||
|slvl=L | |||
|sfx=Kick | |||
}} | |||
{{HitboxTableTitle|Mid|19}} | |||
{{SSB64HitboxTableRow | |||
|id=0 | |||
|damage=16% | |||
|angle=361 | |||
|bk=10 | |||
|ks=100 | |||
|fkv=0 | |||
|r=110 | |||
|bn=21 | |||
|xpos=-60 | |||
|effect=Normal | |||
|slvl=L | |||
|sfx=Kick | |||
}} | |||
{{SSB64HitboxTableRow | |||
|id=1 | |||
|damage=16% | |||
|angle=361 | |||
|bk=10 | |||
|ks=100 | |||
|fkv=0 | |||
|r=130 | |||
|bn=21 | |||
|xpos=220 | |||
|effect=Normal | |||
|slvl=L | |||
|sfx=Kick | |||
}} | |||
{{HitboxTableTitle|Late|19}} | |||
{{SSB64HitboxTableRow | |||
|id=0 | |||
|damage=16% | |||
|angle=20 | |||
|bk=10 | |||
|ks=100 | |||
|fkv=0 | |||
|r=110 | |||
|bn=21 | |||
|xpos=-60 | |||
|effect=Normal | |||
|slvl=L | |||
|sfx=Kick | |||
}} | |||
{{SSB64HitboxTableRow | |||
|id=1 | |||
|damage=16% | |||
|angle=20 | |||
|bk=10 | |||
|ks=100 | |||
|fkv=0 | |||
|r=130 | |||
|bn=21 | |||
|xpos=220 | |||
|effect=Normal | |||
|slvl=L | |||
|sfx=Kick | |||
}} | |||
|} | |||
==Timing== | |||
===Attack=== | |||
{|class="wikitable" | |||
|- | |||
!Clean hit | |||
|5-7 | |||
|- | |||
!Mid hit | |||
|8-9 | |||
|- | |||
!Late hit | |||
|10-13 | |||
|- | |||
!Ending autocancel | |||
|19- | |||
|- | |||
!Animation length | |||
|33 | |||
|} | |||
{{FrameStripStart}} | |||
{{FrameStrip|t=Lag|c=4}}{{FrameStrip|t=Hitbox|c=3|e=HitboxChangeS}}{{FrameStrip|t=Hitbox|c=2|s=HitboxChangeE|e=HitboxChangeS}}{{FrameStrip|t=Hitbox|c=4|s=HitboxChangeE}}{{FrameStrip|t=Lag|c=20}} | |||
|- | |||
{{FrameStrip|t=Blank|c=18}}{{FrameStrip|t=Autocancel|c=15}} | |||
{{FrameStripEnd}} | |||
===Landing lag=== | |||
{|class="wikitable" | |||
|- | |||
!Animation length | |||
|22 | |||
|- | |||
!L-cancelled animation length | |||
|4 | |||
|} | |||
{{FrameStripStart}} | |||
|Normal {{FrameStrip|t=Lag|c=22}} | |||
|- | |||
|L-cancelled {{FrameStrip|t=Lag|c=4}}{{FrameStrip|t=Blank|c=18}} | |||
{{FrameStripEnd}} | |||
{{FrameIconLegend|lag=y|hitbox=y|hitboxchange=y|autocancel=y}} | |||
==Gallery== | ==Gallery== | ||
<gallery> | <gallery> | ||
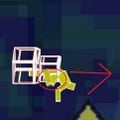
File:Falcon SSB 270 degree u-air Hurtbox.jpg|The location of the shoulder hitbox, and the direction it hits. | File:Falcon SSB 270 degree u-air Hurtbox.jpg|The location of the shoulder hitbox, and the direction it hits. | ||
File:SSB64 Falcon Combo.gif|Captain Falcon performing | File:SSB64 Falcon Combo.gif|{{Sm|SuPeRbOoMfAn}} ({{SSB|Captain Falcon}}) performing the [[Stairway to Heaven]] on {{Sm|Isai}} ({{SSB|Link}}). | ||
File:SSB64 Falcon Ken Combo.gif|Another | File:SSB64 Falcon Ken Combo.gif|Another up aerial combo, ending with a down aerial. | ||
</gallery> | </gallery> | ||
{{MvSubNavCaptainFalcon|g=SSB}} | {{MvSubNavCaptainFalcon|g=SSB}} | ||
[[Category:Captain Falcon (SSB)]] | [[Category:Captain Falcon (SSB)]] | ||
[[Category:Up aerials]] | [[Category:Aerial attacks (SSB)]] | ||
[[Category:Semi-spikes]] | [[Category:Up aerials (SSB)]] | ||
[[Category:Normal attacks (SSB)]] | |||
[[Category:Semi-spikes (SSB)]] | |||
Latest revision as of 11:14, January 2, 2020
Overview[edit]

The hitbox of Captain Falcon's up aerial.
Captain Falcon does a flip kick in the air. A very versatile attack, being very useful for combos, and on par with Pikachu's up aerial for being the best aerial attack in the game. Depending on what part of the hitbox hits, it can send the opponent at different angles:
- During its first few frames, the heel launches upwards which can be chained into itself multiple times to rack up damage, with multiple combo finisher options available. The most common are Falcon Dive (which can easily KO offstage due to sending opponents a difficult-to-DI diagonal upward trajectory, and can also Star KO near the upper blast line at any part of the stage) and down aerial (which is an effective edgeguarding option, and could be considered a Ken Combo variation). Other combo finishers available are the Falcon Punch in certain situations, and the up aerial with the semi-spike portion of the hitbox landed (back of his foot/the heel).
- The mid-section of the leg launches forwards, with two medium-sized hitboxes. This part of the hitbox while Falcon is moving back hits the opponent backwards at the Sakurai angle, having equal KO power to Captain Falcon's back aerial. The mid hit is not very easy to land, and is not seen too much in competitive play.
- The back of his foot/the heel launches at a 20 degree angle backwards, with semi-spike properties, meaning that it is rather useful and effective for edgeguarding. Not too difficult to land, can intercept certain recoveries such as Pikachu's Quick Attack and Fox's Fire Fox.
Hitboxes[edit]
Timing[edit]
Attack[edit]
| Clean hit | 5-7 |
|---|---|
| Mid hit | 8-9 |
| Late hit | 10-13 |
| Ending autocancel | 19- |
| Animation length | 33 |
Landing lag[edit]
| Animation length | 22 |
|---|---|
| L-cancelled animation length | 4 |
| Normal | ||||||||||||||||||||||
| L-cancelled |
Lag time |
Hitbox |
Hitbox change |
Autocancel |
Gallery[edit]
SuPeRbOoMfAn (Captain Falcon) performing the Stairway to Heaven on Isai (Link).
|


