Pikachu (SSB)/Forward throw
Overview[edit]
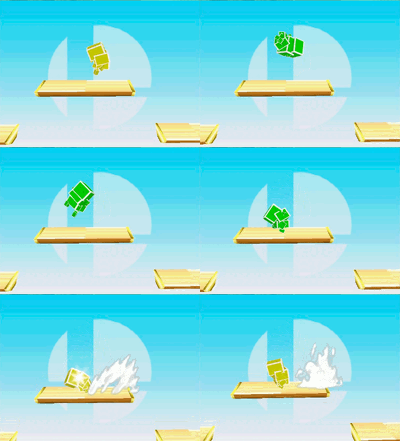
When having an opponent grabbed, Pikachu flips and throws the opponent, doing 9%-12% damage with average knockback. Pikachu can chain grab most of the characters in the game with this move at very low percentages, including Captain Falcon, Donkey Kong, Fox, Kirby, Link, Luigi, Mario, Ness, Pikachu, and Yoshi - Samus and Jigglypuff are floaty enough to escape by jumping. Additionally, at percentages above around 15%, characters like Kirby can escape via a low enough platform (such as one of the two lower platforms on Dream Land), though Pikachu may be able to punish their tech option. It is a good and vital way to start a combo. Pikachu players can make use of this throw at Hyrule Castle's tent at the right side of the stage, where they can use the nearby wall for numerous of throws as the opponent will bounce off the wall and Pikachu will be capable of regrabbing them.
Isai's "Greenhouse" combo can make great use of technique. It consists of Pikachu using a couple of forward throws and back throws at the wall, then an up tilt to knock the opponent up, which can be used multiple times depending on the opponent's percentage. It will then use a back throw to make the opponent bounce off the left wall then the right, and then a back aerial is used to bounce the opponent off the green wall on the right. This leaves them vulnerable as they are knocked towards Pikachu, so it can use an up smash followed by a Thunderspike.
Throw data[edit]
| Bone | Damage | Angle | BK | KS | FKV | Effect | |
|---|---|---|---|---|---|---|---|
| Throw | bn! | 12% | 80 | 70 | 0 | ||
| Release | bn! | 6% | 0 | 100 | 0 |
Timing[edit]
| Invincible | 4-19 |
|---|---|
| Throw | 20 |
| Animation length | 28 |
Lag time |
Vulnerable |
Invincible |
Throw point |
