King K. Rool (SSBU)/Pummel: Difference between revisions
From SmashWiki, the Super Smash Bros. wiki
Jump to navigationJump to search
m (Removed protection from "King K. Rool (SSBU)/Pummel": Bot: Unprotecting a list of files) |
(Provided a basic outline of how helpful K. Rool's pummel is, although it's pretty generic information. Also noted about its glancing blow issue.) |
||
| Line 1: | Line 1: | ||
{{ArticleIcons|ssbu=y}} | {{ArticleIcons|ssbu=y}} | ||
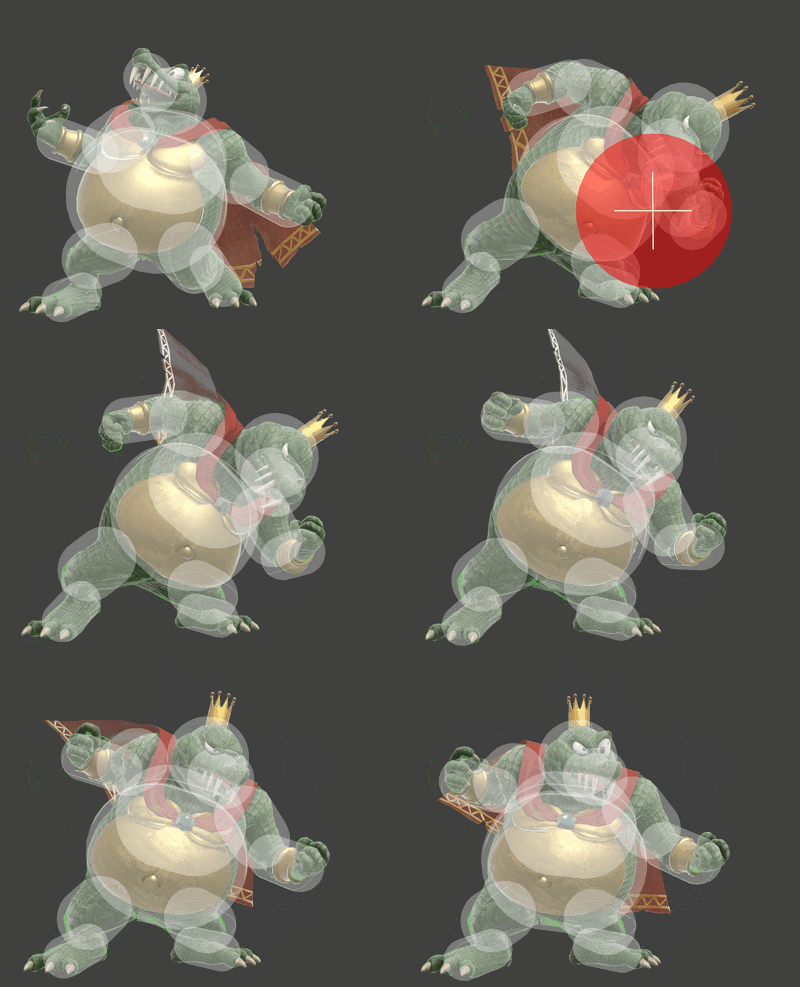
[[File:KingKRoolPummelSSBU.gif|thumb| | [[File:KingKRoolPummelSSBU.gif|thumb|400px|Hitbox visualization showing King K. Rool's pummel.]] | ||
==Overview== | ==Overview== | ||
A simple headbutt. Pummeling opponents prior to using [[King K. Rool (SSBU)/Down throw|down throw]] is especially crucial for King K. Rool's success, as well as after a dash grab to make use of the long lunge. This is because down throw uses all damage prior to the throw itself to calculate the bury frames. It is also one of the most damaging pummels in the game, with surprisingly little lag for its damage as well. | |||
However, King K. Rool's pummel has a tendency to suffer from [[glancing blow]]s against characters with specific grabbed animations. As a result, it is not always consistent. | |||
==Hitboxes== | ==Hitboxes== | ||
{{UltimateHitboxTableHeader}} | {{UltimateHitboxTableHeader}} | ||
Revision as of 09:30, February 7, 2020
Overview
A simple headbutt. Pummeling opponents prior to using down throw is especially crucial for King K. Rool's success, as well as after a dash grab to make use of the long lunge. This is because down throw uses all damage prior to the throw itself to calculate the bury frames. It is also one of the most damaging pummels in the game, with surprisingly little lag for its damage as well.
However, King K. Rool's pummel has a tendency to suffer from glancing blows against characters with specific grabbed animations. As a result, it is not always consistent.
Hitboxes
Timing
| Hitbox | 2 |
|---|---|
| Interruptible | 8 |
| Animation length | 23 |
Lag time |
Hitbox |
Interruptible |
|
