Wii Fit Trainer (SSBU)/Side special: Difference between revisions
From SmashWiki, the Super Smash Bros. wiki
Jump to navigationJump to search
(→Timing) |
Raul Retana (talk | contribs) m (Doing some cleaning) |
||
| Line 18: | Line 18: | ||
{{UltimateHitboxTableRow | {{UltimateHitboxTableRow | ||
|id=0 | |id=0 | ||
|damage=15.0% | |damage=15.0% | ||
|angle=295 | |angle=295 | ||
| Line 31: | Line 30: | ||
|type=Head | |type=Head | ||
|sdi=0.0 | |sdi=0.0 | ||
|sfx=Punch | |sfx=Punch | ||
|slvl=M | |slvl=M | ||
| Line 40: | Line 35: | ||
{{UltimateHitboxTableRow | {{UltimateHitboxTableRow | ||
|id=1 | |id=1 | ||
|damage=15.0% | |damage=15.0% | ||
|angle=295 | |angle=295 | ||
| Line 53: | Line 47: | ||
|type=Head | |type=Head | ||
|sdi=0.0 | |sdi=0.0 | ||
|sfx=Punch | |sfx=Punch | ||
|slvl=M | |slvl=M | ||
| Line 64: | Line 54: | ||
{{UltimateHitboxTableRow | {{UltimateHitboxTableRow | ||
|id=0 | |id=0 | ||
|damage=10.0% | |damage=10.0% | ||
|angle=295 | |angle=295 | ||
| Line 78: | Line 67: | ||
|sdi=0.0 | |sdi=0.0 | ||
|ff=1.0 | |ff=1.0 | ||
|sfx=Punch | |sfx=Punch | ||
|slvl=M | |slvl=M | ||
| Line 86: | Line 72: | ||
{{UltimateHitboxTableRow | {{UltimateHitboxTableRow | ||
|id=1 | |id=1 | ||
|damage=10.0% | |damage=10.0% | ||
|angle=295 | |angle=295 | ||
| Line 99: | Line 84: | ||
|type=Head | |type=Head | ||
|sdi=0.0 | |sdi=0.0 | ||
|sfx=Punch | |sfx=Punch | ||
|slvl=M | |slvl=M | ||
| Line 111: | Line 92: | ||
{{UltimateHitboxTableHeader}} | {{UltimateHitboxTableHeader}} | ||
!{{rollover|Hit bits|Controls what type of objects can be hit|y}} | !{{rollover|Hit bits|Controls what type of objects can be hit|y}} | ||
!{{rollover|Rehit rate| | !{{rollover|Rehit rate|If not 0, hits again every X frames|y}} | ||
{{UltimateHitboxTableRow | {{UltimateHitboxTableRow | ||
|id=0 | |id=0 | ||
|damage=5.0% - 16.0% | |||
|damage=5% - 16% | |||
|sd=-2.5 | |sd=-2.5 | ||
|angle=55 | |angle=55 | ||
| Line 122: | Line 102: | ||
|fkv=0 | |fkv=0 | ||
|r=3.5 | |r=3.5 | ||
|bn= | |bn=top | ||
|xpos=0.0 | |xpos=0.0 | ||
|ypos=0.0 | |ypos=0.0 | ||
|zpos=0.0 | |zpos=0.0 | ||
|type=Weapon | |type=Weapon | ||
|clang=f | |||
|rebound=f | |||
|clang= | |||
|rebound= | |||
|sfx=Kick | |sfx=Kick | ||
|direct= | |direct=f | ||
|slvl=S | |slvl=S | ||
}} | }} | ||
Revision as of 16:13, August 2, 2020
Update History
 Header's soccer ball travels more quickly when headed (2.8 → 3.5).
 Header's soccer ball deals less shield damage (-2.5).
 The interaction of Header's soccer ball with stage collision was fixed, removing several setups and making Header use from ledge less consistent. However, this in turn created a new tech known as Header Getup.
 The soccer ball has a higher vertical air speed during Header's startup (1.5 → 1.6) ultimately leading to Header yielding more shallow angles.
Hitboxes
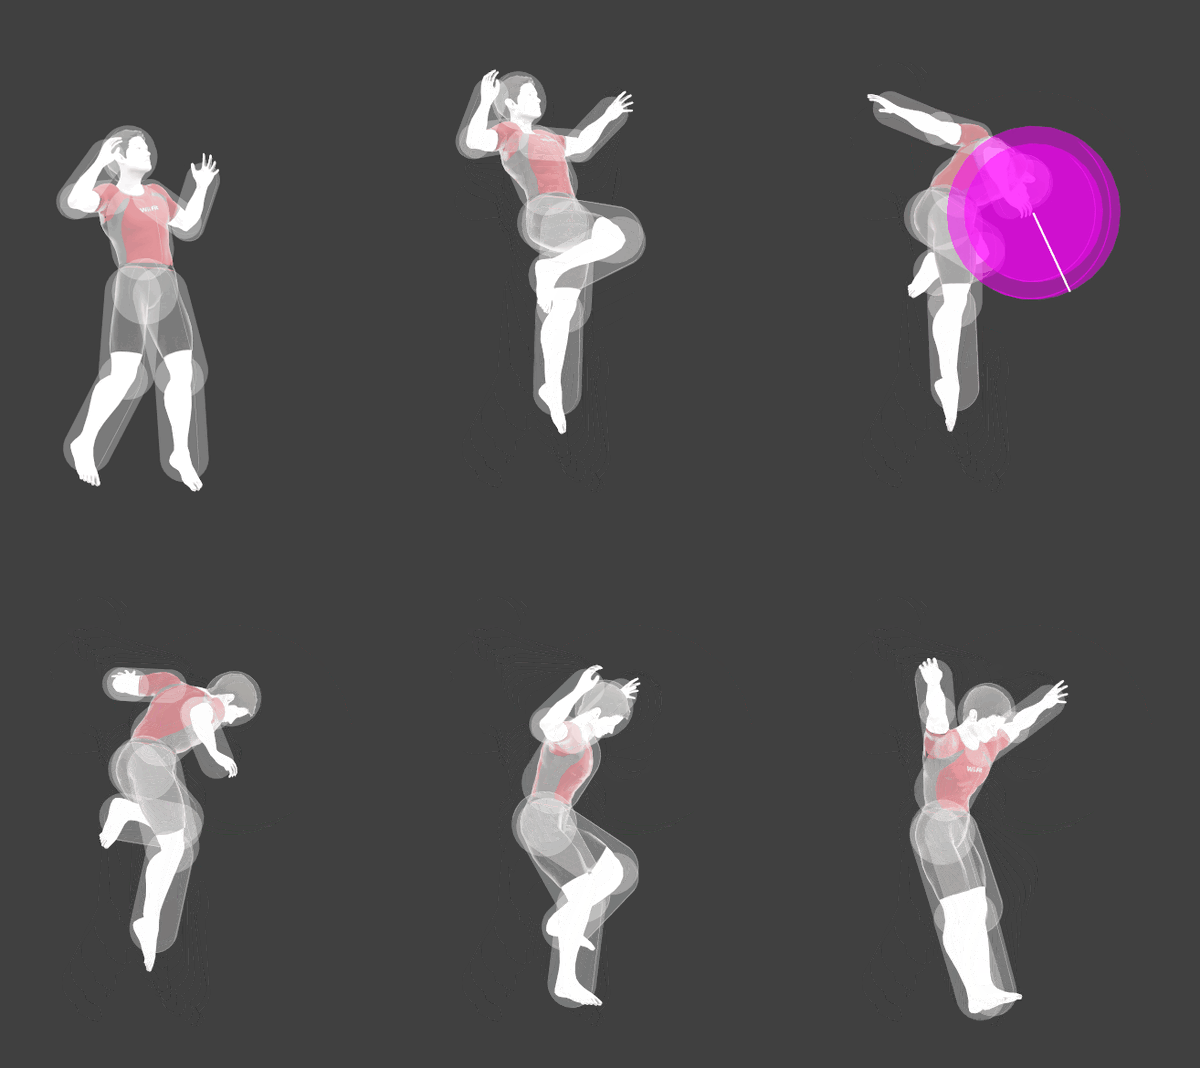
Header
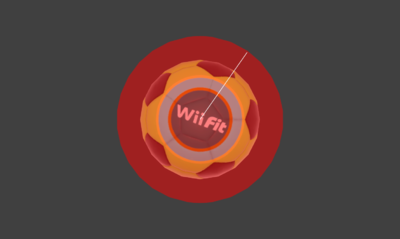
Soccer ball
Timing
| Clean hit | Input | 15-16 |
|---|---|---|
| No input | 31-32 | |
| Late hit | Input | 17-19 |
| No input | 33-35 |
|

