SSB4 Icon.png

Ganondorf (SSB4)/Forward smash: Difference between revisions

From SmashWiki, the Super Smash Bros. wiki
Jump to navigationJump to search
No edit summary
(→‎Overview: FSmash doesn't deal Shield Damage, it just has high base damage.)
Line 14: Line 14:
==Overview==
==Overview==
{{competitive expertise}}
Ganondorf does an elbow thrust that deals [[dark]] damage upon landing. It has slow startup and has high cooldown, but has the strongest knockback of all of his smash attacks, especially when hit with the sweetspot (which is located near him). It also can be angled, and has high [[shield damage]], taking more than half of a shield's health when uncharged and fully breaking them when fully charged. Because of its below-average speed, this move is usually only used as a punishing option or during a hard read in competitive play.
Ganondorf does an elbow thrust that deals [[dark]] damage upon landing. It has slow startup and has high cooldown, but has the strongest knockback of all of his smash attacks, especially when hit with the sweetspot (which is located near him). It also can be angled, and deals high damage to [[Shield]]s despite not dealing any extra [[shield damage]], taking more than half of a shield's health when uncharged and fully breaking them when fully charged. Because of its below-average speed, this move is usually only used as a punishing option or during a hard read in competitive play.


==Hitboxes==
==Hitboxes==

Revision as of 14:24, June 3, 2018

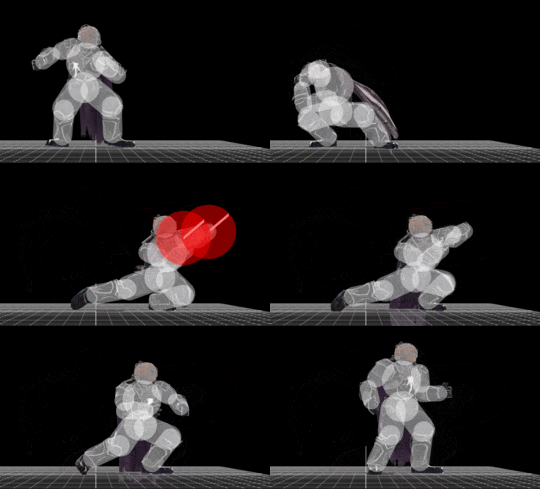
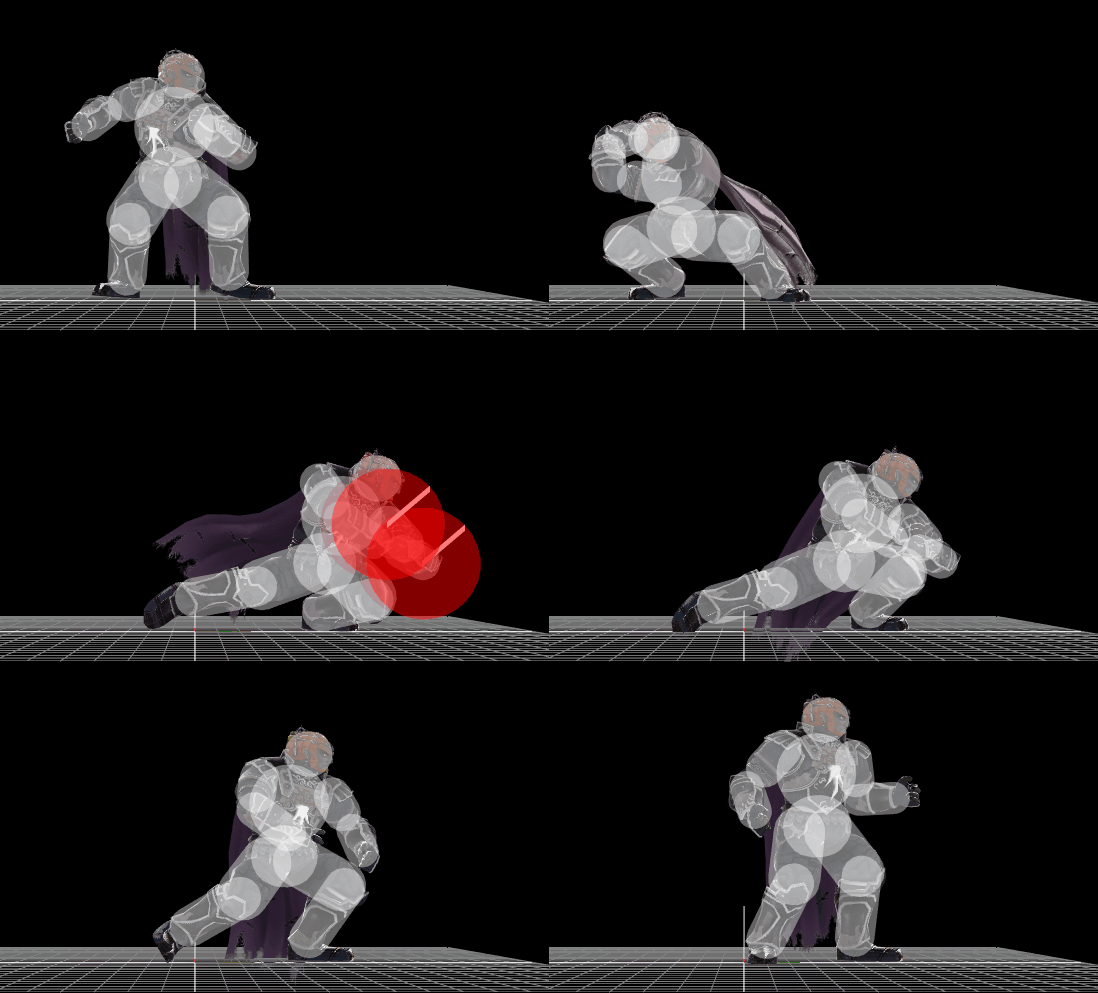
Ganondorf forward smash hitbox visualization
GanondorfFSmashUp.gif
GanondorfFSmash.gif
GanondorfFSmashDown.gif

Overview

Competitive.png This article or section may require competitive expertise.
You can discuss this issue on the talk page or edit this page to improve it.

Ganondorf does an elbow thrust that deals dark damage upon landing. It has slow startup and has high cooldown, but has the strongest knockback of all of his smash attacks, especially when hit with the sweetspot (which is located near him). It also can be angled, and deals high damage to Shields despite not dealing any extra shield damage, taking more than half of a shield's health when uncharged and fully breaking them when fully charged. Because of its below-average speed, this move is usually only used as a punishing option or during a hard read in competitive play.

Hitboxes

ID Part Damage SD Angle BK KS FKV Radius Bone Offset SDIx T% Clang Rebound Type Effect G A Sound Direct
0 0 24% 0 AngleIcon40.png 35 83 0 5.0 15 0.0 0.0 0.0 1.0x 1.0x 0% HitboxTableIcon(Clang).png HitboxTableIcon(Rebound).png TypeIcon(Elbow).png EffectIcon(Darkness).png HitboxTableIcon(GroundedTrue).png HitboxTableIcon(AerialTrue).png L Burn SpecialsDirect.png
1 0 24% 0 AngleIcon40.png 30 75 0 5.0 16 0.0 0.0 0.0 1.0x 1.0x 0% HitboxTableIcon(Clang).png HitboxTableIcon(Rebound).png TypeIcon(Elbow).png EffectIcon(Darkness).png HitboxTableIcon(GroundedTrue).png HitboxTableIcon(AerialTrue).png L Burn SpecialsDirect.png

Timing

Charges between 9-10
Hitboxes 21-26
Interruptible 60
Animation length 66
FrameIcon(Lag).png FrameIcon(Lag).png FrameIcon(Lag).png FrameIcon(Lag).png FrameIcon(Lag).png FrameIcon(Lag).png FrameIcon(Lag).png FrameIcon(Lag).png FrameIcon(LagChargeS).png FrameIcon(LagChargeE).png FrameIcon(Lag).png FrameIcon(Lag).png FrameIcon(Lag).png FrameIcon(Lag).png FrameIcon(Lag).png FrameIcon(Lag).png FrameIcon(Lag).png FrameIcon(Lag).png FrameIcon(Lag).png FrameIcon(Lag).png FrameIcon(Hitbox).png FrameIcon(Hitbox).png FrameIcon(Hitbox).png FrameIcon(Hitbox).png FrameIcon(Hitbox).png FrameIcon(Hitbox).png FrameIcon(Lag).png FrameIcon(Lag).png FrameIcon(Lag).png FrameIcon(Lag).png FrameIcon(Lag).png FrameIcon(Lag).png FrameIcon(Lag).png FrameIcon(Lag).png FrameIcon(Lag).png FrameIcon(Lag).png FrameIcon(Lag).png FrameIcon(Lag).png FrameIcon(Lag).png FrameIcon(Lag).png FrameIcon(Lag).png FrameIcon(Lag).png FrameIcon(Lag).png FrameIcon(Lag).png FrameIcon(Lag).png FrameIcon(Lag).png FrameIcon(Lag).png FrameIcon(Lag).png FrameIcon(Lag).png FrameIcon(Lag).png FrameIcon(Lag).png FrameIcon(Lag).png FrameIcon(Lag).png FrameIcon(Lag).png FrameIcon(Lag).png FrameIcon(Lag).png FrameIcon(Lag).png FrameIcon(Lag).png FrameIcon(Lag).png FrameIcon(Interruptible).png FrameIcon(Interruptible).png FrameIcon(Interruptible).png FrameIcon(Interruptible).png FrameIcon(Interruptible).png FrameIcon(Interruptible).png FrameIcon(Interruptible).png
Legend (1 square = 1 frame)
FrameIcon(Lag).png
Lag time
FrameIcon(LagChargeS).pngFrameIcon(LagChargeE).png
Charge interval
FrameIcon(Hitbox).png
Hitbox
FrameIcon(Interruptible).png
Interruptible