Sonic (SSBU)/Forward smash: Difference between revisions
Smash Master (talk | contribs) (I gotta find a way to get the whole animation length) |
Omega Tyrant (talk | contribs) m (Reverted edits by 93.67.212.119 (talk) to last version by Juju1995.) Tag: Rollback |
||
| (14 intermediate revisions by 7 users not shown) | |||
| Line 4: | Line 4: | ||
|- | |- | ||
!↗ | !↗ | ||
|[[File:SonicFSmashUpSSBU.gif| | |[[File:SonicFSmashUpSSBU.gif|300px]] | ||
|- | |- | ||
!→ | !→ | ||
|[[File:SonicFSmashSSBU.gif| | |[[File:SonicFSmashSSBU.gif|300px]] | ||
|- | |- | ||
!↘ | !↘ | ||
|[[File:SonicFSmashDownSSBU.gif| | |[[File:SonicFSmashDownSSBU.gif|300px]] | ||
|- | |- | ||
{{HitboxTableTitle|Due to model scaling issues, | |||
the hitboxes jitter around and aren't accurate.|42}} | |||
|} | |} | ||
{{competitive expertise}} | {{competitive expertise}} | ||
==Overview== | ==Overview== | ||
The Wind-Up Punch from Sonic the Fighters. It has high knockback growth, deceptive range, and can be angled, all of which make it one of Sonic's most viable KOing options and can be used to two-frame opponents at the ledge when angled downward. However, its very low base knockback makes it better suited for KO attempts later instead of earlier. | The Wind-Up Punch from ''Sonic the Fighters''. It has high knockback growth, deceptive range (outspacing several other disjointed moves<ref>https://www.youtube.com/watch?v=sIhr-eWrJRc</ref>), and can be angled, all of which make it one of Sonic's most viable KOing options and can be used to two-frame opponents at the ledge when angled downward. Sonic's [[hurtbox]] extends only to his wrist when performing the move, making it somewhat disjointed. Because of this disjointed range, it can clang with most projectiles, and beat out many non-disjointed moves. It is also relatively safe on shield when spaced. However, its very low base knockback makes it better suited for KO attempts later instead of earlier. Like most forward smashes, it also has noticeable start-up and ending lag, making it risky if used unwisely. | ||
==Hitboxes== | ==Hitboxes== | ||
{{UltimateHitboxTableHeader}} | {{UltimateHitboxTableHeader}} | ||
{{UltimateHitboxTableRow | {{UltimateHitboxTableRow | ||
|id=0 | |id=0 | ||
|damage={{ChargedSmashDmgSSBU|14}} | |damage={{ChargedSmashDmgSSBU|14.0}} | ||
|angle=361 | |angle=361 | ||
|af=3 | |||
|bk=30 | |bk=30 | ||
|ks=101 | |ks=101 | ||
| Line 30: | Line 31: | ||
|bn=handr | |bn=handr | ||
|xpos=4.0 | |xpos=4.0 | ||
|type=Hand | |type=Hand | ||
|sfx=Punch | |sfx=Punch | ||
| Line 39: | Line 37: | ||
{{UltimateHitboxTableRow | {{UltimateHitboxTableRow | ||
|id=1 | |id=1 | ||
|damage={{ChargedSmashDmgSSBU|14}} | |damage={{ChargedSmashDmgSSBU|14.0}} | ||
|angle=361 | |angle=361 | ||
|af=3 | |||
|bk=30 | |bk=30 | ||
|ks=101 | |ks=101 | ||
| Line 48: | Line 46: | ||
|bn=armr | |bn=armr | ||
|xpos=1.0 | |xpos=1.0 | ||
|type=Hand | |type=Hand | ||
|sfx=Punch | |sfx=Punch | ||
|slvl=L | |slvl=L | ||
| Line 58: | Line 52: | ||
{{UltimateHitboxTableRow | {{UltimateHitboxTableRow | ||
|id=2 | |id=2 | ||
|damage={{ChargedSmashDmgSSBU|14}} | |damage={{ChargedSmashDmgSSBU|14.0}} | ||
|angle=361 | |angle=361 | ||
|af=3 | |||
|bk=30 | |bk=30 | ||
|ks=101 | |ks=101 | ||
| Line 67: | Line 61: | ||
|bn=shoulderr | |bn=shoulderr | ||
|xpos=-1.0 | |xpos=-1.0 | ||
|type=Hand | |type=Hand | ||
|sfx=Punch | |sfx=Punch | ||
|slvl=L | |slvl=L | ||
| Line 203: | Line 79: | ||
|- | |- | ||
!Animation length | !Animation length | ||
| | |57 | ||
|} | |} | ||
{{FrameStripStart}} | {{FrameStripStart}} | ||
{{FrameStrip|t=Lag|c=12|e=LagChargeS}}{{FrameStrip|t=Lag|c=5|s=LagChargeE}}{{FrameStrip|t=Hitbox|c=3}}{{FrameStrip|t=Lag|c=27}}{{FrameStrip|t=Interruptible|c= | {{FrameStrip|t=Lag|c=12|e=LagChargeS}}{{FrameStrip|t=Lag|c=5|s=LagChargeE}}{{FrameStrip|t=Hitbox|c=3}}{{FrameStrip|t=Lag|c=27}}{{FrameStrip|t=Interruptible|c=10}} | ||
{{FrameStripEnd}} | {{FrameStripEnd}} | ||
{{FrameIconLegend|lag=y|charge=y|hitbox=y|interruptible=y}} | {{FrameIconLegend|lag=y|charge=y|hitbox=y|interruptible=y}} | ||
{{ | {{MvSubNavSonic|g=SSBU}} | ||
[[Category: | [[Category:Sonic (SSBU)]] | ||
[[Category:Forward smashes (SSBU)]] | [[Category:Forward smashes (SSBU)]] | ||
Latest revision as of 00:03, March 25, 2024
| Sonic forward smash hitbox visualizations | |||||||||||||||||||||||||||||||||||||||||
|---|---|---|---|---|---|---|---|---|---|---|---|---|---|---|---|---|---|---|---|---|---|---|---|---|---|---|---|---|---|---|---|---|---|---|---|---|---|---|---|---|---|
| ↗ | 
| ||||||||||||||||||||||||||||||||||||||||
| → | 
| ||||||||||||||||||||||||||||||||||||||||
| ↘ | 
| ||||||||||||||||||||||||||||||||||||||||
| Due to model scaling issues,
the hitboxes jitter around and aren't accurate. | |||||||||||||||||||||||||||||||||||||||||
Overview[edit]
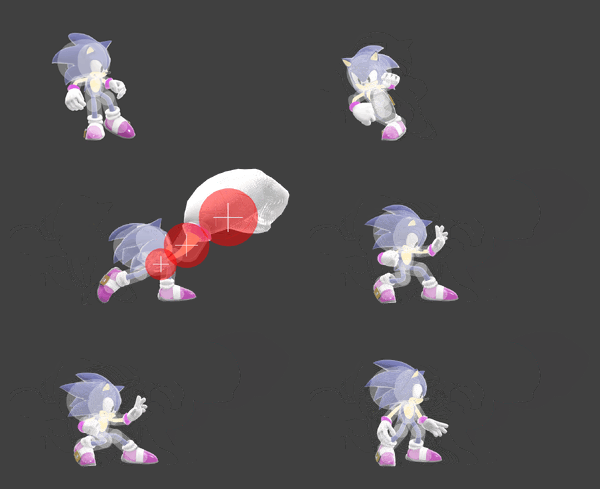
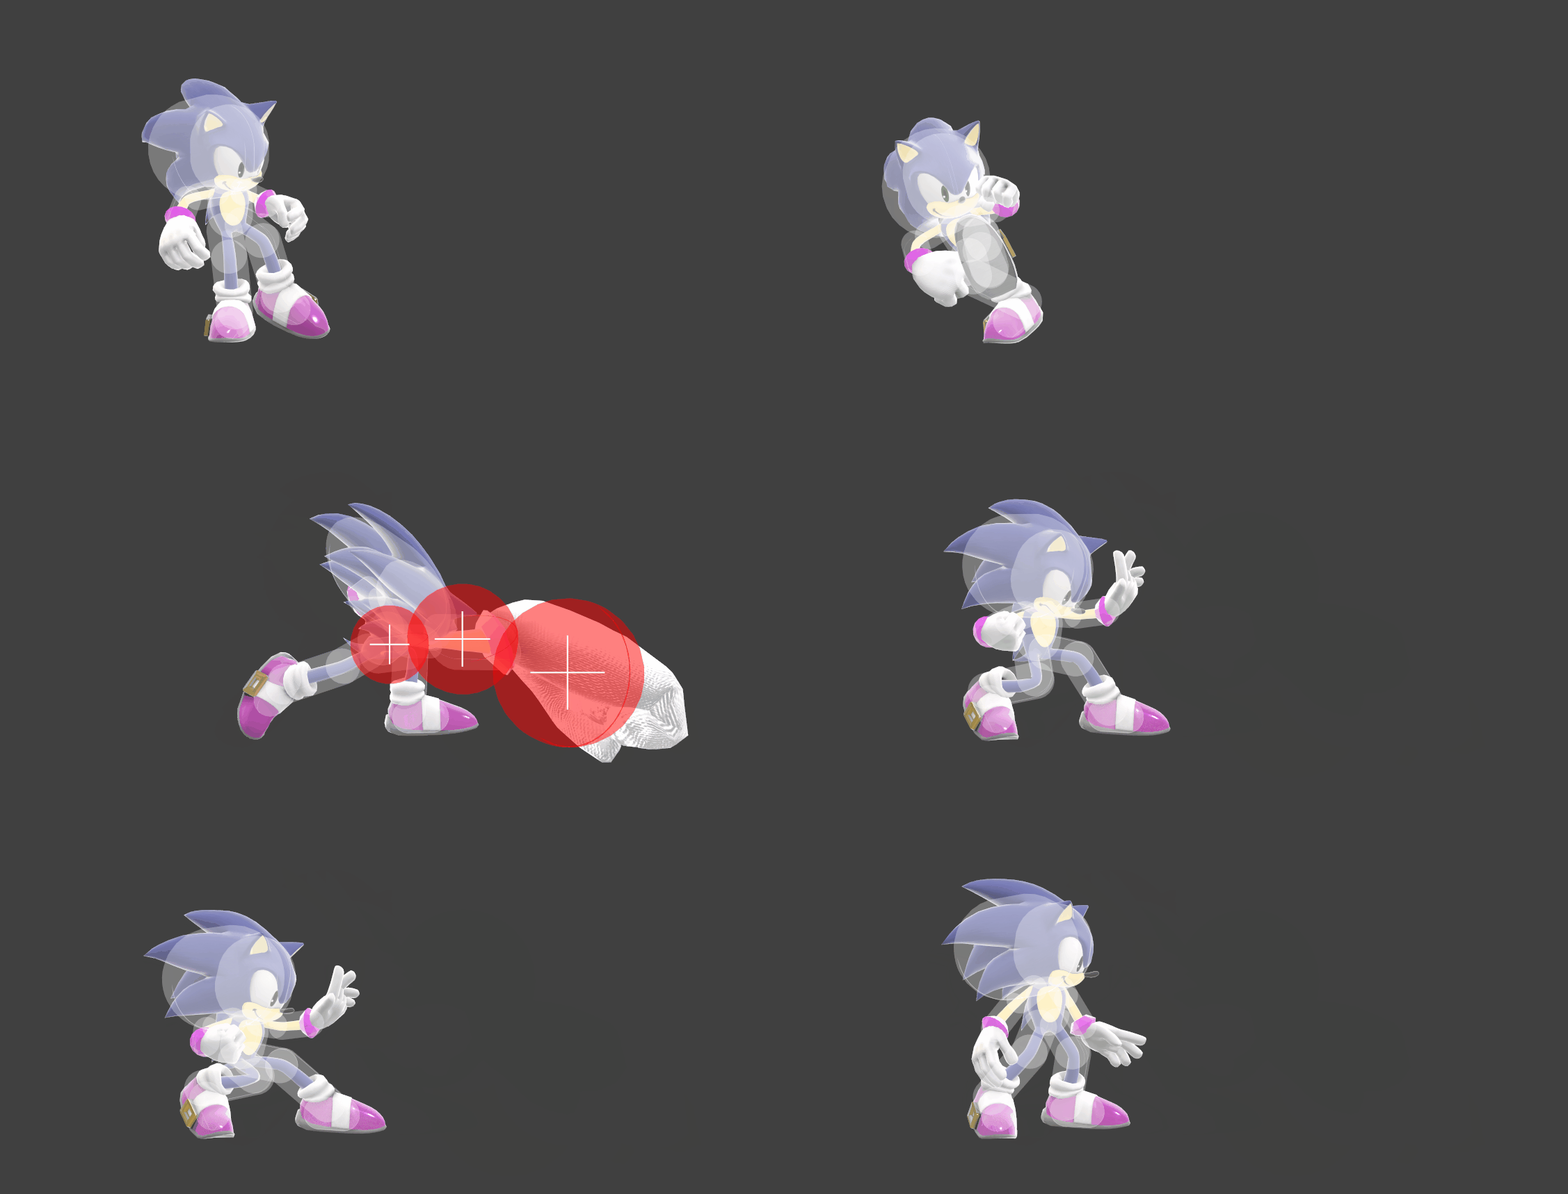
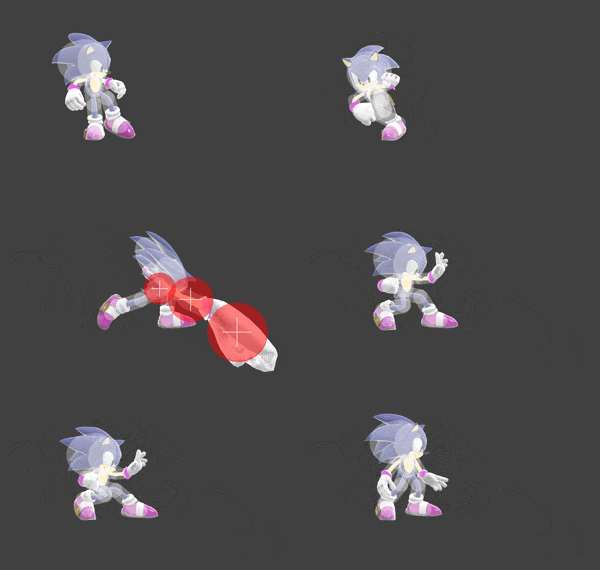
The Wind-Up Punch from Sonic the Fighters. It has high knockback growth, deceptive range (outspacing several other disjointed moves[1]), and can be angled, all of which make it one of Sonic's most viable KOing options and can be used to two-frame opponents at the ledge when angled downward. Sonic's hurtbox extends only to his wrist when performing the move, making it somewhat disjointed. Because of this disjointed range, it can clang with most projectiles, and beat out many non-disjointed moves. It is also relatively safe on shield when spaced. However, its very low base knockback makes it better suited for KO attempts later instead of earlier. Like most forward smashes, it also has noticeable start-up and ending lag, making it risky if used unwisely.
Hitboxes[edit]
Timing[edit]
| Charges between | 12-13 |
|---|---|
| Hitboxes | 18-20 |
| Interruptible | 48 |
| Animation length | 57 |
Lag time |
Charge interval |
Hitbox |
Interruptible |
|
