OverviewEdit
A kick that functions differently when used on the ground or in midair. All versions are based on the individual techniques from the Bayonetta games, with minor differences.
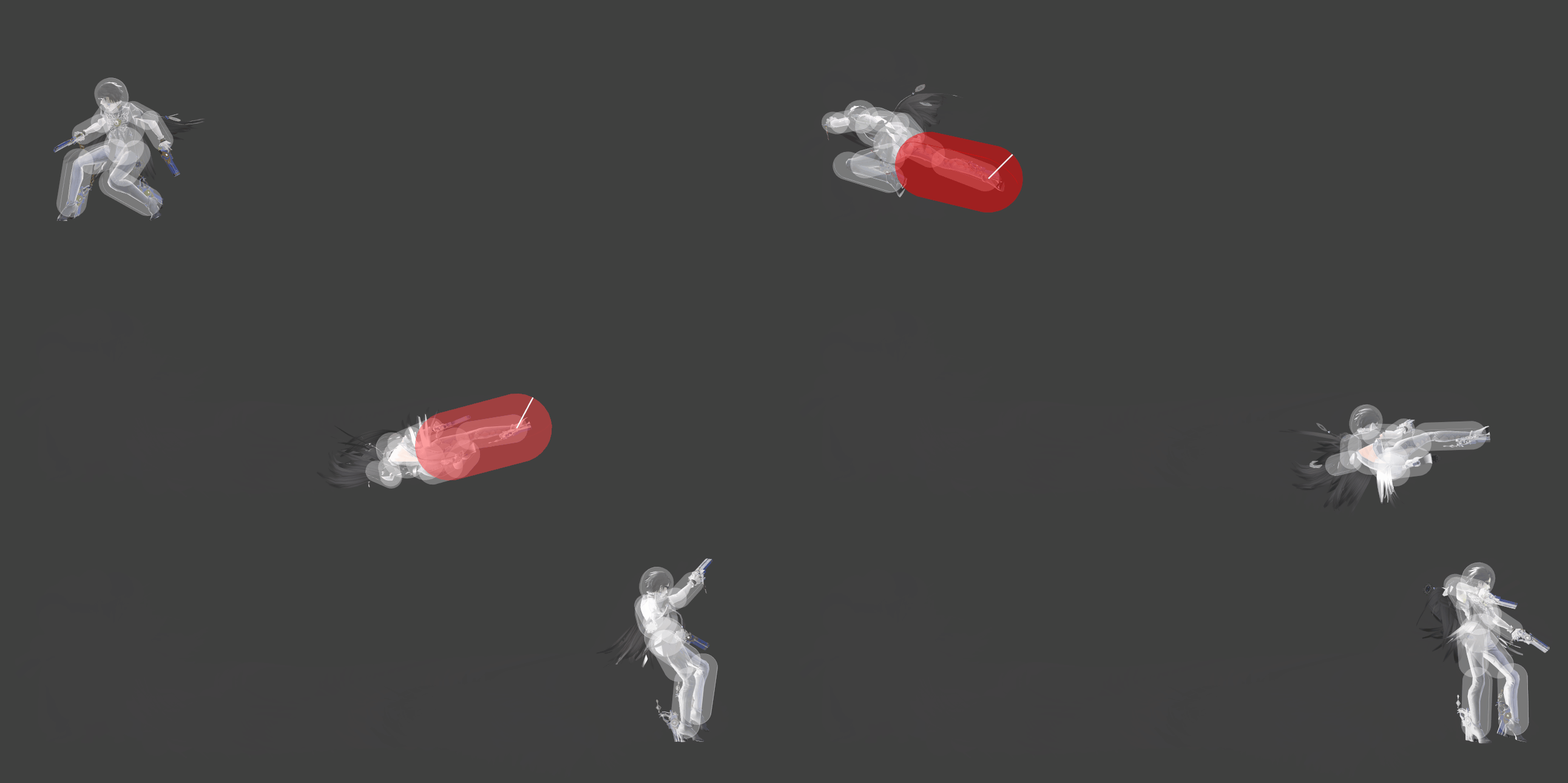
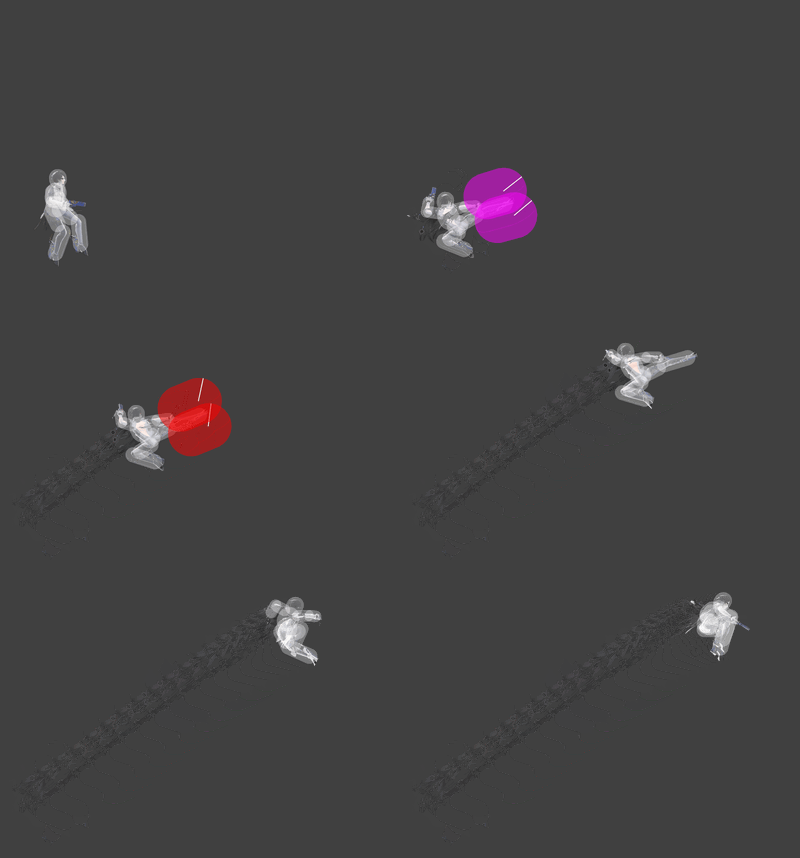
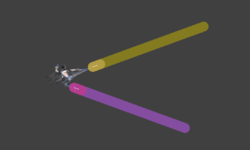
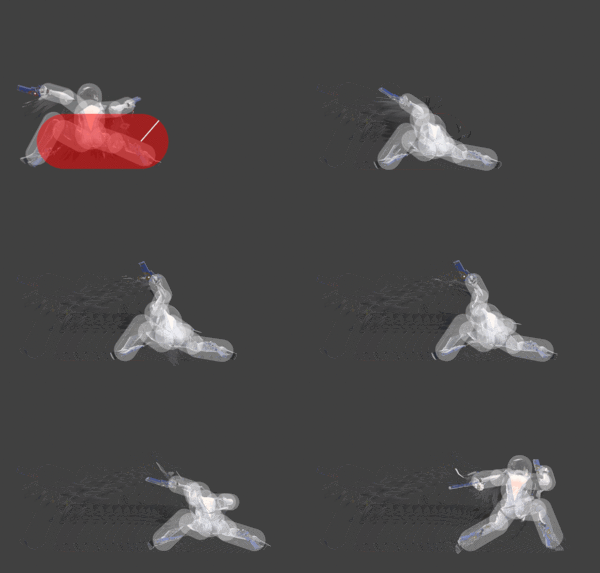
Heel Slide: On the ground, she performs the Heel Slide. If the button is held, Bayonetta will then follow it up with an aú aberto. She will also fire the guns on her feet as she slides. It is her primary combo starter, due to the follow-up kick launching the opponent upward. If the first hit is shielded, however, she will not transition to the aú aberto. She will also be under considerable ending lag, leaving her open to punishing.
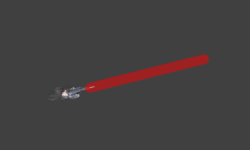
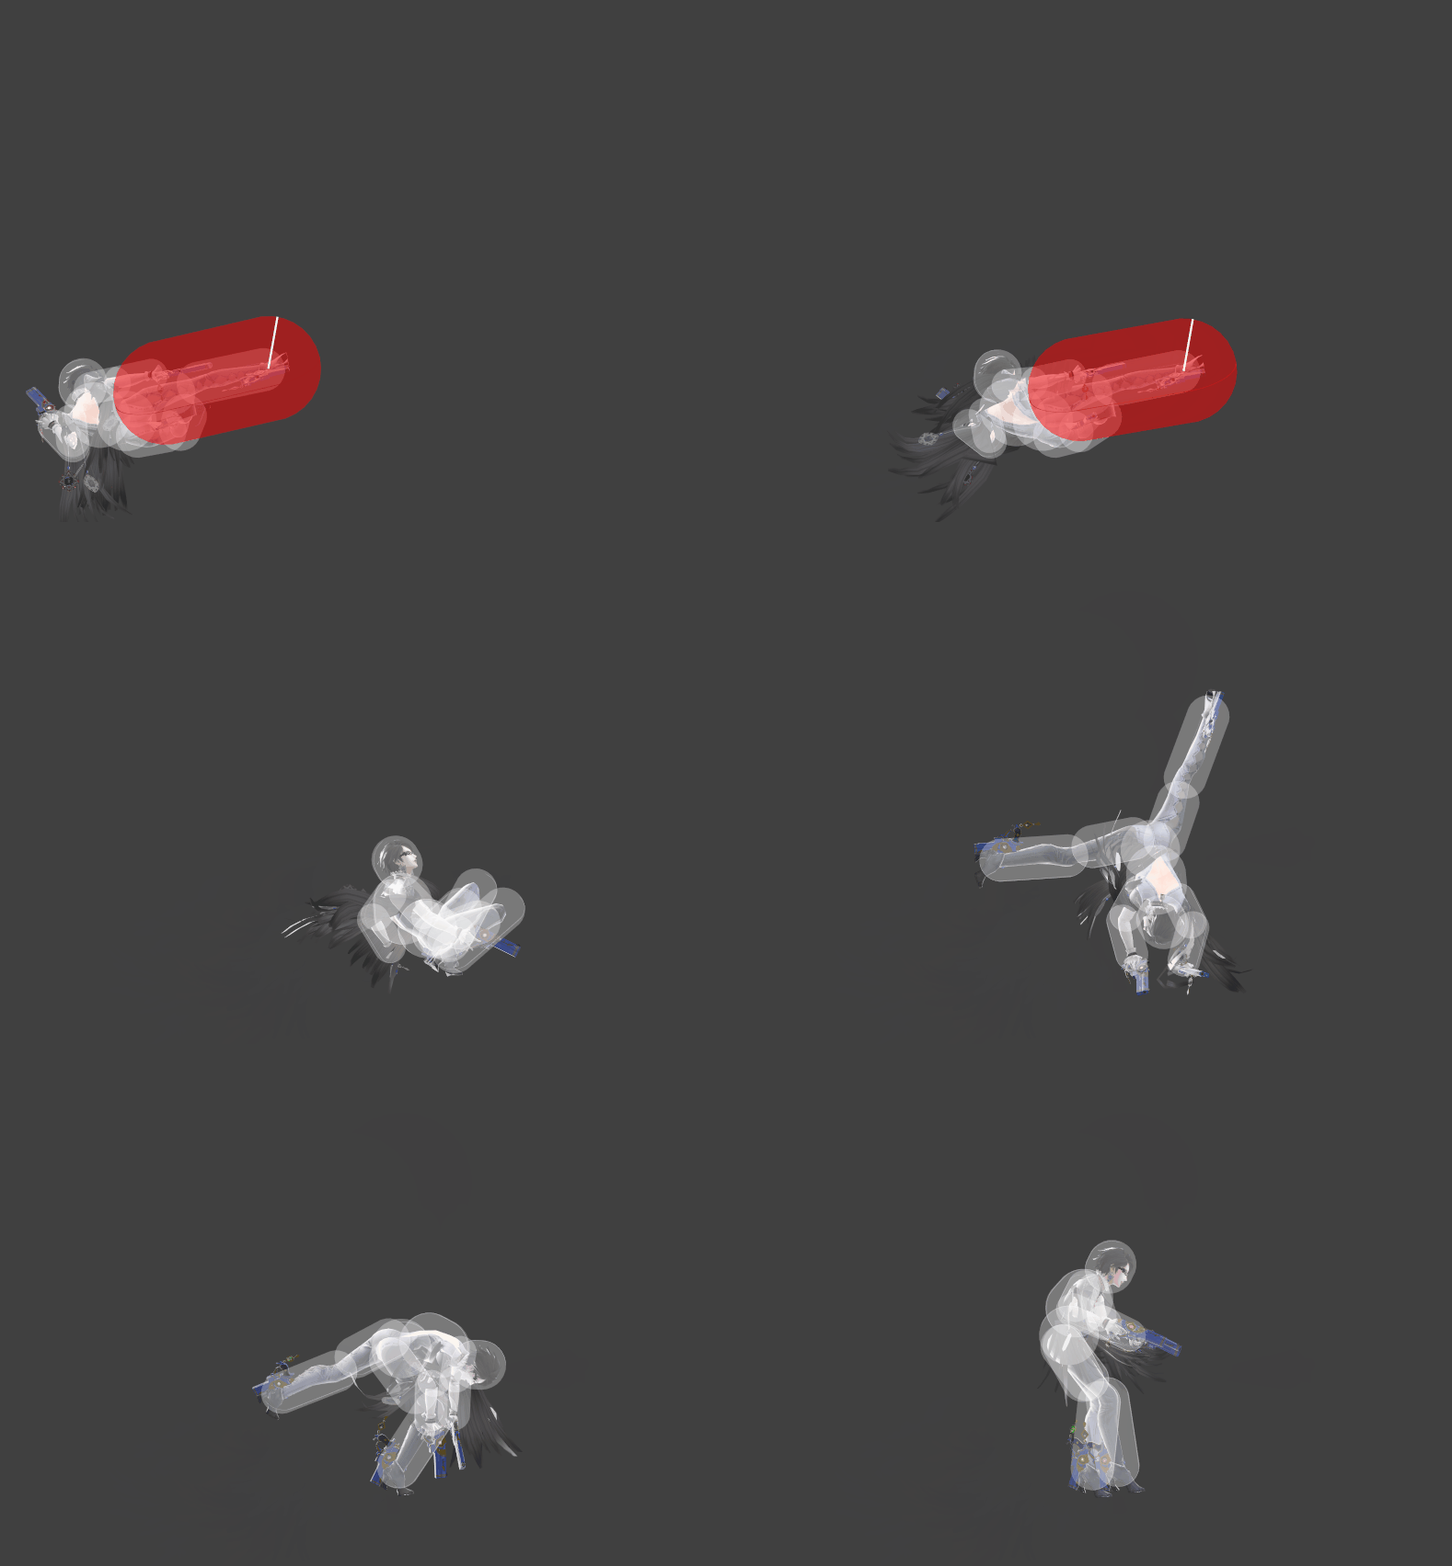
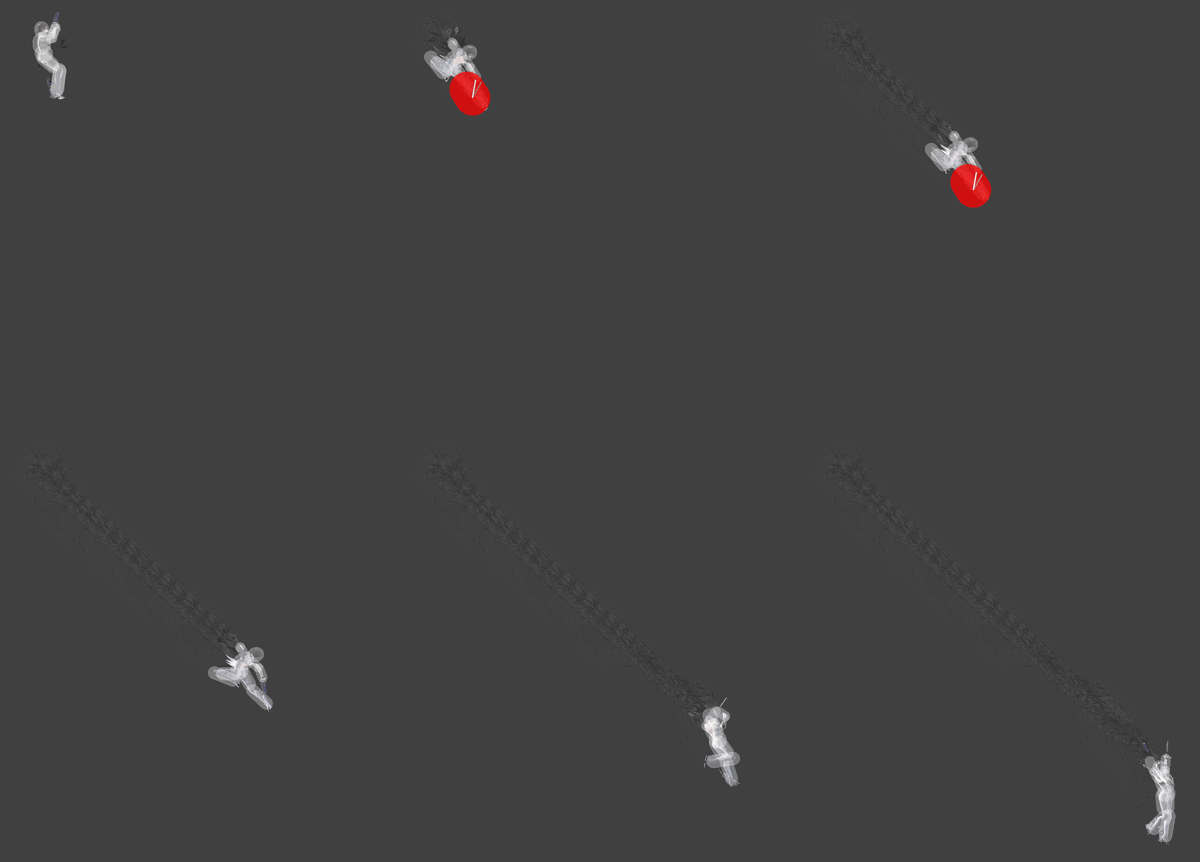
After Burner Kick: In the air, she alternately performs the After Burner Kick, a flying kick with a slightly diagonal trajectory which can be performed twice in a row as long as the first kick connects. If shielded, it can't transition into another After Burner Kick. It can be angled diagonally downward by two different methods: holding the control stick down before inputting the move (moving the stick in a quarter-circle), or by flicking the control stick down as soon as the move is inputted but before the move comes out. The second method takes strict timing: if not performed correctly, she will end up doing the standard After Burner Kick. If the button is held for the standard version, Bayonetta will fire the guns on her feet (one slightly upward, and one slightly downward).
Like Witch Twist, both versions of After Burner Kick are her primary aerial combo initiators and followups, with each angled version having different launch angles and allowing for creative combos.
Update HistoryEdit
- After Burner Kick has less landing lag (one kick: 20 frames → 18, two kicks: 30 → 26).
- This does not affect Downwards After Burner Kick and most combos that start with or land on the ground with the move, but most combos that finish with the move and land normally have reduced landing lag.
- Heel Slide has less ending lag (FAF 72 → 67 (non-extended), 73 → 68 (extended)), improving its combo potential.
HitboxesEdit
Heel SlideEdit
Heel Slide FinisherEdit
After Burner Kick (Up)Edit
After Burner Kick (Down)Edit
TimingEdit
Heel SlideEdit
| Hitboxes (early, mid, late, latest) | 15-16, 17-18, 19-24, 25-39 |
|---|---|
| Interruptible | 67 |
| Animation length | 66 |
Heel Slide FinisherEdit
Heel Slide transitions into the finisher after frame 31 if the button is held from frame 14 to that point. As a result, counting Heel Slide's lag, the finisher comes out on frame 51 and is interruptible on frame 68.
| Early | 1-11 |
|---|---|
| Final hit | 20-24 |
| Interruptible | 37 |
| Animation length | 54 |
After Burner Kick (Up)Edit
The move allows Bayonetta to grab ledges from the front starting on frame 21.
| Hitboxes (early, mid, late, latest) | 7-9, 10-12, 13-14, 15-19 |
|---|---|
| Interruptible | 32 |
| Animation length | 51 |
After Burner Kick (Down)Edit
The move allows Bayonetta to grab ledges from the front starting on frame 26. The bounce-off animation after hitting an opponent is interruptible on frame 22.
| Hitboxes | 8-24 |
|---|---|
| Interruptible | 44 |
| Animation length | 43 |
After Burner Kick (Landing)Edit
| Hitboxes | 1 |
|---|---|
| Interruptible | 41 |
| Animation length | 40 |
| Lag time |
Hitbox |
Hitbox change |
Interruptible |
ParametersEdit
Heel SlideEdit
Ending lag parameters allow the move to be interrupted regardless of what point of the animation Bayonetta is in. However, they only apply to the sliding portion, and not the followup kick or Bullet Arts.
| Travel speed multiplier uphill | 0.8 |
|---|---|
| Travel speed multiplier downhill | 1.2 |
| Travel speed multiplier on aerial transition | 0.2 |
| Travel speed multiplier upon ending | 0.3 |
| Travel speed multiplier upon hitting a shield | 0.5 |
| Ending lag after hitting an opponent (without hitlag) | 33 frames |
| Ending lag after hitting a shield (with hitlag) | 40 frames |
After Burner KickEdit
For landing lag data, see Bayonetta Recovery Frames.
Edit
A second After Burner Kick is only possible if the first one hits a non-shielding opponent. The window for the second one then applies after the end of the first one (either by interrupting it or letting the animation finish naturally), and is paused during hitlag of subsequent attacks.
| Initiation delay after jumpsquat | 1 frame |
|---|---|
| Window between double ABK | 60 frames |
UpEdit
| Animation speed | 0.9 |
|---|---|
| Animation rotation | -25° |
| Period before landing is possible | 22 frames |
| Horizontal speed multiplier when firing Bullet Arts | 0.6 |
| Vertical speed multiplier when firing Bullet Arts | 0.9 |
| Air friction while firing Bullet Arts | 0.09 |
| Minimum horizontal speed while firing Bullet Arts | 0.2 |
| Gravity while firing Bullet Arts | 0.07 |
| Falling speed while firing Bullet Arts | -1.1 |
DownEdit
| Stick sensitivity for downward input | 0.66 |
|---|---|
| Buffer window after downward input | 20 frames |
| Window to change from ABK up to down via input | 5 frames |
| Horizontal speed when bouncing off opponent | 0.3 |
| Vertical speed when bouncing off opponent | 3.4 |
| Gravity during bounce-off animation | 0.15 |
| Falling speed during bounce-off animation | 1.5 |
| Period before horizontal input is possible after bounce-off | 2 frames |
| Stick sensitivity for horizontal input after bounce-off | 0.3 |
| Air acceleration during bounce-off animation | 0.025 |
| Air speed during bounce-off animation | 0.7 |
|
