SSBU Icon.png

Wii Fit Trainer (SSBU)/Up special: Difference between revisions

From SmashWiki, the Super Smash Bros. wiki
Jump to navigationJump to search
m (+overview heading)
No edit summary
Line 1: Line 1:
{{ArticleIcons|ssbu=y}}
[[File:WFT Super Hoop.gif|400px|thumb|right|Hitbox visualization showing Wii Fit Trainer's up special, Super Hoop.]]
[[File:WFT Super Hoop.gif|300px|thumb|right|Hitbox visualization showing Wii Fit Trainer's up special, Super Hoop.]]
{{competitive expertise}}
{{technical data|Timing}}
Line 7: Line 7:
==Hitboxes==
==Hitboxes==
{{UltimateHitboxTableHeader}}
! {{rollover|Rehit rate|If not 0, hits again every X frames|y}}
{{UltimateHitboxTableRow
|id=0
|id=0
|damage=5.0%
|damage=5.0%
|angle=106
|angle=106
|af=1
|rehit=17
|bk=70
|bk=70
|ks=20
|ks=20
Line 28: Line 29:
|slvl=M
|slvl=M
}}
}}
|17
{{UltimateHitboxTableRow
|id=1
|id=1
|damage=5.0%
|damage=5.0%
|angle=106
|angle=106
|af=1
|rehit=17
|bk=70
|bk=70
|ks=20
|ks=20
Line 49: Line 51:
|slvl=M
|slvl=M
}}
}}
|17
{{UltimateHitboxTableRow
|id=2
|id=2
|damage=5.0%
|damage=5.0%
|angle=106
|angle=106
|af=1
|rehit=17
|bk=70
|bk=70
|ks=20
|ks=20
Line 70: Line 73:
|slvl=M
|slvl=M
}}
}}
|17
|}
|}


Revision as of 20:55, January 23, 2022

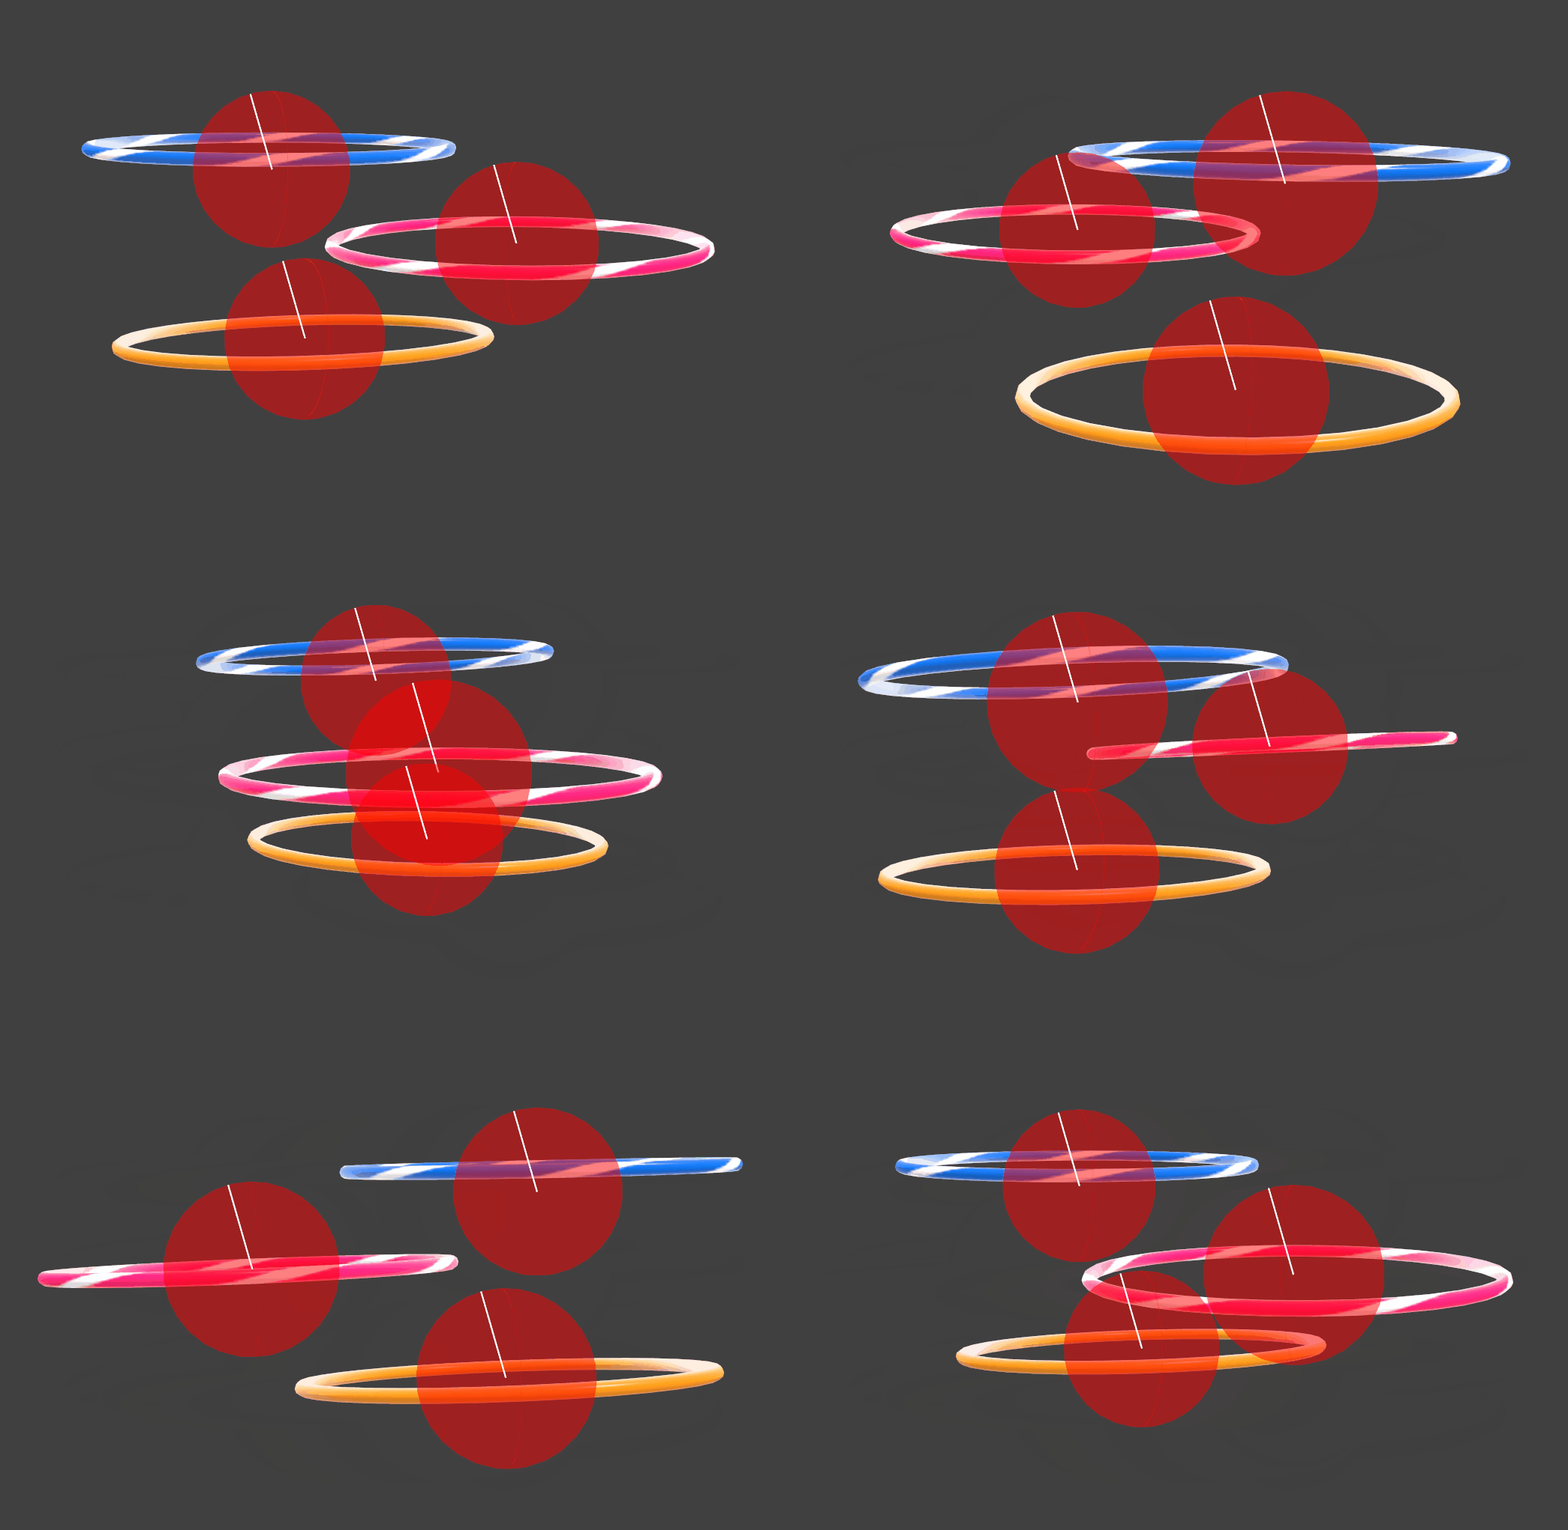
Hitbox visualization of Wii Fit Trainer's up special, Super Hoop.
Hitbox visualization showing Wii Fit Trainer's up special, Super Hoop.
Competitive.png This article or section may require competitive expertise.
You can discuss this issue on the talk page or edit this page to improve it.
Data.png This article or section may require additional technical data.
The editor who added this tag elaborates: Timing
You can discuss this issue on the talk page or edit this page to improve it.

Overview

Hitboxes

ID Part Rehit rate Damage SD Angle Angle type BK KS FKV Set weight Radius Bone Offset SDI× T% Clang Rebound Effect Type G A Sound Direct Hit bits Hit part Blockable Reflectable Absorbable Flinchless No GFX Heedless
0 0 17 5.0% 0 AngleIcon106.png Speed-based 70 20 0 HitboxTableIcon(False).png 3.5 hulahoop1 0.0 -1.0 0.0 0.0× 0.5× 0% HitboxTableIcon(NoClang).png HitboxTableIcon(NoRebound).png EffectIcon(Normal).png TypeIcon(Weapon).png HitboxTableIcon(GroundedTrue).png HitboxTableIcon(AerialTrue).png M Punch SpecialsDirect.png All All HitboxTableIcon(Blockable).png HitboxTableIcon(Unreflectable).png HitboxTableIcon(Unabsorbable).png HitboxTableIcon(False).png HitboxTableIcon(False).png HitboxTableIcon(False).png
1 0 17 5.0% 0 AngleIcon106.png Speed-based 70 20 0 HitboxTableIcon(False).png 3.5 hulahoop2 0.0 0.0 0.0 0.0× 0.5× 0% HitboxTableIcon(NoClang).png HitboxTableIcon(NoRebound).png EffectIcon(Normal).png TypeIcon(Weapon).png HitboxTableIcon(GroundedTrue).png HitboxTableIcon(AerialTrue).png M Punch SpecialsDirect.png All All HitboxTableIcon(Blockable).png HitboxTableIcon(Unreflectable).png HitboxTableIcon(Unabsorbable).png HitboxTableIcon(False).png HitboxTableIcon(False).png HitboxTableIcon(False).png
2 0 17 5.0% 0 AngleIcon106.png Speed-based 70 20 0 HitboxTableIcon(False).png 3.5 hulahoop3 0.0 0.0 0.0 0.0× 0.5× 0% HitboxTableIcon(NoClang).png HitboxTableIcon(NoRebound).png EffectIcon(Normal).png TypeIcon(Weapon).png HitboxTableIcon(GroundedTrue).png HitboxTableIcon(AerialTrue).png M Punch SpecialsDirect.png All All HitboxTableIcon(Blockable).png HitboxTableIcon(Unreflectable).png HitboxTableIcon(Unabsorbable).png HitboxTableIcon(False).png HitboxTableIcon(False).png HitboxTableIcon(False).png

Timing