Zelda (SSBU)/Grab
Overview[edit]
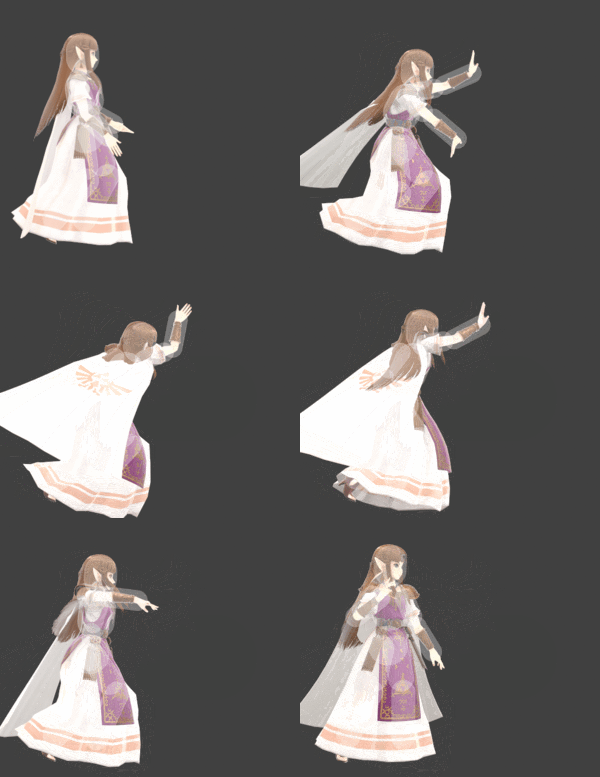
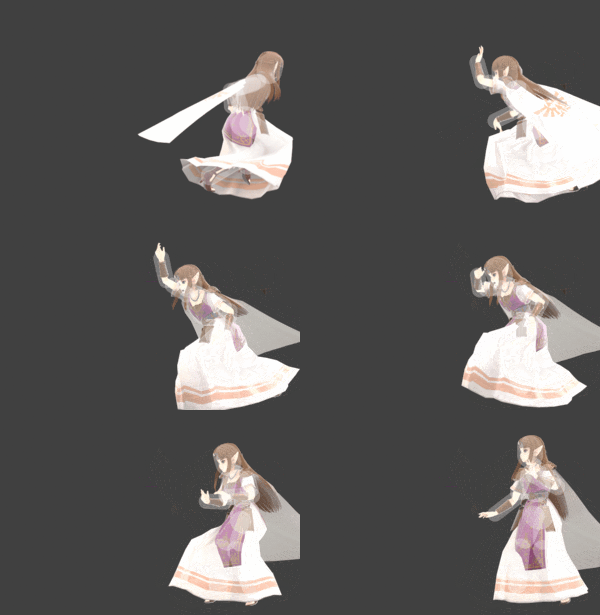
Zelda casts holding magic in front of her. Her grab has above-average range, but at frame 10, it is a poor option out of shieldstun (frame 14) and generally difficult to land, especially on aerial opponents due to its narrow hitbox and a short duration. Due to her low mobility and floatiness, she has among the least effective tomahawk grabs. With a FAF of 40, grab is also rather laggy.
Dash grab has good range in part due to the boost provided by her fast initial dash. It is effective mostly as a true punish; it is slow in startup and especially ending lag, with almost as much total lag as her forward smash, making it highly risky in neutral. It has the highest ending lag and the narrowest hitboxes of all her grabs, making it the most susceptible to jumps and whiff punishes, and should thus be used the most reservedly.
Pivot grab is less laggy than dash grab, and has a large disjoint only dwarfed by Greninja's among non-tethers. This gives it some spacing potential, e.g. in the corner or to punish landings after retreating, though it is overall still committal. Zelda benefits disproportionately from the dash pivot grab technique, as this version of pivot grab will have better range and significantly less ending lag than dash grab, while being only slightly slower in startup.
Zelda lacks confirms into her grabs, with the few options leading almost exclusively into her standing grab and with narrow percentage ranges: a single-hit neutral air at very low percents on large heavyweights, an auto-canceled neutral air (pre-tumble knockback on high-gravity and fast-falling opponents), and a down air on grounded opponents at low knockback. However, grabs synergize well with set-up Phantoms, as they beat shield, a common defensive option against Phantom. The opponent is also quite vulnerable if they shield Phantom's hit, due to the projectile's hitlag and shieldstun freezing only them in place for up to 18 frames.
If Zelda manages to land a grab, she enjoys a high reward in her outstanding set of throws; she can convert into large damage at low to mid percents, and has 2.5 kill throws among the strongest of their kind.
Grabbox data[edit]
Standing grab[edit]
| ID | Radius | Bone | Offset | G | A | ||
|---|---|---|---|---|---|---|---|
| 0 | 3.8 | top | 0.0 | 9.0 | 4.0 to 11.5 | ||
| 1 | 1.9 | top | 0.0 | 9.0 | 2.1 to 13.4 | ||
Dash grab[edit]
| ID | Radius | Bone | Offset | G | A | ||
|---|---|---|---|---|---|---|---|
| 0 | 3.0 | top | 0.0 | 9.0 | 4.0 to 13.3 | ||
| 1 | 1.5 | top | 0.0 | 9.0 | 2.5 to 14.8 | ||
Pivot grab[edit]
| ID | Radius | Bone | Offset | G | A | ||
|---|---|---|---|---|---|---|---|
| 0 | 3.8 | top | 0.0 | 9.0 | -4.0 to -19.2 | ||
| 1 | 1.9 | top | 0.0 | 9.0 | -2.1 to -21.1 | ||
Timing[edit]
Standing grab[edit]
| Grab | 10-11 |
|---|---|
| Interruptible | 40 |
| Animation length | 39 |
Dash grab[edit]
| Grab | 13-14 |
|---|---|
| Interruptible | 48 |
| Animation length | 47 |
Pivot grab[edit]
| Grab | 14-15 |
|---|---|
| Interruptible | 43 |
| Animation length | 48 |
Lag time |
Grab |
Interruptible |
|


