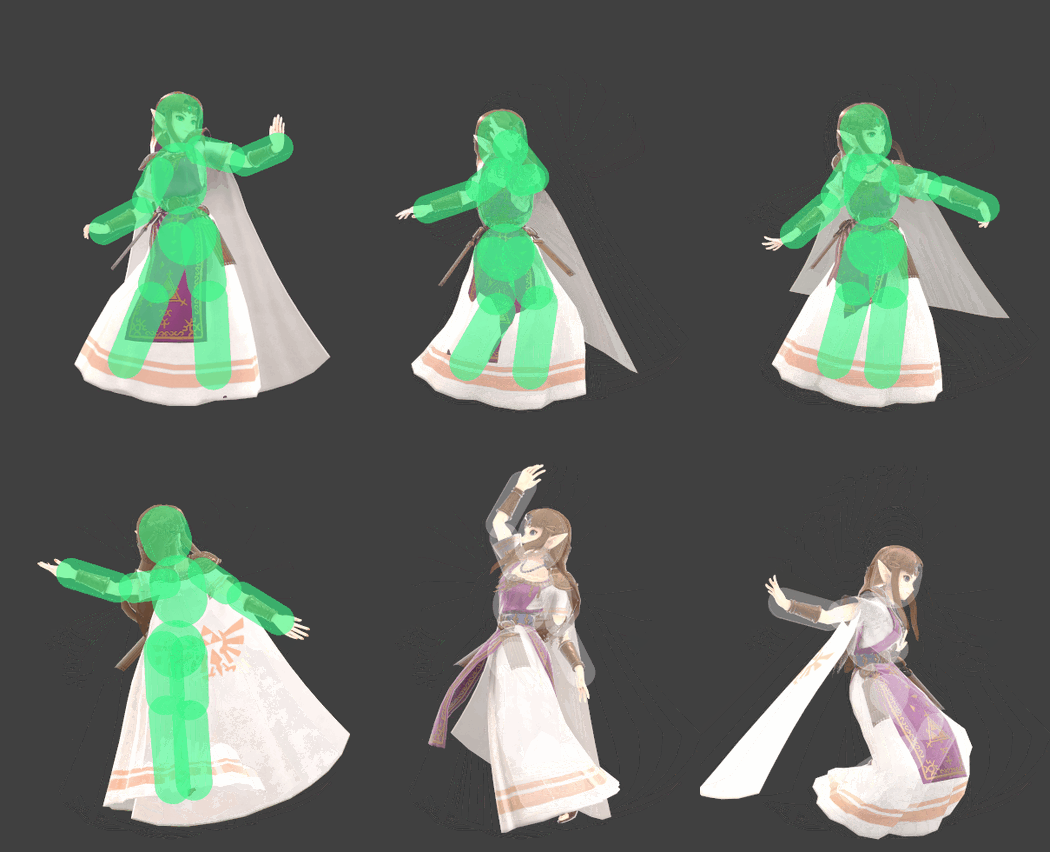
Zelda (SSBU)/Up throw
| Zelda up throw hurtbox visualization | ||||
|---|---|---|---|---|

| ||||
Overview[edit]
Magically hurls the opponent upward in a spin. As one of the strongest up throws in the game, it primarily serves as a kill throw independent of stage position. The only DI mixup potential it has is with forward throw near the ledge if the opponent is not familiar with her throws—opponents will tend to hold in, which is the incorrect DI for up throw and will help it KO slightly earlier.
Up throw can also combo into neutral aerial, then into up aerial (which can be a KO confirm at mid-percentage ranges, namely from platforms). However, due to the throw point being rather high above Zelda, the timing is quite strict and requires highly precise execution of aerials from full hops and/or double jumps. It is noticeably difficult to get a true combo during hitstun; thus, it is very risky to attempt against frame 1 escape options like Bat Within and Luigi Cyclone, but there is otherwise some leeway with catching the start of many air dodges and jumps. Assuming equal knockback, these combos are the most lenient on fighters that:
- have a high weight (which correlates with a high gravity value during upward knockback)
- have slow air dodges and low jumps
- If exploiting this vulnerability, the fighter's regular fall speed and gravity, which take effect again after hitstun, will be another factor.
- are large.
For example, it is relatively hard on Squirtle, who has a low weight and fast air dodge and is small; it is relatively easy on King Dedede, who has a high weight and slow air dodge and is large. Overall, consistently true combos with down throw are easier to perform across the roster, but up throw has the benefit of being less susceptible to lower platform techs, as well as its vertical angle making the follow-up execution more uniform across its DI ranges.
It may also situationally set up tech chases onto top platforms; at specific knockbacks, it can be hard to react to the tech timing. Otherwise, it is not particularly effective, as Zelda lacks strong juggling options, and staling the throw toward high percents can prevent it from killing later on.
Throw data[edit]
| Kind | ID | Damage | Angle | Angle type | BK | KS | FKV | H× | Effect | Type | Sound |
|---|---|---|---|---|---|---|---|---|---|---|---|
| Throw | 0 | 11.0% | Forward | 50 | 82 | 0 | 0.0× | ||||
| Break | 0 | 3.0% | Forward | 40 | 100 | 0 | 0.0× |
Timing[edit]
| Invincibility | 1-30 |
|---|---|
| Throw release | 30 |
| Interruptible | 50 |
| Animation length | 69 |
Lag time |
Hitbox |
Vulnerable |
Invincible |
Throw point |
Interruptible |
Trivia[edit]
- Up throw directly uses the same sound effect as up smash.
|