Fox (SSBM)/Down tilt: Difference between revisions
From SmashWiki, the Super Smash Bros. wiki
Jump to navigationJump to search
(New Page: {{ArticleIcons|ssbm=y}} thumb|300px|Hitbox visualization showing Fox's down tilt. {{competitive expertise}} ==Overview== ==Hitboxes== {{MeleeHitboxTableHeader}...) |
No edit summary |
||
| Line 3: | Line 3: | ||
{{competitive expertise}} | {{competitive expertise}} | ||
==Overview== | ==Overview== | ||
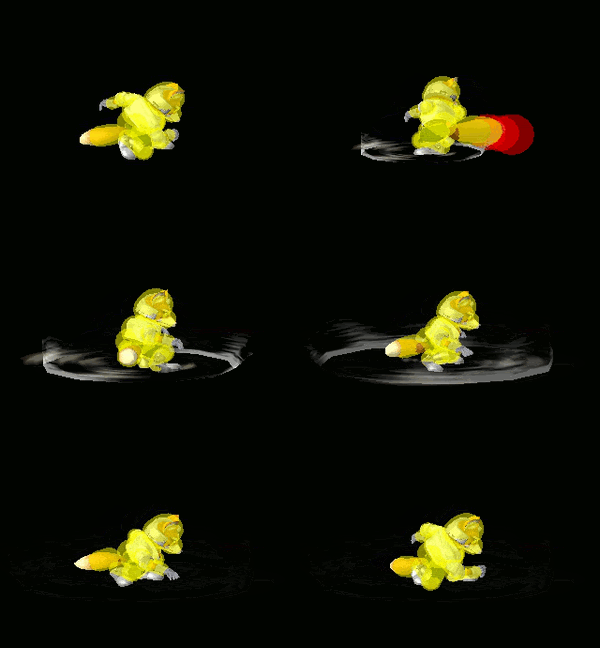
Fox does a quick sweep with his tail. A well-rounded move with decent reach, speed, and knockback, that allows it to be used as a quick poke and a combo extension tool. Commonly used as an overshooting approach, as well as an alternative to a jab reset after hitting a lightweight opponent with Shine. Its low profile hitbox is also well-suited to catching people jumping and recovering to ledge, and can shieldpoke some characters from the back of their shield when spaced very close. All-round, a good move with a lot of utility in many matchups that can be used for a variety of purposes. | |||
==Hitboxes== | ==Hitboxes== | ||
{{MeleeHitboxTableHeader}} | {{MeleeHitboxTableHeader}} | ||
Revision as of 10:14, January 22, 2022
Overview
Fox does a quick sweep with his tail. A well-rounded move with decent reach, speed, and knockback, that allows it to be used as a quick poke and a combo extension tool. Commonly used as an overshooting approach, as well as an alternative to a jab reset after hitting a lightweight opponent with Shine. Its low profile hitbox is also well-suited to catching people jumping and recovering to ledge, and can shieldpoke some characters from the back of their shield when spaced very close. All-round, a good move with a lot of utility in many matchups that can be used for a variety of purposes.
Hitboxes
Timing
| Hitbox | 7-9 |
|---|---|
| Interruptible | 28 |
| Animation length | 29 |
Lag time |
Hitbox |
Interruptible |
|

