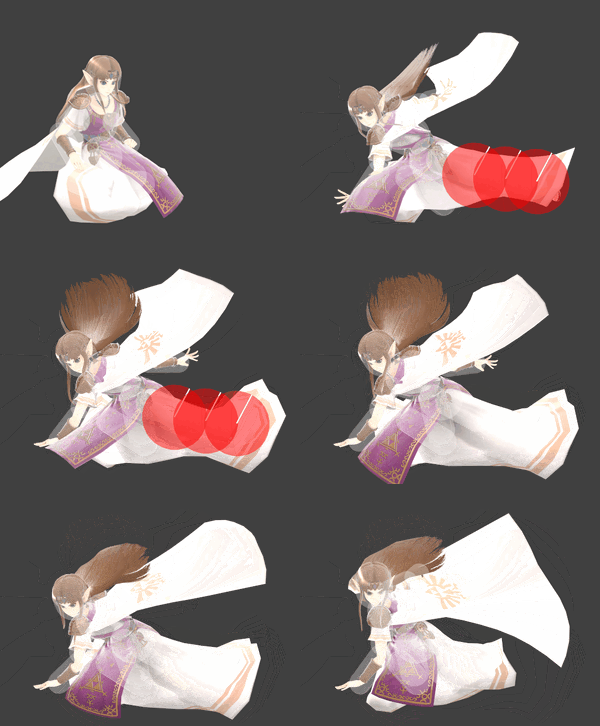
(New Page: {{ArticleIcons|ssbu=y}} thumb|360px|Hitbox visualization showing Zelda's down tilt. {{competitive expertise}} ==Overview== ==Hitboxes== {{UltimateHitboxTable...) |
mNo edit summary |
||
| (4 intermediate revisions by 3 users not shown) | |||
| Line 1: | Line 1: | ||
{{ArticleIcons|ssbu=y}} | {{ArticleIcons|ssbu=y}} | ||
[[File:ZeldaDTiltSSBU.gif|thumb| | [[File:ZeldaDTiltSSBU.gif|thumb|300px|Hitbox visualization showing Zelda's down tilt.]] | ||
{{competitive expertise}} | {{competitive expertise}} | ||
==Overview== | ==Overview== | ||
| Line 12: | Line 12: | ||
|ks=125 | |ks=125 | ||
|fkv=0 | |fkv=0 | ||
|r=2. | |r=2.6 | ||
|bn=top | |bn=top | ||
|xpos=0.0 | |xpos=0.0 | ||
| Line 30: | Line 30: | ||
|ks=125 | |ks=125 | ||
|fkv=0 | |fkv=0 | ||
|r=2. | |r=2.6 | ||
|bn=top | |bn=top | ||
|xpos=0.0 | |xpos=0.0 | ||
| Line 48: | Line 48: | ||
|ks=125 | |ks=125 | ||
|fkv=0 | |fkv=0 | ||
|r=2. | |r=2.6 | ||
|bn=top | |bn=top | ||
|xpos=0.0 | |xpos=0.0 | ||
Latest revision as of 08:18, March 31, 2022
OverviewEdit
HitboxesEdit
TimingEdit
| Hitboxes | 5-11 |
|---|---|
| Interruptible | 22 |
| Animation length | 49 |
| Lag time |
Hitbox |
Interruptible |
|

