Dr. Mario (SSB4)/Neutral attack/Hit 3: Difference between revisions
From SmashWiki, the Super Smash Bros. wiki
Jump to navigationJump to search
No edit summary |
(→Overview: added an overview for the move.) |
||
| Line 1: | Line 1: | ||
[[File:Dr.MarioJab3.gif|thumb|270px|Hitbox visualization showing Dr. Mario's jab 3.]] | [[File:Dr.MarioJab3.gif|thumb|270px|Hitbox visualization showing Dr. Mario's jab 3.]] | ||
== | ==Overview== | ||
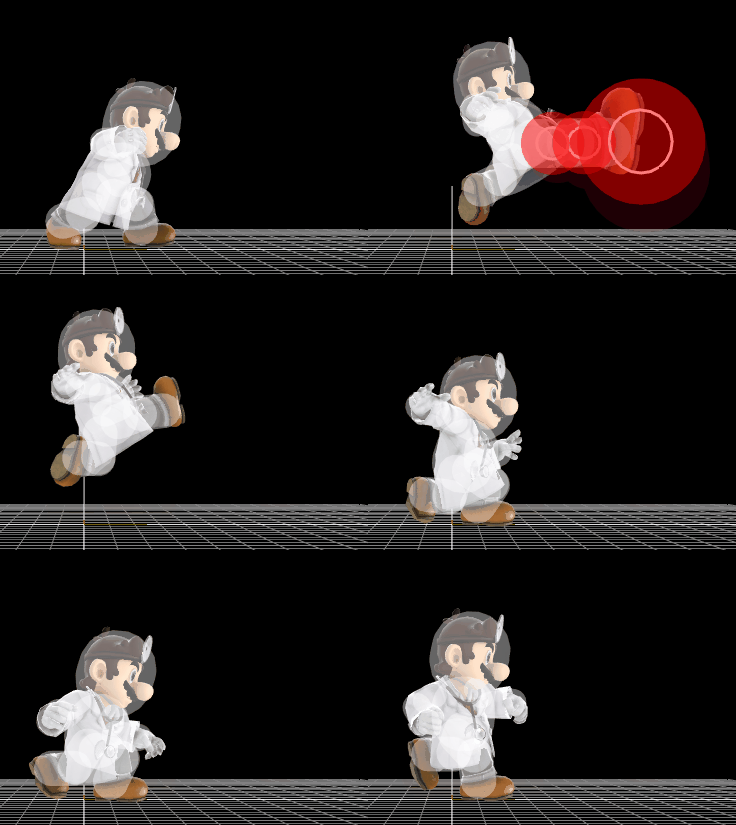
The third and final hit of {{SSB4|Dr. Mario}}'s [[Neutral attack|neutral attack]] is a kick of the leg closer to the camera. While its startup is longer than the other hits and it has less knockback growth, it does more [[Damage|damage]], sending the opponent back even at low percentages. | The third and final hit of {{SSB4|Dr. Mario}}'s [[Neutral attack|neutral attack]] is a kick of the leg closer to the camera. While its startup is longer than the other hits and it has less knockback growth, it does more [[Damage|damage]], sending the opponent back even at low percentages. It is mostly used with the rest of the jab combo within the mixups that it provides. Jab 3 is mostly only used to send the opponent away when needed. Otherwise, jab 3 may not connect on certain characters, due to the first two hits having only upwards knockback. | ||
==Frame Data== | ==Frame Data== | ||
Revision as of 05:00, November 17, 2018
Overview
The third and final hit of Dr. Mario's neutral attack is a kick of the leg closer to the camera. While its startup is longer than the other hits and it has less knockback growth, it does more damage, sending the opponent back even at low percentages. It is mostly used with the rest of the jab combo within the mixups that it provides. Jab 3 is mostly only used to send the opponent away when needed. Otherwise, jab 3 may not connect on certain characters, due to the first two hits having only upwards knockback.
Frame Data
All measurements are in frames.
| Hitbox IDs | Startup | Hitbox lasts for | Endlag |
|---|---|---|---|
| 0-2 | 6 | 2 | 27 |
Hitbox Properties
In general, aside from their positioning, the hitboxes are largely the same.
References
|
