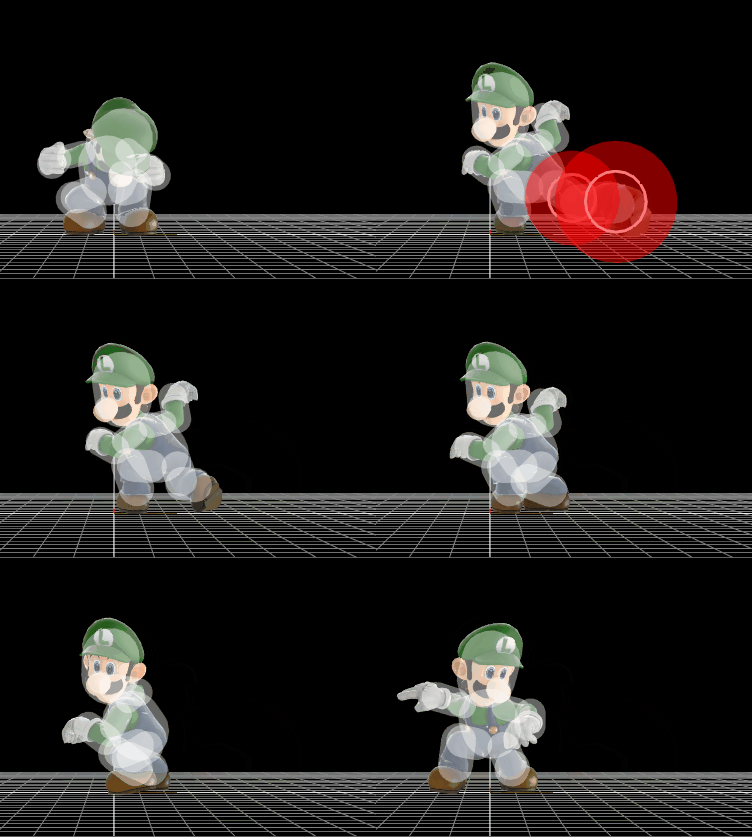
Luigi (SSB4)/Down tilt: Difference between revisions
From SmashWiki, the Super Smash Bros. wiki
Jump to navigationJump to search
Serpent King (talk | contribs) No edit summary |
Serpent King (talk | contribs) mNo edit summary |
||
| Line 1: | Line 1: | ||
{{ArticleIcons|ssb4=y}} | {{ArticleIcons|ssb4=y}} | ||
[[File:LuigiDTilt.gif|thumb|270px|Hitbox visualization showing Luigi's down tilt.]] | [[File:LuigiDTilt.gif|thumb|270px|Hitbox visualization showing Luigi's down tilt.]] | ||
{{competitive expertise}} | |||
==Overview== | ==Overview== | ||
A back shin kick. It can potentially [[trip]] opponents at low percentages, and is able to hit opponents that are trying to grab the edge. | A back shin kick. It can potentially [[trip]] opponents at low percentages, and is able to hit opponents that are trying to grab the edge. | ||
Revision as of 21:20, December 15, 2017
Overview
A back shin kick. It can potentially trip opponents at low percentages, and is able to hit opponents that are trying to grab the edge.
In 1.1.0, it was adjusted substantially. The change to the Sakurai angle made it much less reliable as a combo starter. At the same time, it became more efficient as way to edgeguard, although only slightly. Sooner interruptibility was a direct buff, while a lowered tripping chance was a nerf.
Update history
 Interruptibility: frame 30 → 27.
 Angle: 74° → 361°.
 Knockback: 38 base/54 scaling → 20 base/65 scaling.
 Trip chance: 35% → 25%.
Hitboxes
Timing
| Hitboxes | 5-8 |
|---|---|
| Interruptible | 27 |
| Animation length | 40 |
Lag time |
Hitbox |
Interruptible |
|

