Bowser Jr. (SSB4)/Forward smash: Difference between revisions
From SmashWiki, the Super Smash Bros. wiki
Jump to navigationJump to search
No edit summary |
No edit summary |
||
| Line 15: | Line 15: | ||
==Overview== | ==Overview== | ||
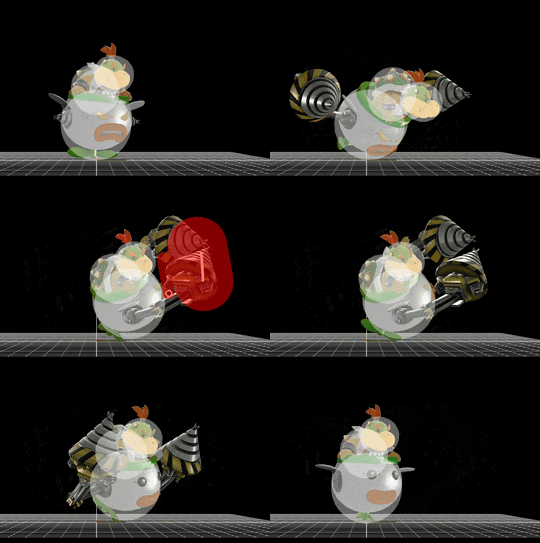
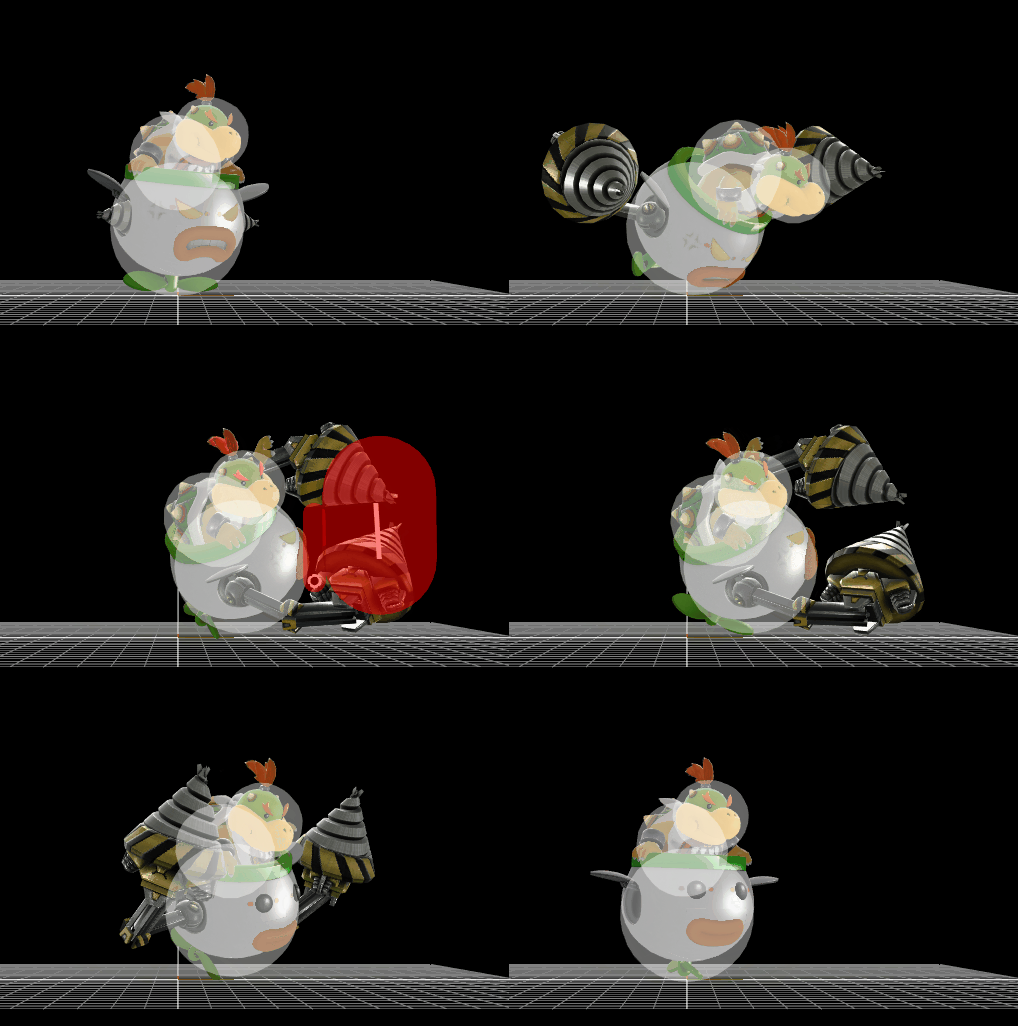
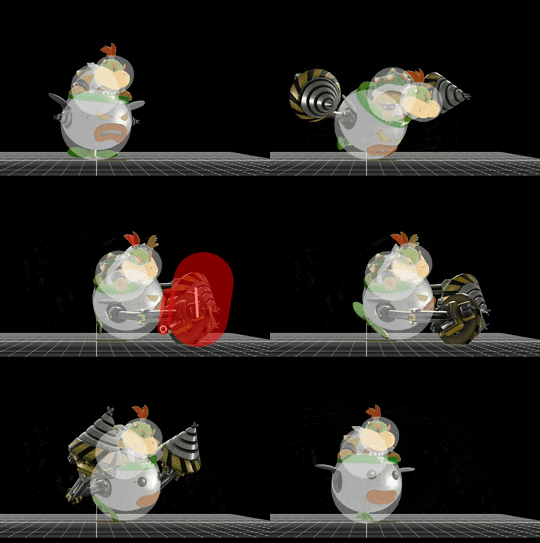
[[Bowser Jr.]] uses two drills from the [[Junior Clown Car]] to drill into the opponent. It is a multi-hit attack that deals 16% damage when uncharged and 22.368% damage when fully charged. The last hit of the attack has a slightly longer hitbox than the rest of the hits. | [[Bowser Jr.]] uses two drills from the [[Junior Clown Car]] to drill into the opponent. It is a multi-hit attack that deals 16% damage when uncharged and 22.368% damage when fully charged. The last hit of the attack has a slightly longer hitbox than the rest of the hits. | ||
==Hitboxes== | |||
==Timing== | |||
{|class="wikitable" | |||
!Charges between | |||
|5-6 | |||
|- | |||
!Linking hits | |||
|18-32 | |||
|- | |||
!Final hit | |||
|35-36 | |||
|- | |||
!Interruptible | |||
|56 | |||
|- | |||
!Animation length | |||
|56 | |||
|} | |||
{{FrameStripStart}} | |||
{{FrameStrip|t=Lag|c=5|e=LagChargeS}}{{FrameStrip|t=Lag|c=12|s=LagChargeE}}{{FrameStrip|t=Hitbox|c=15}}{{FrameStrip|t=Lag|c=2}}{{FrameStrip|t=Hitbox|c=2}}{{FrameStrip|t=Lag|c=19}}{{FrameStrip|t=Interruptible|c=1}} | |||
{{FrameStripEnd}} | |||
{{FrameIconLegend|lag=y|charge=y|hitbox=y|interruptible=y}} | |||
==Trivia== | ==Trivia== | ||
Revision as of 16:54, January 17, 2018
| Bowser Jr. forward smash hitbox visualization | |
|---|---|
| ↗ | 
|
| → | 
|
| ↘ | 
|
Overview
Bowser Jr. uses two drills from the Junior Clown Car to drill into the opponent. It is a multi-hit attack that deals 16% damage when uncharged and 22.368% damage when fully charged. The last hit of the attack has a slightly longer hitbox than the rest of the hits.
Hitboxes
Timing
| Charges between | 5-6 |
|---|---|
| Linking hits | 18-32 |
| Final hit | 35-36 |
| Interruptible | 56 |
| Animation length | 56 |
Lag time |
Charge interval |
Hitbox |
Interruptible |
Trivia
- At approximately 700% and above (depending on the opponent), the opponent will escape the preliminary attacks, avoiding a KO from the final attack.
|

