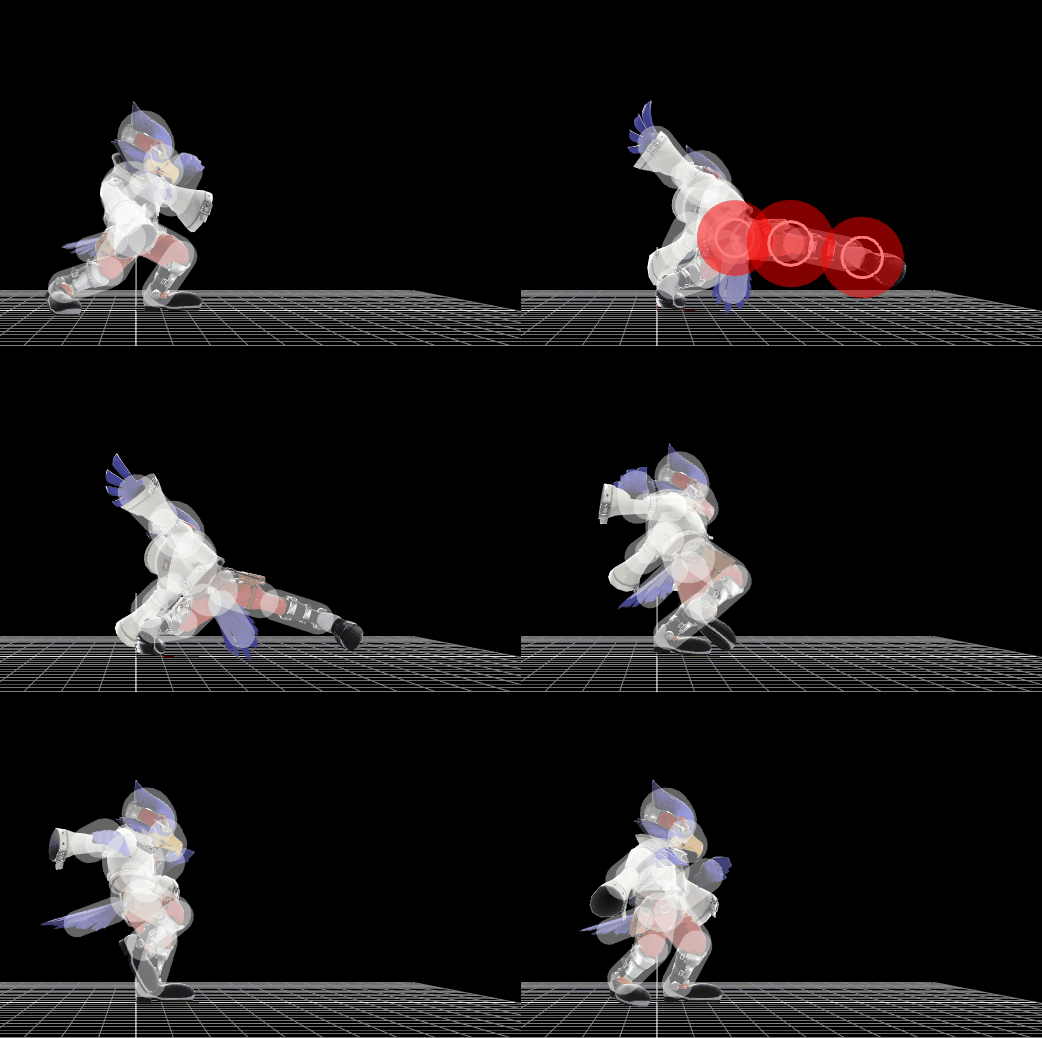
Falco (SSB4)/Forward tilt: Difference between revisions
From SmashWiki, the Super Smash Bros. wiki
Jump to navigationJump to search
No edit summary |
m (Text replacement - "== ([^=])" to "== $1") Tag: Mobile edit |
||
| (4 intermediate revisions by 2 users not shown) | |||
| Line 12: | Line 12: | ||
|[[File:FalcoFTiltDown.gif|270px]] | |[[File:FalcoFTiltDown.gif|270px]] | ||
|} | |} | ||
==Overview== | |||
Falco performs a roundhouse kick, which can be angled both up and down. It has decent [[startup]], but somewhat high [[lag|endlag]], and the upwards [[angled]] variation has a deceptively smaller hitbox than the others. It can kill at very high percents at the ledge with [[rage]], but more importantly, it is able to lock opponents at lower percentages. Forward tilt is one of Falco's most used [[jab lock|locking]] tools, as he has very few other moves to use for locks. Otherwise, the move isn't used often in competitive play. | |||
==Hitboxes== | ==Hitboxes== | ||
All three angles have the exact same properties. | |||
{{SSB4HitboxTableHeader}} | {{SSB4HitboxTableHeader}} | ||
Latest revision as of 20:50, April 12, 2022
| Falco forward tilt hitbox visualization | |
|---|---|
| ↗ | 
|
| → | 
|
| ↘ | 
|
Overview[edit]
Falco performs a roundhouse kick, which can be angled both up and down. It has decent startup, but somewhat high endlag, and the upwards angled variation has a deceptively smaller hitbox than the others. It can kill at very high percents at the ledge with rage, but more importantly, it is able to lock opponents at lower percentages. Forward tilt is one of Falco's most used locking tools, as he has very few other moves to use for locks. Otherwise, the move isn't used often in competitive play.
Hitboxes[edit]
All three angles have the exact same properties.
Timing[edit]
| Hitboxes | 6-8 |
|---|---|
| Interruptible | 28 |
| Animation length | 39 |
Lag time |
Hitbox |
Interruptible |
|