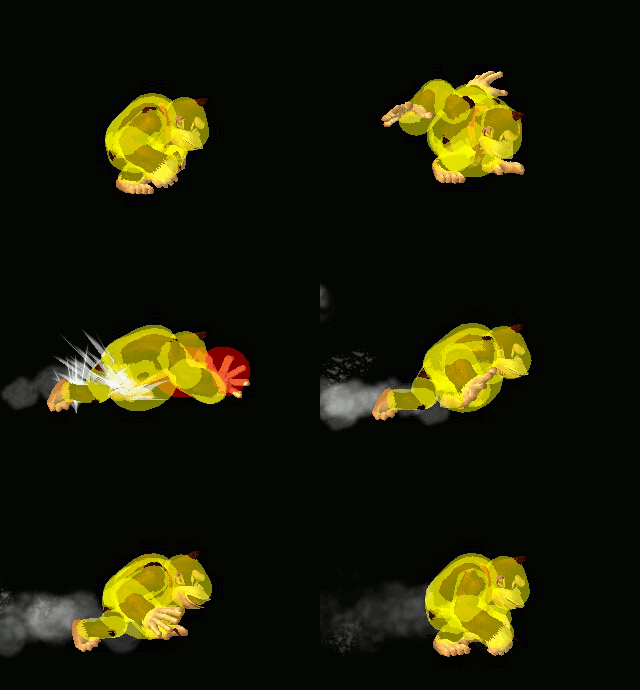
Donkey Kong (SSBM)/Forward smash
Overview[edit]
Donkey Kong pulls his elbows behind him, before slamming his hands forward and bringing them together in a cymbal crash. The move, sometimes known as the Hammer Head, is DK's strongest smash attack, able to kill Fox at 100% uncharged from the center of Battlefield if he hits with the sweet spot, which is located on his elbows. This comes at a cost, however, as the move has incredibly laggy start-up, having more than double the start-up of his down smash and a little over 1.5x the start-up of his up smash, as well as the least amount of active frames, although it takes roughly the same amount of time for the entire animation to complete.
Among DK's powerful moves, it's a rare sight in competitive play. This is mainly due to the 20+ frames of start-up, making it well within a human's reaction time and hindering its combo potential significantly. In addition, there's no reliable kill confirm that leads into it. Using it in neutral is also not recommended, as the opponent will have enough time to dodge it or run-up shield, before counter-attacking with their punish of choice. This makes his other kill moves, which includes his down smash, up smash, the strong hit of up special, charged Giant Punch, and forward air, much more appealing options, as they either 1) have much less start-up and subsequent risk in neutral, 2) can be comboed into from his cargo throw, down air or juggles, or 3) both. Even if one of the aforementioned moves doesn't kill, it will, in the majority of cases, knock the opponent off-stage, which, given DK's really potent edgeguarding capabilities, is a really favorable position for the DK player.
Despite its massive start-up, there are ways to land the move in a match. It can be done against an opponent that has been jab reset, had their shield broken, or, against Jigglypuff specifically, missed their Rest; using this instead of Giant Punch will let the DK keep the Giant Punch charged, as well as avoid staling it any. If the DK player is feeling confident in their predictions, they can go for a hard read, whiff-punishing a committal attack or hitting the defending player out of a roll or techroll. It also sees niche use in edgeguarding, as it can often hit opponents who are not attempting to sweet spot the ledge or opponents who land on stage with laggy up-B's, such as Falcon or Marth.
Hitboxes[edit]
Timing[edit]
| Charges between | 15-16 |
|---|---|
| Hitboxes | 22-23 |
| Animation length | 54 |
Lag time |
Charge interval |
Hitbox |
|

