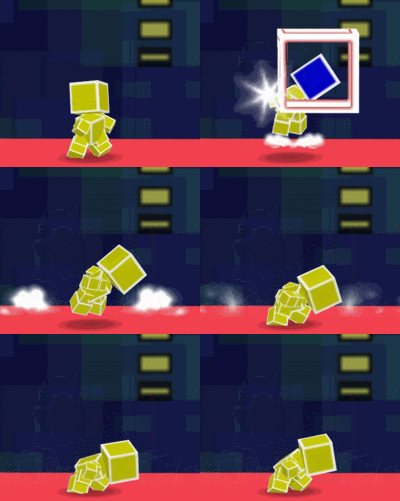
Mario (SSB)/Up smash: Difference between revisions
No edit summary |
m (→Overview) |
||
| Line 3: | Line 3: | ||
==Overview== | ==Overview== | ||
[[File:Mario Up Smash Hitbox Smash 64.gif|thumb|The hitbox of Mario's up smash.]] | [[File:Mario Up Smash Hitbox Smash 64.gif|thumb|The hitbox of Mario's up smash.]] | ||
Mario does a headbutt upward in an arc, doing 19% damage. This makes his head a large, [[disjointed]] hitbox, with extremely high vertical knockback; it is the strongest [[up smash]] in the game, being able to KO at around 80-90% normally, and as low as 73% if the opponent doesn't [[DI]]. At base/very low percentages, it can also be used as a [[combo]] starter, as it can lead into an {{mvsub|Mario|SSB|up tilt}} chain. However, it is rather laggy in terms of both [[startup]] and [[ending lag]] (especially the latter), and has limited horizontal [[range]]. Also, there aren't many ways to combo straight into it, outside of Mario's wall combos in the "tent" portion of [[Hyrule Castle]]. It can be considered the third best up smash in ''Smash 64'', behind {{mvsub|Fox|SSB|up smash|alt=Fox's}} and {{mvsub|Pikachu|SSB|up smash|alt=Pikachu's}}, and is Mario's strongest KO move. | Mario does a headbutt upward in an arc, doing 19% damage. This makes his head a large, [[disjointed]] hitbox, with extremely high vertical knockback; it is the strongest [[up smash]] in the game, being able to KO at around 80-90% normally, and as low as 73% if the opponent doesn't [[DI]]. At base/very low percentages, it can also be used as a [[combo]] starter, as it can lead into an {{mvsub|Mario|SSB|up tilt}} chain or a [[grab]]. However, it is rather laggy in terms of both [[startup]] and [[ending lag]] (especially the latter), and has limited horizontal [[range]]. Also, there aren't many ways to combo straight into it, outside of Mario's wall combos in the "tent" portion of [[Hyrule Castle]]. It can be considered the third best up smash in ''Smash 64'', behind {{mvsub|Fox|SSB|up smash|alt=Fox's}} and {{mvsub|Pikachu|SSB|up smash|alt=Pikachu's}}, and is Mario's strongest KO move. | ||
Mario's head has [[invincibility frame]]s for part of the move's duration. | Mario's head has [[invincibility frame]]s for part of the move's duration. | ||
Revision as of 18:37, November 20, 2013
Overview
Mario does a headbutt upward in an arc, doing 19% damage. This makes his head a large, disjointed hitbox, with extremely high vertical knockback; it is the strongest up smash in the game, being able to KO at around 80-90% normally, and as low as 73% if the opponent doesn't DI. At base/very low percentages, it can also be used as a combo starter, as it can lead into an up tilt chain or a grab. However, it is rather laggy in terms of both startup and ending lag (especially the latter), and has limited horizontal range. Also, there aren't many ways to combo straight into it, outside of Mario's wall combos in the "tent" portion of Hyrule Castle. It can be considered the third best up smash in Smash 64, behind Fox's and Pikachu's, and is Mario's strongest KO move.
Mario's head has invincibility frames for part of the move's duration.
Hitboxes
| ID | Part | Damage | SD | Angle | BK | KS | FKV | Radius | Bone | Offset | Clang | Effect | G | A | Sound | ||
|---|---|---|---|---|---|---|---|---|---|---|---|---|---|---|---|---|---|
| 0 | 0 | 19% | 0 | 26 | 120 | 0 | 190 | 12 | 0 | 100 | 0 | ||||||
Timing
| Head intangible | 7-10 |
|---|---|
| Hitboxes | 7-15 |
| Animation length | 58 |
| Hitboxes | ||||||||||||||||||||||||||||||||||||||||||||||||||||||||||
| Head |
Lag time |
Hitbox |
Vulnerable |
Intangible |
Trivia
- During this move, Mario's head model separates slightly from his body. Luigi's up smash shares this trait.
Similar moves
|
