Chrom (SSBU)/Forward tilt: Difference between revisions
m (Shrinking image) |
(Basic fixes to overview + added concluding sentence.) |
||
| (One intermediate revision by one other user not shown) | |||
| Line 3: | Line 3: | ||
{{competitive expertise}} | {{competitive expertise}} | ||
==Overview== | ==Overview== | ||
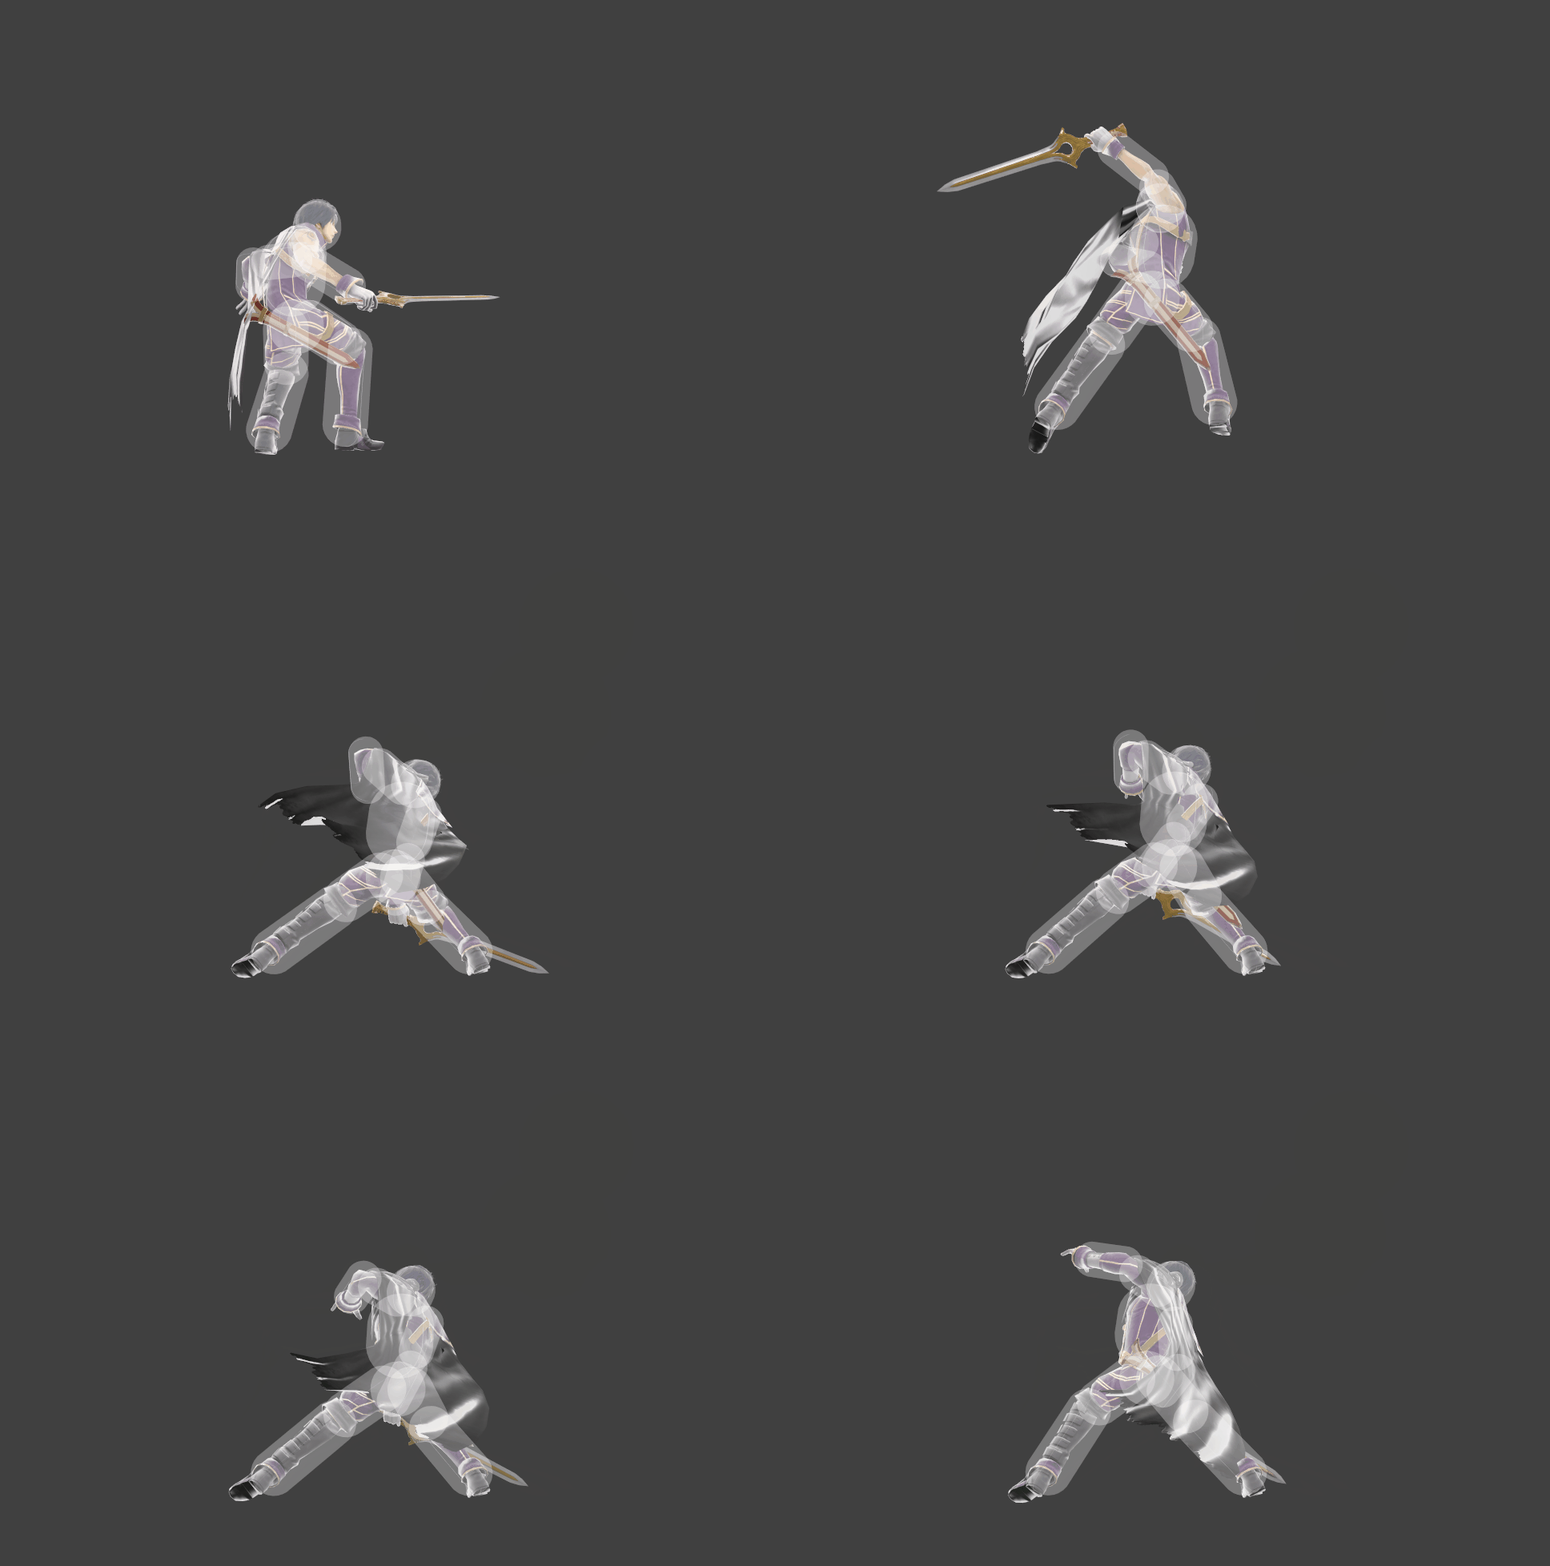
Chrom slams his [[List_of_swords#Sealed_Falchion|Sealed Falchion]] over his head and onto the ground. Unlike {{SSBU|Roy}}'s forward tilt, it does consistent damage throughout the entire blade | Chrom slams his [[List_of_swords#Sealed_Falchion|Sealed Falchion]] over his head and onto the ground. Unlike {{SSBU|Roy}}'s forward tilt, it does consistent damage throughout the entire blade- being considerably stronger than Roy's sourspot and mediumspot hitboxes, but still weaker than Roy's sweetspot hitbox. The move's altered animation means that Chrom does not hold his sword in a reverse-gripped manner either, but instead swings it all the way down akin to {{SSBU|Link}}, increasing its horizontal range. This allows him to hit shorter, crouching, prone or ledge-hanging opponents more reliably when combined with the move's aforementioned lack of weak sourspots. The move also causes Chrom to move slightly forward, unlike Roy's forward tilt. For these reasons, Chrom's Forward tilt is considered to be more useful than Roy's. | ||
==Hitboxes== | ==Hitboxes== | ||
| Line 11: | Line 11: | ||
|damage=10.925% | |damage=10.925% | ||
|angle=361 | |angle=361 | ||
|af=3 | |||
|bk=30 | |bk=30 | ||
|ks=105 | |ks=105 | ||
| Line 19: | Line 20: | ||
|ypos=9.0 | |ypos=9.0 | ||
|zpos=6.2 to 3.0 | |zpos=6.2 to 3.0 | ||
|ff=1. | |ff=1.0 | ||
|type=Sword | |type=Sword | ||
|effect=Slash | |effect=Slash | ||
|sfx=Chrom | |sfx=Chrom Hit | ||
|slvl=M | |slvl=M | ||
}} | }} | ||
| Line 29: | Line 30: | ||
|damage=10.925% | |damage=10.925% | ||
|angle=361 | |angle=361 | ||
|af=3 | |||
|bk=30 | |bk=30 | ||
|ks=105 | |ks=105 | ||
| Line 40: | Line 42: | ||
|type=Sword | |type=Sword | ||
|effect=Slash | |effect=Slash | ||
|sfx=Chrom | |sfx=Chrom Hit | ||
|slvl=M | |slvl=M | ||
}} | }} | ||
| Line 47: | Line 49: | ||
|damage=10.925% | |damage=10.925% | ||
|angle=361 | |angle=361 | ||
|af=3 | |||
|bk=30 | |bk=30 | ||
|ks=105 | |ks=105 | ||
| Line 58: | Line 61: | ||
|type=Sword | |type=Sword | ||
|effect=Slash | |effect=Slash | ||
|sfx=Chrom | |sfx=Chrom Hit | ||
|slvl=M | |slvl=M | ||
}} | }} | ||
|} | |} | ||
==Timing== | ==Timing== | ||
{|class="wikitable" | {|class="wikitable" | ||
Latest revision as of 15:01, February 17, 2024
Overview[edit]
Chrom slams his Sealed Falchion over his head and onto the ground. Unlike Roy's forward tilt, it does consistent damage throughout the entire blade- being considerably stronger than Roy's sourspot and mediumspot hitboxes, but still weaker than Roy's sweetspot hitbox. The move's altered animation means that Chrom does not hold his sword in a reverse-gripped manner either, but instead swings it all the way down akin to Link, increasing its horizontal range. This allows him to hit shorter, crouching, prone or ledge-hanging opponents more reliably when combined with the move's aforementioned lack of weak sourspots. The move also causes Chrom to move slightly forward, unlike Roy's forward tilt. For these reasons, Chrom's Forward tilt is considered to be more useful than Roy's.
Hitboxes[edit]
Timing[edit]
| Hitboxes | 8-10 |
|---|---|
| Interruptible | 34 |
| Animation length | 49 |
Lag time |
Hitbox |
Interruptible |

