Captain Falcon (SSBU)/Final Smash: Difference between revisions
Derekblue1 (talk | contribs) (→Overview: Added image even if it is not necessary, but why not) |
|||
| (5 intermediate revisions by 4 users not shown) | |||
| Line 1: | Line 1: | ||
{{ArticleIcons|ssbu=y}} | {{ArticleIcons|ssbu=y}} | ||
[[File:CaptainFalconBlueFalconSSBU.gif|thumb| | [[File:CaptainFalconBlueFalconSSBU.gif|thumb|350px|Hitbox visualization showing Captain Falcon's Final Smash, [[Blue Falcon]].]] | ||
==Overview== | ==Overview== | ||
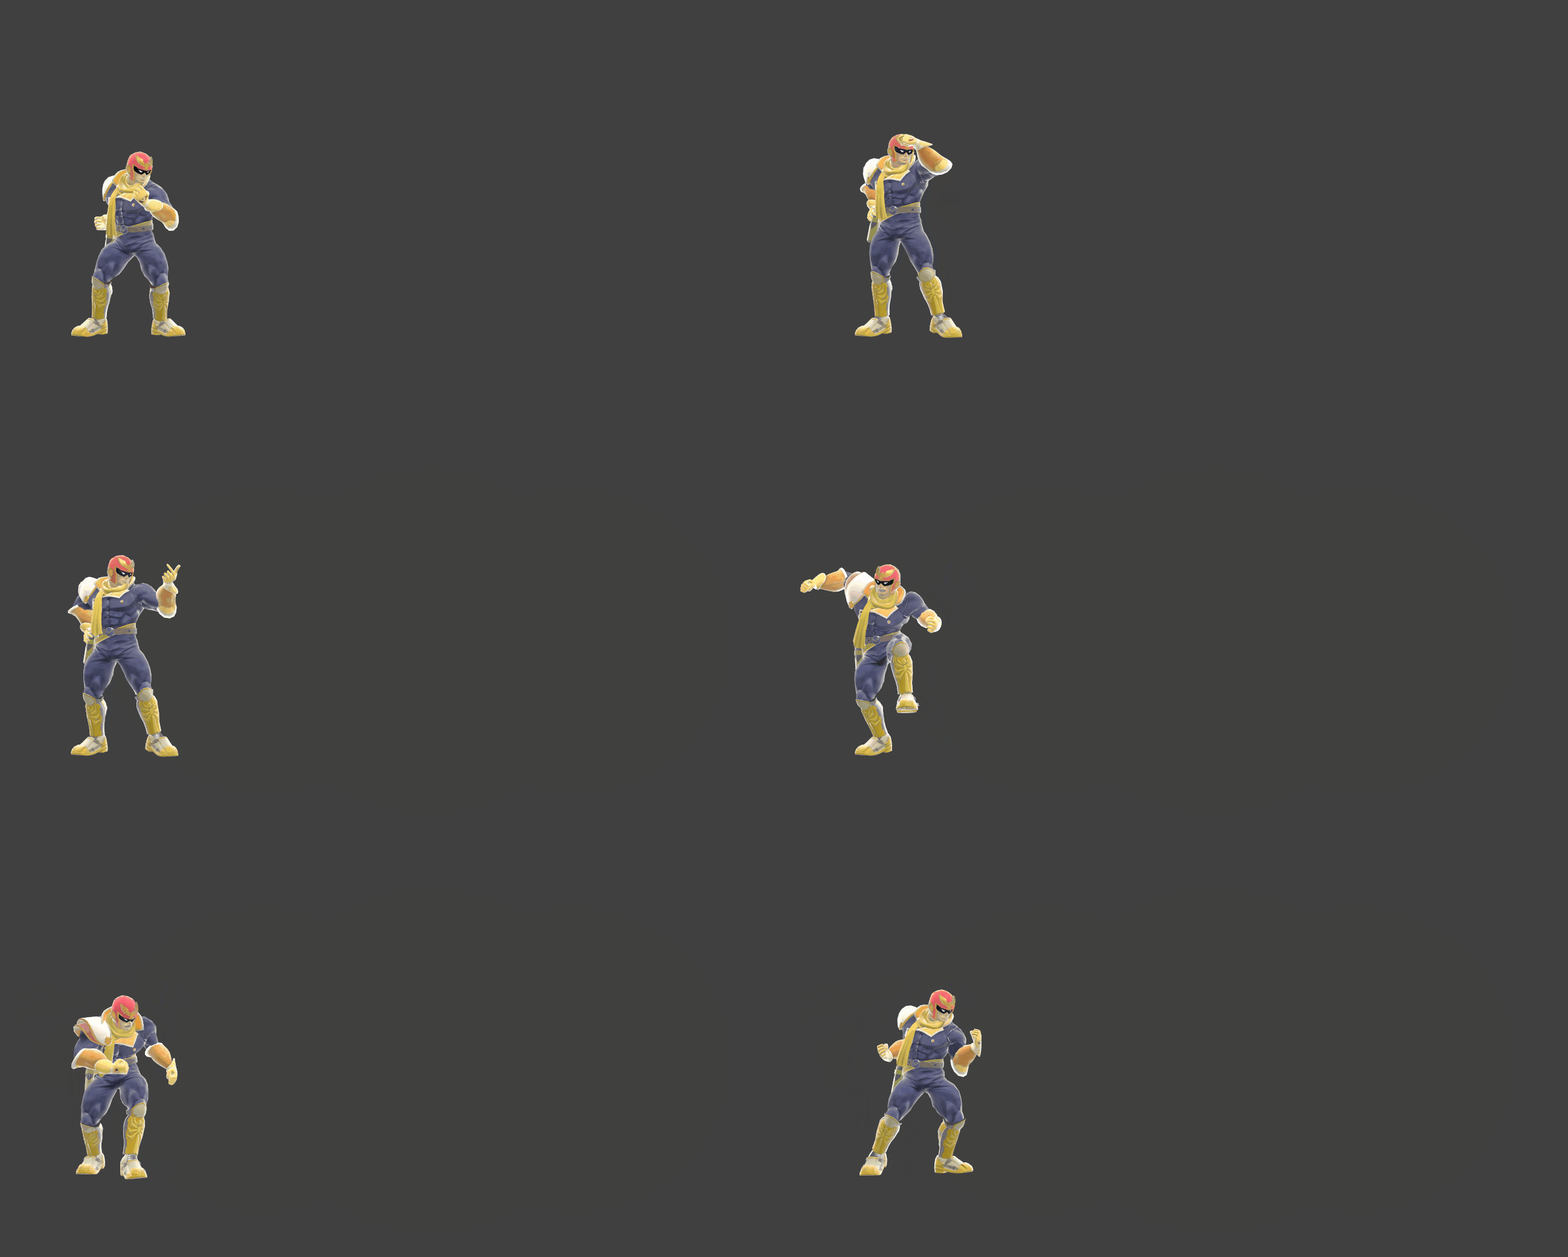
Captain Falcon | [[File:Captain Falcon Final Smash SSBU.gif|thumb|200px|left|Captain Falcon activating his Final Smash.]] | ||
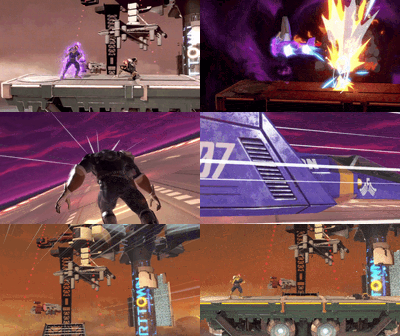
Calls in the [[Blue Falcon]], which flies through the stage in front of him. If the Blue Falcon hits any opponents, a short cutscene plays where Captain Falcon is seen piloting the Blue Falcon, and he then runs over the caught opponents and sends them flying. Characters who are not hit during a successful attempt will stay in place (as they cannot be visible at this time) until the end of the move. Like certain other [[Final Smash]]es, if no one is hit when the Blue Falcon appears, the attack fails. Deals 40% if all hits connect. | |||
Compared to most Final Smashes, the Blue Falcon requires significantly more precision, as its small hitbox and tight timing can lead to Falcon accomplishing nothing should he miss the hit. Although it still possesses strong knockback, its more linear trajectory can offset foes who are at mid to low percents, causing them to DI and survive, which requires Falcon to rack up more damage beforehand to secure more reliable KOs or to perform it towards the blast zones. | |||
==Hitboxes== | ==Hitboxes== | ||
{{UltimateHitboxTableHeader}} | {{UltimateHitboxTableHeader}} | ||
| Line 10: | Line 13: | ||
|damage=10.0% | |damage=10.0% | ||
|angle=80 | |angle=80 | ||
|af=1 | |||
|bk=0 | |bk=0 | ||
|ks=100 | |ks=100 | ||
| Line 25: | Line 29: | ||
|clang=f | |clang=f | ||
|rebound=f | |rebound=f | ||
|blockable=f | |||
}} | }} | ||
{{UltimateHitboxTableRow | {{UltimateHitboxTableRow | ||
| Line 30: | Line 35: | ||
|damage=10.0% | |damage=10.0% | ||
|angle=80 | |angle=80 | ||
|af=1 | |||
|bk=0 | |bk=0 | ||
|ks=100 | |ks=100 | ||
| Line 45: | Line 51: | ||
|clang=f | |clang=f | ||
|rebound=f | |rebound=f | ||
|blockable=f | |||
}} | }} | ||
{{UltimateHitboxTableRow | {{UltimateHitboxTableRow | ||
| Line 50: | Line 57: | ||
|damage=10.0% | |damage=10.0% | ||
|angle=80 | |angle=80 | ||
|af=1 | |||
|bk=0 | |bk=0 | ||
|ks=100 | |ks=100 | ||
| Line 65: | Line 73: | ||
|clang=f | |clang=f | ||
|rebound=f | |rebound=f | ||
|blockable=f | |||
}} | }} | ||
|} | |} | ||
| Line 71: | Line 80: | ||
{{HitboxTableTitle|Blue Falcon hit|42}} | {{HitboxTableTitle|Blue Falcon hit|42}} | ||
{{UltimateThrowTableRow | {{UltimateThrowTableRow | ||
|kind=2 | |||
|id=0 | |id=0 | ||
|type=Typeless | |type=Typeless | ||
|damage=20.0% | |damage=20.0% | ||
|angle=361 | |angle=361 | ||
|af=0 | |||
|bk=90 | |bk=90 | ||
|ks=80 | |ks=80 | ||
| Line 85: | Line 96: | ||
{{HitboxTableTitle|Final launch|42}} | {{HitboxTableTitle|Final launch|42}} | ||
{{UltimateThrowTableRow | {{UltimateThrowTableRow | ||
|kind=2 | |||
|id=0 | |id=0 | ||
|type=Typeless | |type=Typeless | ||
|damage=10.0% | |damage=10.0% | ||
|angle=361 | |angle=361 | ||
|af=0 | |||
|bk=100 | |bk=100 | ||
|ks=135 | |ks=135 | ||
Latest revision as of 09:57, December 2, 2022

Overview[edit]
Calls in the Blue Falcon, which flies through the stage in front of him. If the Blue Falcon hits any opponents, a short cutscene plays where Captain Falcon is seen piloting the Blue Falcon, and he then runs over the caught opponents and sends them flying. Characters who are not hit during a successful attempt will stay in place (as they cannot be visible at this time) until the end of the move. Like certain other Final Smashes, if no one is hit when the Blue Falcon appears, the attack fails. Deals 40% if all hits connect. Compared to most Final Smashes, the Blue Falcon requires significantly more precision, as its small hitbox and tight timing can lead to Falcon accomplishing nothing should he miss the hit. Although it still possesses strong knockback, its more linear trajectory can offset foes who are at mid to low percents, causing them to DI and survive, which requires Falcon to rack up more damage beforehand to secure more reliable KOs or to perform it towards the blast zones.
Hitboxes[edit]
| Kind | ID | Damage | Angle | Angle type | BK | KS | FKV | H× | Effect | Type | Sound | ||||||||||||||||||||||||||||||
|---|---|---|---|---|---|---|---|---|---|---|---|---|---|---|---|---|---|---|---|---|---|---|---|---|---|---|---|---|---|---|---|---|---|---|---|---|---|---|---|---|---|
| Blue Falcon hit | |||||||||||||||||||||||||||||||||||||||||
| Final Smash | 0 | 20.0% | Standard | 90 | 80 | 1 | 0.0× | ||||||||||||||||||||||||||||||||||
| Final launch | |||||||||||||||||||||||||||||||||||||||||
| Final Smash | 0 | 10.0% | Standard | 100 | 135 | 0 | 0.0× | ||||||||||||||||||||||||||||||||||
Timing[edit]
| Hitboxes | 28-30 |
|---|---|
| Animation length | 97 |
Lag time |
Hitbox |
Interruptible |
|
