Samus (SSB)/Down smash: Difference between revisions
From SmashWiki, the Super Smash Bros. wiki
Jump to navigationJump to search
SuperSqank (talk | contribs) m (→Hitboxes) |
No edit summary |
||
| Line 1: | Line 1: | ||
{{ArticleIcons|ssb=y}} | {{ArticleIcons|ssb=y}} | ||
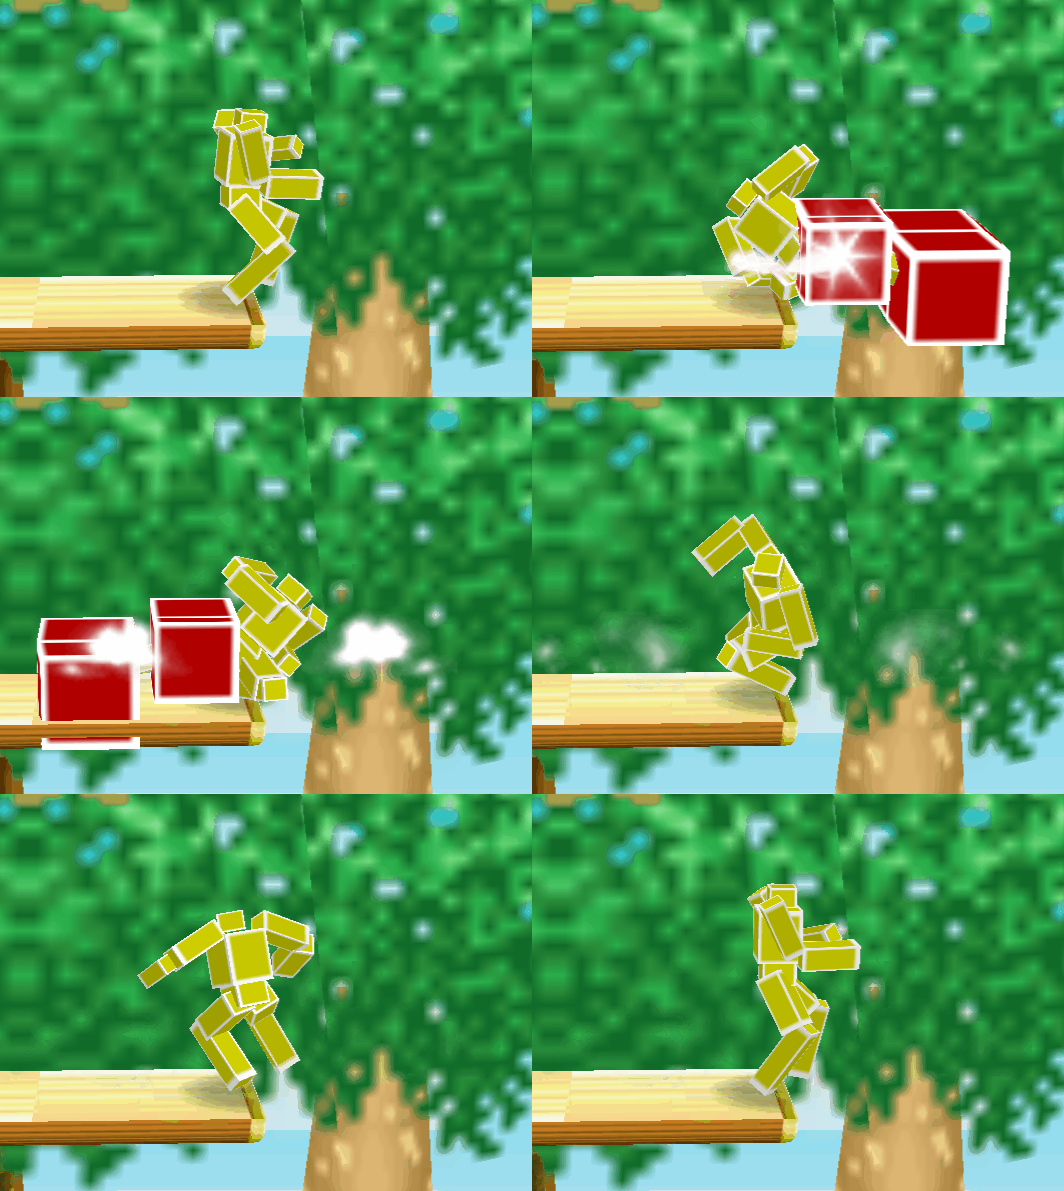
[[File:SamusDSmashSSB.gif|thumb|300px|Hitbox visualization showing Samus's down smash.]] | |||
==Overview== | ==Overview== | ||
Samus crouches and kicks on both sides of herself while spinning, dealing 16% (14% for the back hit) and weak knockback. If the attack connects, the opponent will be sent upwards at a diagonal angle. The move has a somewhat short duration for a move of this criteria. The front hitbox deals more damage and knockback than the back hit. The move hits quite low, being able to hit characters hanging on the [[edge]]. However, the move cannot [[combo]] well, has very low knockback (cannot KO reliably until above 150%), and is generally not recommended for most situations. | Samus crouches and kicks on both sides of herself while spinning, dealing 16% (14% for the back hit) and weak knockback. If the attack connects, the opponent will be sent upwards at a diagonal angle. The move has a somewhat short duration for a move of this criteria. The front hitbox deals more damage and knockback than the back hit. The move hits quite low, being able to hit characters hanging on the [[edge]]. However, the move cannot [[combo]] well, has very low knockback (cannot KO reliably until above 150%), and is generally not recommended for most situations. | ||
Latest revision as of 13:06, April 15, 2021
Overview[edit]
Samus crouches and kicks on both sides of herself while spinning, dealing 16% (14% for the back hit) and weak knockback. If the attack connects, the opponent will be sent upwards at a diagonal angle. The move has a somewhat short duration for a move of this criteria. The front hitbox deals more damage and knockback than the back hit. The move hits quite low, being able to hit characters hanging on the edge. However, the move cannot combo well, has very low knockback (cannot KO reliably until above 150%), and is generally not recommended for most situations.
Hitboxes[edit]
Timing[edit]
| Hit 1 | 8-12 |
|---|---|
| Hit 2 | 19-22 |
| Animation length | 49 |
Lag time |
Hitbox |
Similar moves[edit]
