From SmashWiki, the Super Smash Bros. wiki
Overview[edit]

Hitboxes of Falco's Up special.
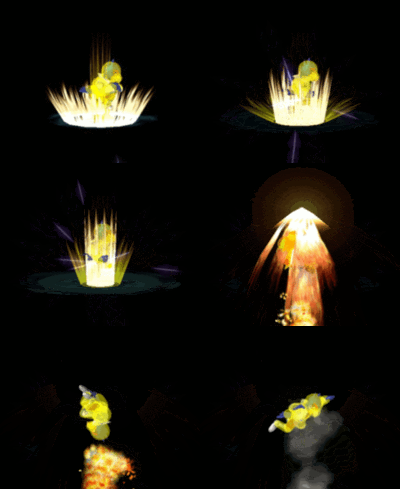
Falco's Up special, Fire Bird, mainly serves as one of his two recovery moves (the other being his side special, Falco Phantasm). It does moderate damage to anyone hit by it, and gains KO potential at high percentages. Falco's Fire Bird works exactly like Fox's Fire Fox, but with some minor differences. Like Fox, Falco surrounds himself with flames and propels himself in the direction given by the player's control stick input. However, unlike Fox, Falco lacks damaging flame hitboxes around his body during the charging stage of the move, making it easier to interrupt. Compared to Fire Fox, Falco's Fire Bird does not travel as great of a distance, making long horizontal recoveries from the edges of the stage extremely difficult, if not outright impossible, with this move. In most situations (e.g, recovering when far away from the stage), it is preferable to recover with Falco Phantasm, which (despite not going as far as Fox Illusion) travels a greater distance and does not involve a long charging time.
Despite its glaring weaknesses and inferiority to Fire Fox at recovering from far distances off the stage, Fire Bird is an extremely useful tool for recoveries close to the stage for various reasons. The shorter distance traveled makes the ledge easier to sweetspot, and makes Falco much harder to punish when he comes back onto the stage, as there is less time for opponents to respond to the path he chooses. In this situation, it is almost impossible for many characters in a neutral position to effectively cover all of Falco's directional options from Fire Bird, especially since the Falco player can change the angle of the attack if the foe commits to a particular edgeguarding option, such as an edgehog, too early. Comparatively, Fire Fox's long distance makes it inferior for close recoveries as it allows enemies to set up various punishes while Fox is still recovering, and even if characters cannot cover several of Fox's distance options at once, they usually still have time to attack Fox afterwards unless he recovers onto a platform.
Fire Bird can also be used as a combo finisher at mid-to-high percentages; after an up tilt, up air, or aerial shine, Falco can use this move to ram into the opponent, guaranteeing a KO off the top blast zone. This is especially useful against floaties, who typically have difficulty being combo'ed-to-death; however, as this is largely DI dependent and requires very specific setups that may not work in the middle of serious matches, it is a situational maneuver at best. If the attack for any reason hits the ground, Falco will not suffer from too much landing lag, but he will then bounce off to a direction, leaving him momentarily vulnerable.
Hitboxes[edit]
| ID |
Part |
Damage |
SD |
Angle |
BK |
KS |
FKV |
Radius |
Bone |
Offset |
Clang |
Rebound |
Effect |
G |
A |
Sound
|
| 0 |
0 |
16% |
+5 |
 |
80 |
60 |
0 |
3.999744 |
39 |
0.0 |
0.0 |
0.0 |
 |
 |
 |
 |
 |
 Burn Burn
|
| Hitbox
|
43-64
|
| Animation length
|
84
|
| Animation length (pre free fall)
|
6
|
| Animation length (post free fall)
|
3
|
| Pre free fall |
 |
 |
 |
 |
 |

|
| Post free fall |
 |
 |

|
Similar moves[edit]
