Ridley (SSBU)/Forward tilt: Difference between revisions
m (Protected "Ridley (SSBU)/Forward tilt": Bot: Protecting a list of files. ([Edit=Allow only autoconfirmed users] (indefinite) [Move=Allow only autoconfirmed users] (indefinite))) |
(488.2%... what? That's WELL beyond kill percent, no idea where this calculation came from. Either way ftilt's sourspot starts tumbling at a fairly common percent for a tilt, so not really a major weakness of the move.) |
||
| (5 intermediate revisions by 3 users not shown) | |||
| Line 13: | Line 13: | ||
|- | |- | ||
|} | |} | ||
==Overview== | ==Overview== | ||
{{SSBU|Ridley}} uses his tail to stab in front of him, as if it were a lance. This move is very important for Ridley's spacing game, as the tip of the tail is a disjoint. It can also be angled. Thanks to the low [[FAF]], this move can be seen as a low commitment to make. This move is often seen being used in neutral for these qualities, as well as the tipper's shield safety (-10 Tipper, -12 Early). | |||
Forward tilt's main asset is the downward angle, as it can 2-frame and hit opponent's ledgehangs. This is a large asset in edgeguarding and ledgetrapping opponents. This is also useful for poking through [[shield]]s. The upward angle can be used against jump-ins to get the opponent to back off as well, giving the move a great deal of versatility. Forward tilt can also be used to get [[tech chase]] situations, which Ridley can exploit well with [[lock]]s, [[Ridley (SSBU)/Neutral aerial|neutral aerial]] and more. | |||
The move has very few flaws, but they do exist. Despite its remarkable range, it is prone to leaving Ridley vulnerable to trades with opposing attacks, due to him grabbing his tail and effectively extending his hurtboxes when he thrusts it forward. Because of this, forward tilt tends to lose to attacks from above and upper-diagonal jump-ins, even when angled up. The sourspot also tends to be a problem, as it takes priority over the stronger sweetspot and is easily punishable if [[shield]]ed, necessitating good spacing in order to make good use of the move. It is also whiff punishable like any other move, so due diligence is needed. | |||
==Hitboxes== | ==Hitboxes== | ||
{{UltimateHitboxTableHeader}} | {{UltimateHitboxTableHeader}} | ||
| Line 21: | Line 27: | ||
|damage=10.0% | |damage=10.0% | ||
|angle=361 | |angle=361 | ||
|af=3 | |||
|bk=50 | |bk=50 | ||
|ks=71 | |ks=71 | ||
| Line 39: | Line 46: | ||
|damage=10.0% | |damage=10.0% | ||
|angle=361 | |angle=361 | ||
|af=3 | |||
|bk=50 | |bk=50 | ||
|ks=71 | |ks=71 | ||
| Line 57: | Line 65: | ||
|damage=13.0% | |damage=13.0% | ||
|angle=361 | |angle=361 | ||
|af=3 | |||
|bk=55 | |bk=55 | ||
|ks=71 | |ks=71 | ||
| Line 72: | Line 81: | ||
}} | }} | ||
|} | |} | ||
==Timing== | ==Timing== | ||
{|class="wikitable" | {|class="wikitable" | ||
Latest revision as of 15:35, August 7, 2022
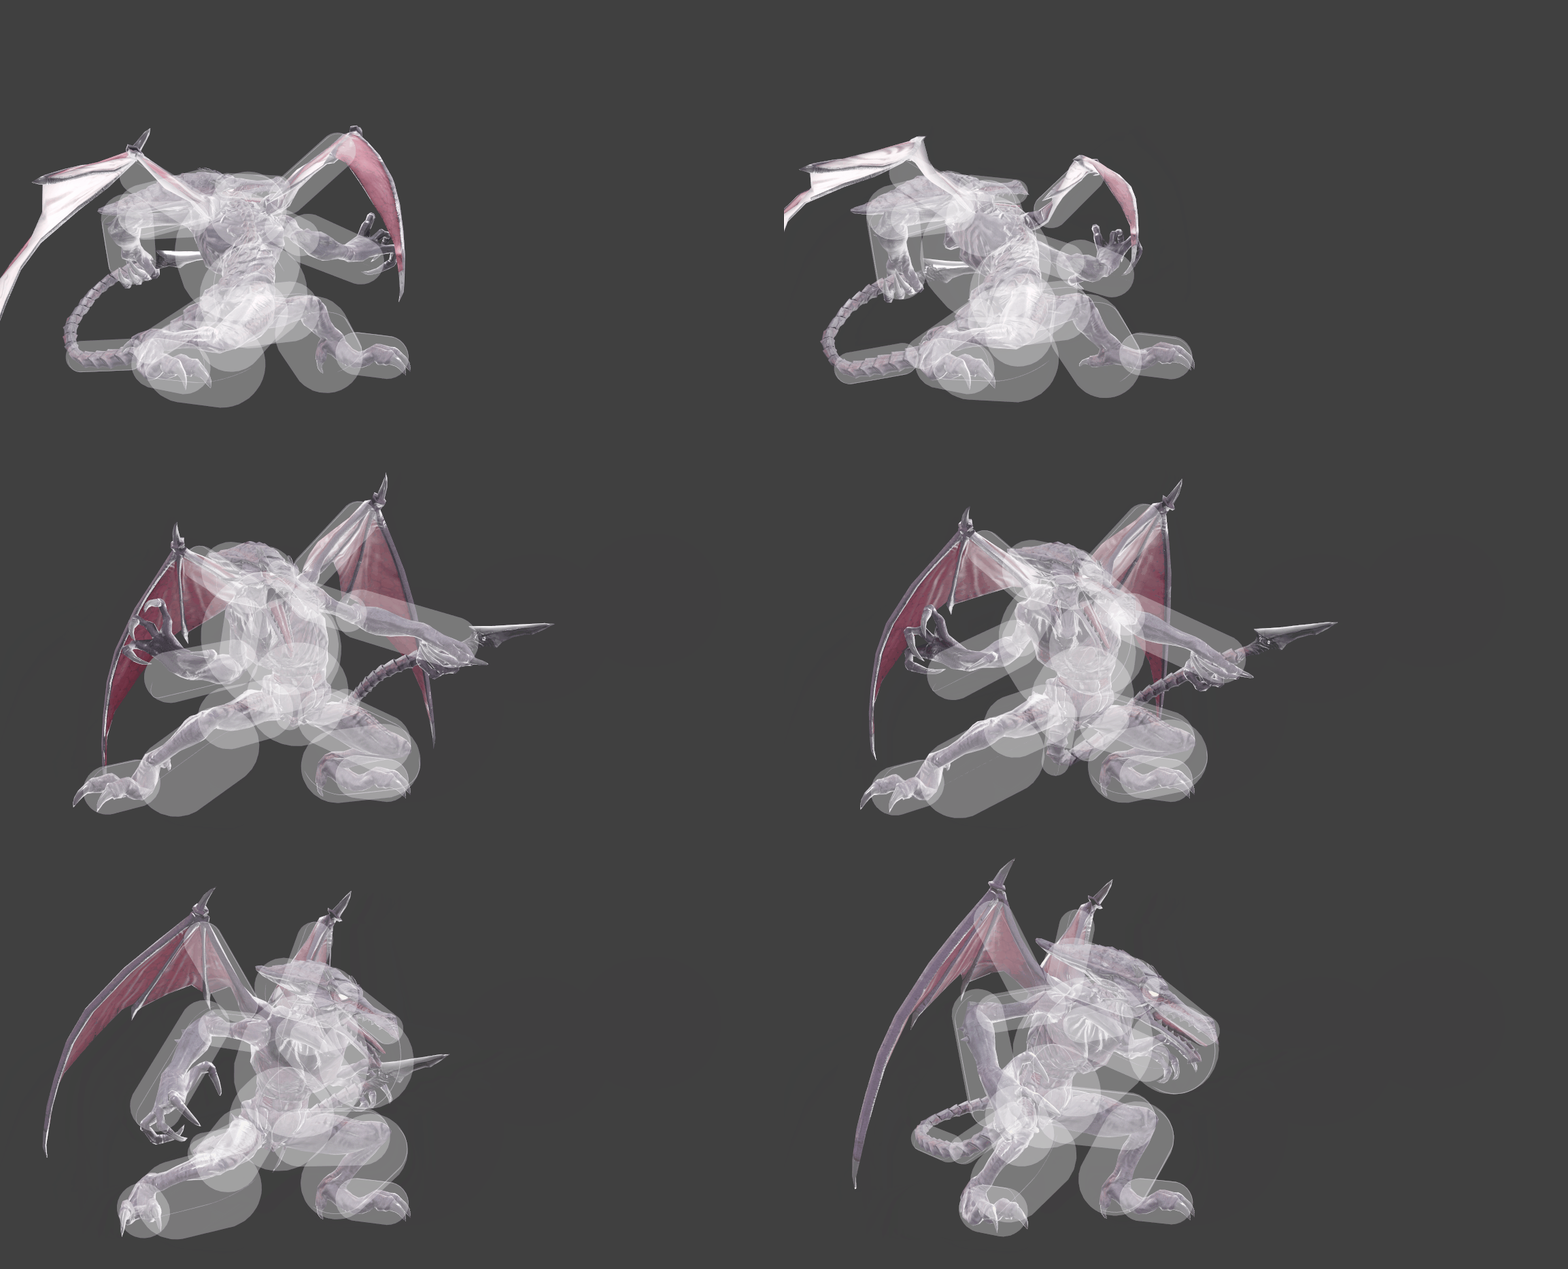
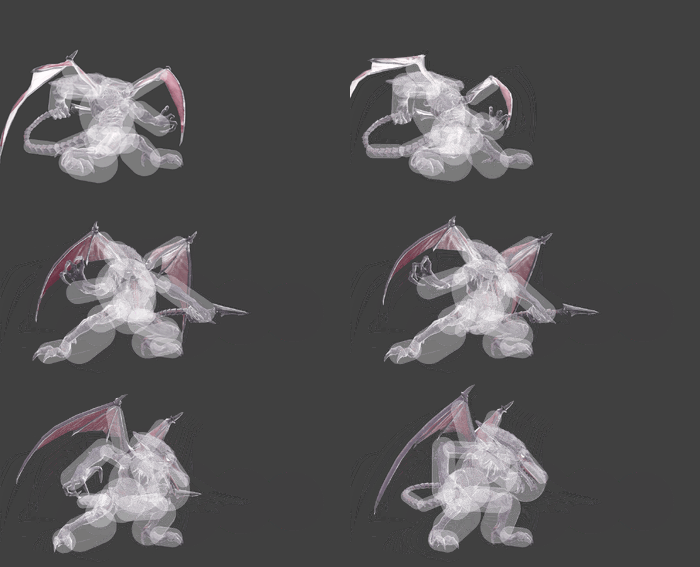
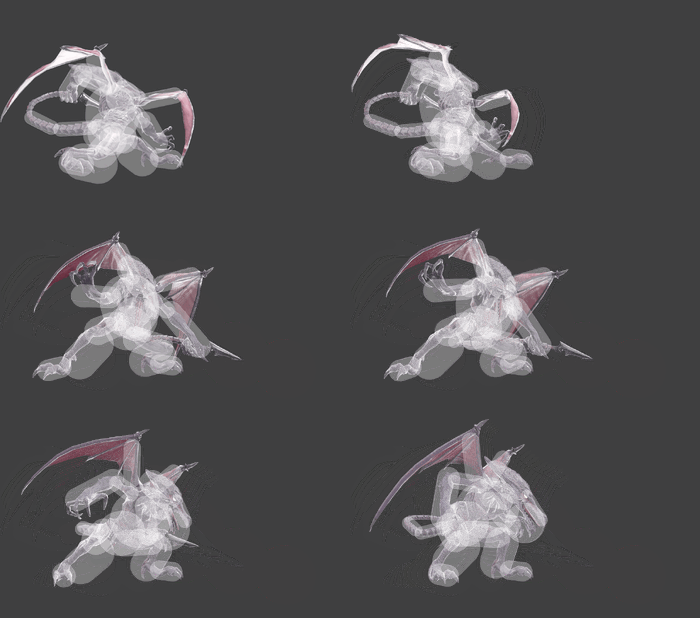
| Ridley forward tilt hitbox visualizations. | ||||
|---|---|---|---|---|
| ↗ | 
| |||
| → | 
| |||
| ↘ | 
| |||
Overview[edit]
Ridley uses his tail to stab in front of him, as if it were a lance. This move is very important for Ridley's spacing game, as the tip of the tail is a disjoint. It can also be angled. Thanks to the low FAF, this move can be seen as a low commitment to make. This move is often seen being used in neutral for these qualities, as well as the tipper's shield safety (-10 Tipper, -12 Early).
Forward tilt's main asset is the downward angle, as it can 2-frame and hit opponent's ledgehangs. This is a large asset in edgeguarding and ledgetrapping opponents. This is also useful for poking through shields. The upward angle can be used against jump-ins to get the opponent to back off as well, giving the move a great deal of versatility. Forward tilt can also be used to get tech chase situations, which Ridley can exploit well with locks, neutral aerial and more.
The move has very few flaws, but they do exist. Despite its remarkable range, it is prone to leaving Ridley vulnerable to trades with opposing attacks, due to him grabbing his tail and effectively extending his hurtboxes when he thrusts it forward. Because of this, forward tilt tends to lose to attacks from above and upper-diagonal jump-ins, even when angled up. The sourspot also tends to be a problem, as it takes priority over the stronger sweetspot and is easily punishable if shielded, necessitating good spacing in order to make good use of the move. It is also whiff punishable like any other move, so due diligence is needed.
Hitboxes[edit]
Timing[edit]
| Hitboxes | 10-11 |
|---|---|
| Interruptible | 33 |
| Animation length | 42 |
Lag time |
Hitbox |
Interruptible |
|