Luigi (SSB4)/Neutral attack/Hit 3: Difference between revisions
From SmashWiki, the Super Smash Bros. wiki
Jump to navigationJump to search
Serpent King (talk | contribs) (→Timing) |
m (Text replacement - "== ([^=])" to "== $1") |
||
| (3 intermediate revisions by 2 users not shown) | |||
| Line 1: | Line 1: | ||
{{ArticleIcons|ssb4=y}} | {{ArticleIcons|ssb4=y}} | ||
[[File:LuigiJab3.gif|thumb|270px|Hitbox visualization showing Luigi's third jab.]] | [[File:LuigiJab3.gif|thumb|270px|Hitbox visualization showing Luigi's third jab.]] | ||
==Overview== | |||
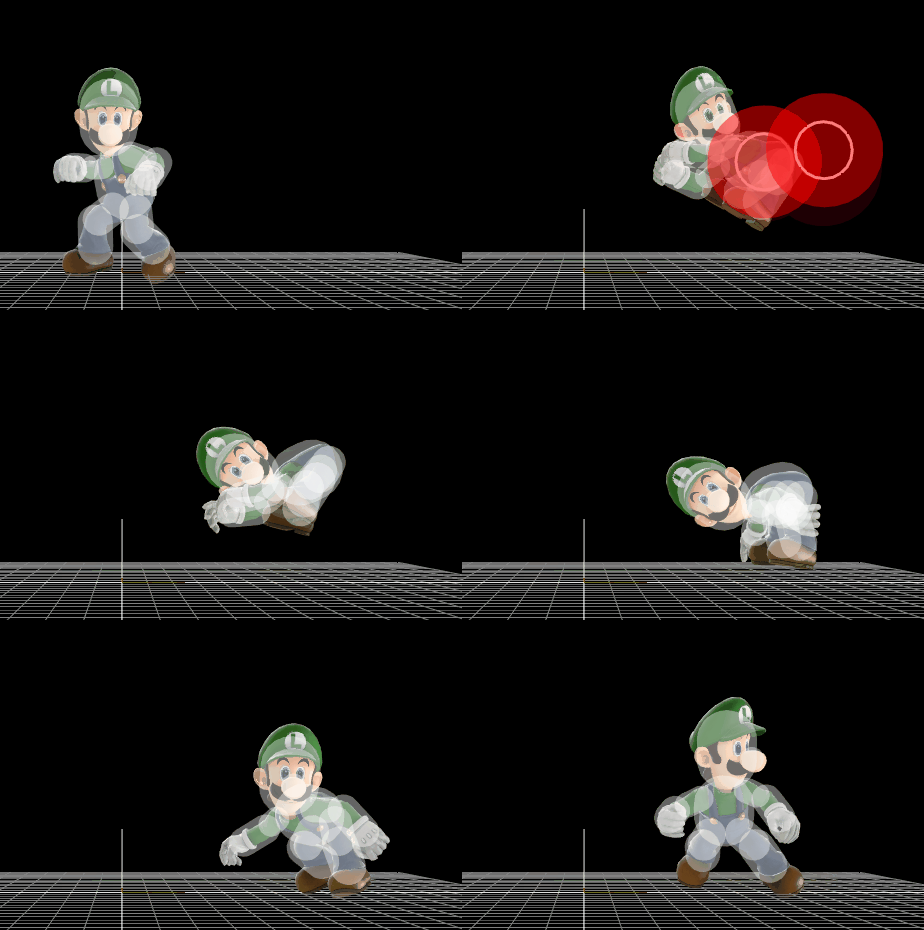
{{SSB4|Luigi}}'s third and final jab is a quick strike with his bottom. When coupled with his first two jabs, it's a very useful move to get opponents off of Luigi and do quick damage (10% total). However, it is unsafe on shield and has much higher endlag than the first two jabs (IASA 31), making it harder to use in neutral. It knocks opponents in a tech chase situation at low percentages and into a landing situation at higher percentages. | |||
==Hitboxes== | ==Hitboxes== | ||
{{SSB4HitboxTableHeader}} | {{SSB4HitboxTableHeader}} | ||
{{SSB4HitboxTableRow | {{SSB4HitboxTableRow | ||
| Line 45: | Line 46: | ||
|- | |- | ||
!Animation length | !Animation length | ||
| | |35 | ||
|} | |} | ||
{{FrameStripStart}} | {{FrameStripStart}} | ||
{{FrameStrip|t=Lag|c=5}}{{FrameStrip|t=Hitbox|c=2}}{{FrameStrip|t=Lag|c=23}}{{FrameStrip|t=Interruptible|c= | {{FrameStrip|t=Lag|c=5}}{{FrameStrip|t=Hitbox|c=2}}{{FrameStrip|t=Lag|c=23}}{{FrameStrip|t=Interruptible|c=5}} | ||
{{FrameStripEnd}} | {{FrameStripEnd}} | ||
Latest revision as of 22:56, April 12, 2022
Overview[edit]
Luigi's third and final jab is a quick strike with his bottom. When coupled with his first two jabs, it's a very useful move to get opponents off of Luigi and do quick damage (10% total). However, it is unsafe on shield and has much higher endlag than the first two jabs (IASA 31), making it harder to use in neutral. It knocks opponents in a tech chase situation at low percentages and into a landing situation at higher percentages.
Hitboxes[edit]
Timing[edit]
| Hitboxes | 6-7 |
|---|---|
| Interruptible | 31 |
| Animation length | 35 |
Lag time |
Hitbox |
Interruptible |
|
