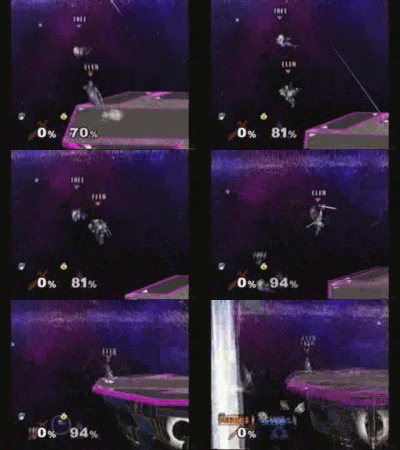
Ken Combo

The Ken Combo refers to a spike setup with Marth discovered and popularized by professional Marth player, Ken.
The combo itself is simply as follows: single jump, forward aerial; midair jump, down aerial. However, some players refer to the entire chain of neutral aerials and forward aerials followed by the spike as a "Ken combo" due to its effectiveness in Melee competitive play. Although the combo is quite simple, one must space very precisely to do it consistently; the down air can only be landed if one spaces the fair correctly. The spacing for the fair is character dependent. Against fast fallers, one must land the tipper fair from below so that the opponent is sent upward and set to fall into the dair after Marth jumps. If the tipper fair is not landed, Marth cannot land the dair after a jump. Conversely against floaties, Marth must fair the opponent from below so they are not sent too high. Performing a Ken Combo without having to jump before using the down aerial is known as a jumpless Ken Combo.
According to Ken himself, the Ken Combo was initially developed in the original Super Smash Bros. using Captain Falcon's up aerial followed with a down aerial meteor smash.
A difficult to perform variation of the Ken Combo called the Reverse Ken Combo can also be performed in Melee. It involves hitting with the forward aerial's rear hitbox, that produces weak knockback while keeping the opponent in place, then following up with the down aerial. One or two forward aerials can be performed.
In future games, several characters can perform their own variations of this combo, such as Wolf in Brawl or Palutena in Smash 4. However, these are not considered to be true Ken Combos or even true combos at all, as the opponent has more options than simply DI to escape the combo, namely air dodging or even hitting back after the forward or back aerial setups.


