< Ken (SSBU) | Command input
m (→Hitboxes) |
No edit summary |
||
| (One intermediate revision by one other user not shown) | |||
| Line 4: | Line 4: | ||
{{competitive expertise}} | {{competitive expertise}} | ||
==Overview== | ==Overview== | ||
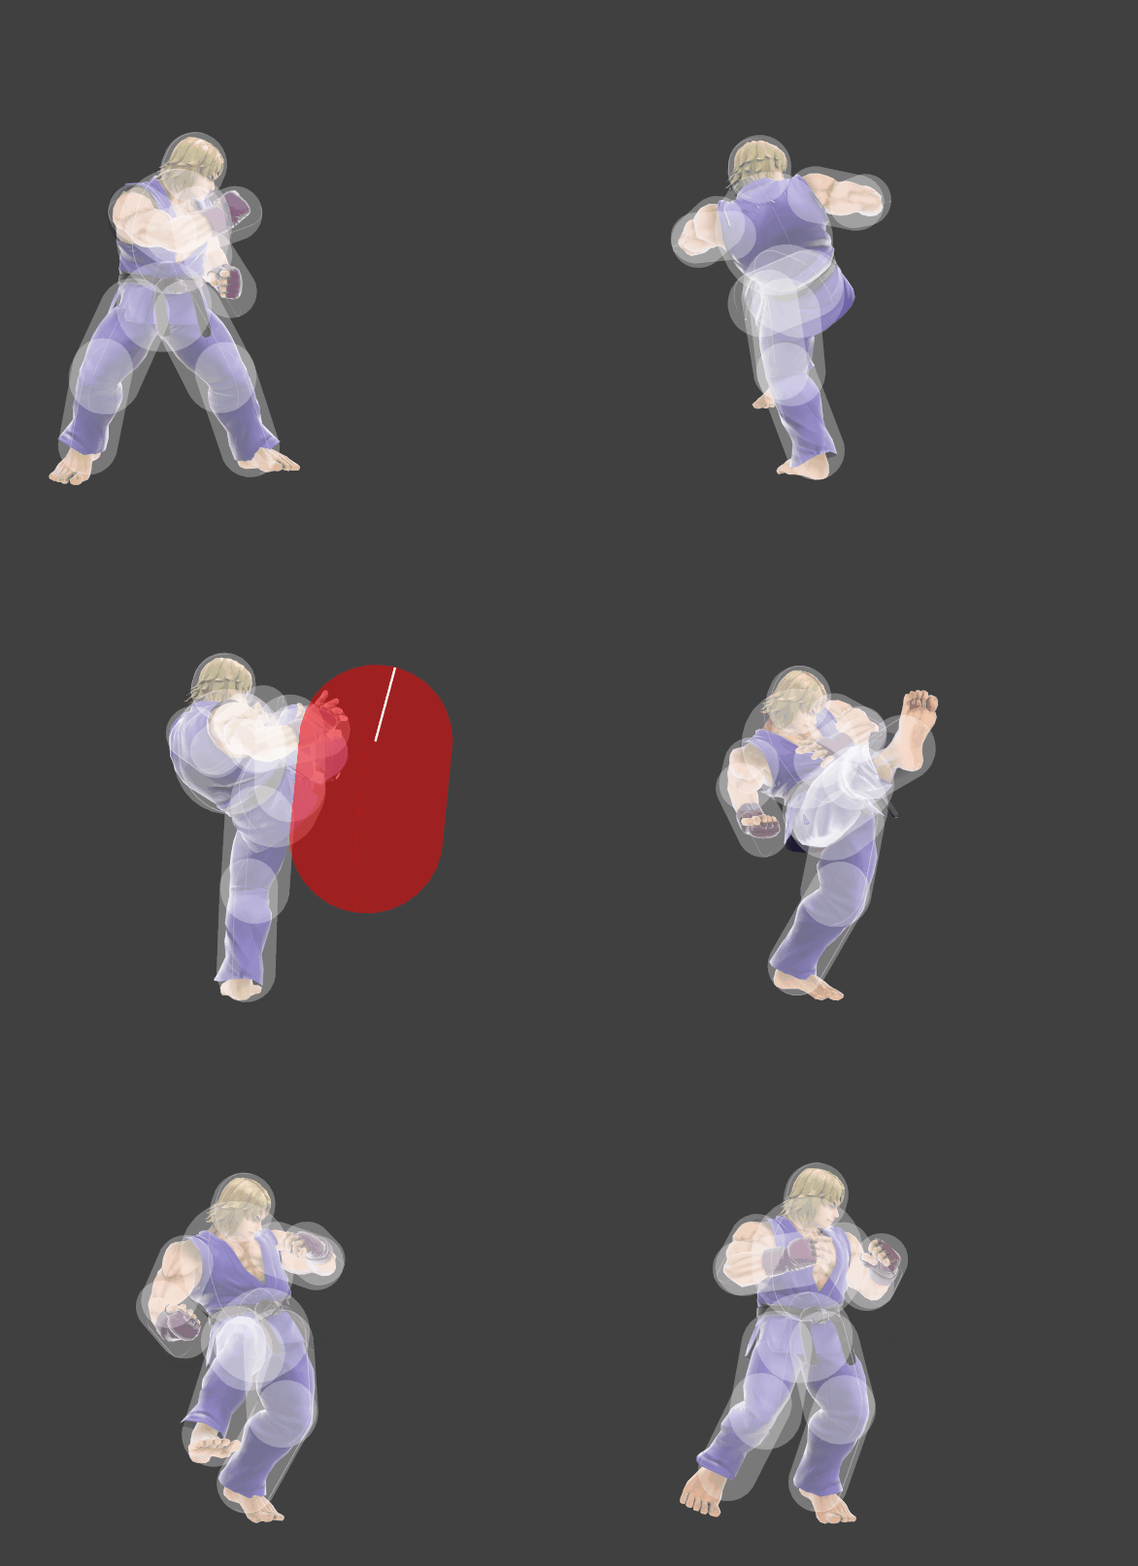
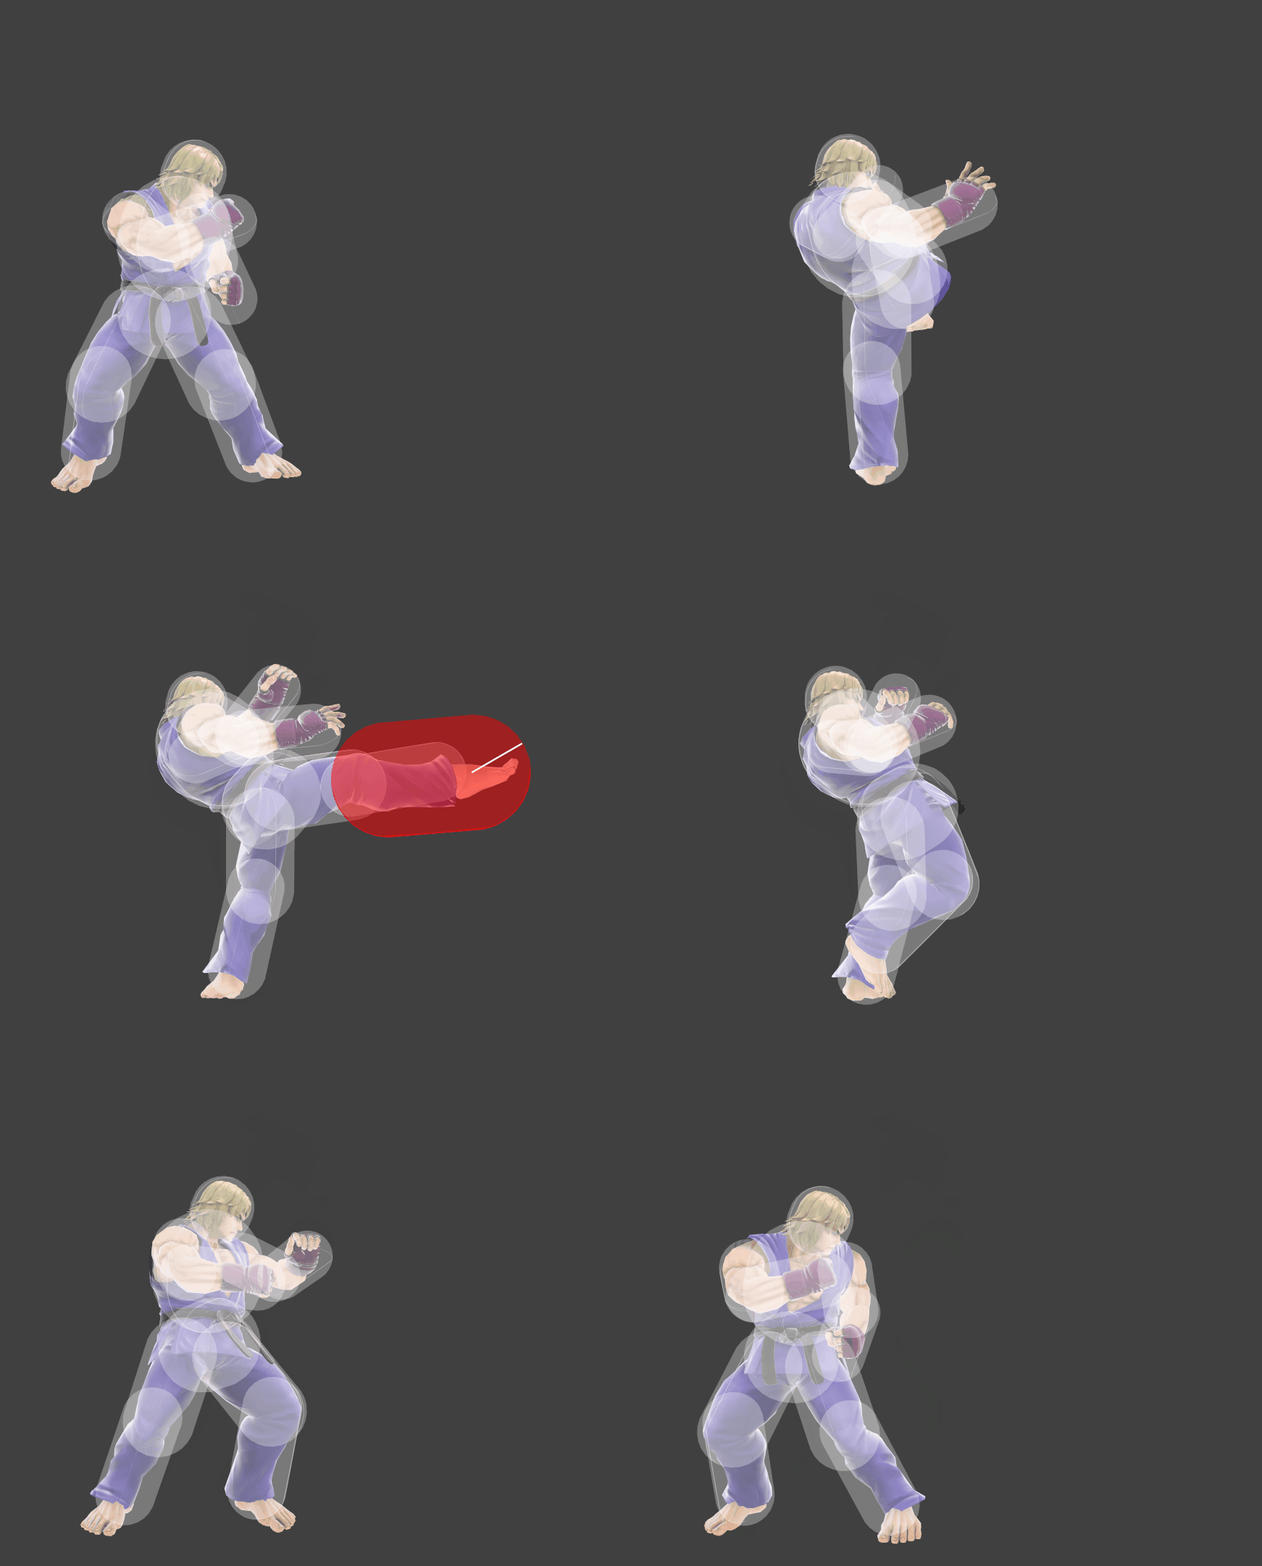
Ken's first command input move is the '''[[Nata Otoshi Geri]]'''. It is performed on the ground with a quarter-circle input (→ ↘ ↓) alongside the attack button; by holding the button, the first hit can also be followed up by Inazuma Kick. | |||
==Hitboxes== | ==Hitboxes== | ||
{{UltimateHitboxTableHeader}} | {{UltimateHitboxTableHeader}} | ||
!Hitstun | !Hitstun | ||
!Shieldstun | |||
{{HitboxTableTitle|Hit 1|42}} | {{HitboxTableTitle|Hit 1|42}} | ||
{{UltimateHitboxTableRow | {{UltimateHitboxTableRow | ||
|id=0 | |id=0 | ||
|rehit=10 | |||
|damage=5.0% | |damage=5.0% | ||
|angle=75 | |angle=75 | ||
|af=3 | |||
|bk=10 | |bk=10 | ||
|ks=80 | |ks=80 | ||
| Line 29: | Line 33: | ||
}} | }} | ||
|'''+2''' frames | |'''+2''' frames | ||
{{HitboxTableTitle| | |— | ||
{{HitboxTableTitle|Tapped hit 2|42}} | |||
{{UltimateHitboxTableRow | {{UltimateHitboxTableRow | ||
|id=0 | |id=0 | ||
|rehit=10 | |||
|damage=5.0% | |damage=5.0% | ||
|angle=63 | |angle=63 | ||
|af=3 | |||
|bk=40 | |bk=40 | ||
|ks=30 | |ks=30 | ||
| Line 50: | Line 57: | ||
}} | }} | ||
|— | |— | ||
|— | |— | ||
{{HitboxTableTitle| | {{HitboxTableTitle|Held hit 2 (Inazuma Kick)|42}} | ||
{{UltimateHitboxTableRow | {{UltimateHitboxTableRow | ||
|id=0 | |id=0 | ||
| Line 84: | Line 64: | ||
|sd=5.0 | |sd=5.0 | ||
|angle=30 | |angle=30 | ||
|af=3 | |||
|bk=35 | |bk=35 | ||
|ks=80 | |ks=80 | ||
|fkv=0 | |fkv=0 | ||
|r=3. | |r=3.0 | ||
|bn= | |bn=kneer | ||
|xpos=6.3 to 2.0 | |xpos=6.3 to 2.0 | ||
|ypos=0.0 | |ypos=0.0 | ||
| Line 99: | Line 80: | ||
}} | }} | ||
|— | |— | ||
| | |1.25× | ||
|} | |} | ||
==Timing== | ==Timing== | ||
Canceling into a Final Smash is only possible upon hitting an opponent and after [[hitlag]] is over. | |||
{|class="wikitable" | {|class="wikitable" | ||
!Hit 1 | !Hit 1 | ||
|12 | |12 | ||
|- | |- | ||
!Hit 2 | !Inazuma Kick transition | ||
|13 | |||
|- | |||
!Hit 2 (tapped) | |||
|15-16 | |15-16 | ||
|- | |- | ||
! | !Inazuma Kick (held hit 2) | ||
| | |20-22 | ||
|- | |||
!Final Smash cancel window (tapped, held) | |||
|12-16, 12-22 | |||
|- | |- | ||
!Animation length | !Interruptible (tapped, held) | ||
|46 | |29, 52 | ||
|- | |||
!Animation length (tapped, held) | |||
|46, 51 | |||
|} | |} | ||
{{FrameStripStart}} | {{FrameStripStart}} | ||
{{FrameStrip|t=Lag|c=11}}{{FrameStrip|t=Hitbox|c=1}}{{FrameStrip|t=Lag|c=2}}{{FrameStrip|t=Hitbox|c=2}}{{FrameStrip|t=Lag|c=12}}{{FrameStrip|t=Interruptible|c=18}} | !Hitboxes (tapped) {{FrameStrip|t=Lag|c=11}}{{FrameStrip|t=Hitbox|c=1|e=HitboxContinuableS}}{{FrameStrip|t=Lag|c=2|s=LagContinuableE}}{{FrameStrip|t=Hitbox|c=2}}{{FrameStrip|t=Lag|c=12}}{{FrameStrip|t=Interruptible|c=18}}{{FrameStrip|t=Blank|c=5}} | ||
{{ | |||
= | |||
|- | |- | ||
! | !FS cancel (tapped) {{FrameStrip|t=Blank|c=11}}{{FrameStrip|t=Continuable|c=5}}{{FrameStrip|t=Blank|c=35}} | ||
| | |||
|- | |- | ||
! | !Hitboxes (held) {{FrameStrip|t=Lag|c=11}}{{FrameStrip|t=Hitbox|c=1|e=HitboxContinuableS}}{{FrameStrip|t=Lag|c=7|s=LagContinuableE}}{{FrameStrip|t=Hitbox|c=3}}{{FrameStrip|t=Lag|c=29}} | ||
| | |||
|- | |- | ||
! | !FS cancel (held) {{FrameStrip|t=Blank|c=11}}{{FrameStrip|t=Continuable|c=11}}{{FrameStrip|t=Blank|c=29}} | ||
| | {{FrameStripEnd}} | ||
|} | |||
{{FrameIconLegend|lag=y|hitbox=y|earliestcontinuable=y|continuable=y|interruptible=y}} | |||
==Trivia== | |||
*Both hits of Nata Otoshi Geri have a rehit rate of 10, but due to their hitbox duration being shorter, it never takes effect. | |||
*Despite all hits consisting of kicks, their hitboxes are coded as {{b|hand|type}}-type attacks. | |||
{{MvSubNavKen|g=SSBU}} | {{MvSubNavKen|g=SSBU}} | ||
[[Category:Ken (SSBU)]] | [[Category:Ken (SSBU)]] | ||
[[Category:Special moves (SSBU)]] | [[Category:Special moves (SSBU)]] | ||
Latest revision as of 20:49, August 1, 2022
OverviewEdit
Ken's first command input move is the Nata Otoshi Geri. It is performed on the ground with a quarter-circle input (→ ↘ ↓) alongside the attack button; by holding the button, the first hit can also be followed up by Inazuma Kick.
HitboxesEdit
TimingEdit
Canceling into a Final Smash is only possible upon hitting an opponent and after hitlag is over.
| Hit 1 | 12 |
|---|---|
| Inazuma Kick transition | 13 |
| Hit 2 (tapped) | 15-16 |
| Inazuma Kick (held hit 2) | 20-22 |
| Final Smash cancel window (tapped, held) | 12-16, 12-22 |
| Interruptible (tapped, held) | 29, 52 |
| Animation length (tapped, held) | 46, 51 |
| Hitboxes (tapped) | |||||||||||||||||||||||||||||||||||||||||||||||||||
|---|---|---|---|---|---|---|---|---|---|---|---|---|---|---|---|---|---|---|---|---|---|---|---|---|---|---|---|---|---|---|---|---|---|---|---|---|---|---|---|---|---|---|---|---|---|---|---|---|---|---|---|
| FS cancel (tapped) | |||||||||||||||||||||||||||||||||||||||||||||||||||
| Hitboxes (held) | |||||||||||||||||||||||||||||||||||||||||||||||||||
| FS cancel (held) |
| Lag time |
Hitbox |
Continuable |
Earliest continuable point |
Interruptible |
TriviaEdit
- Both hits of Nata Otoshi Geri have a rehit rate of 10, but due to their hitbox duration being shorter, it never takes effect.
- Despite all hits consisting of kicks, their hitboxes are coded as hand-type attacks.
|


