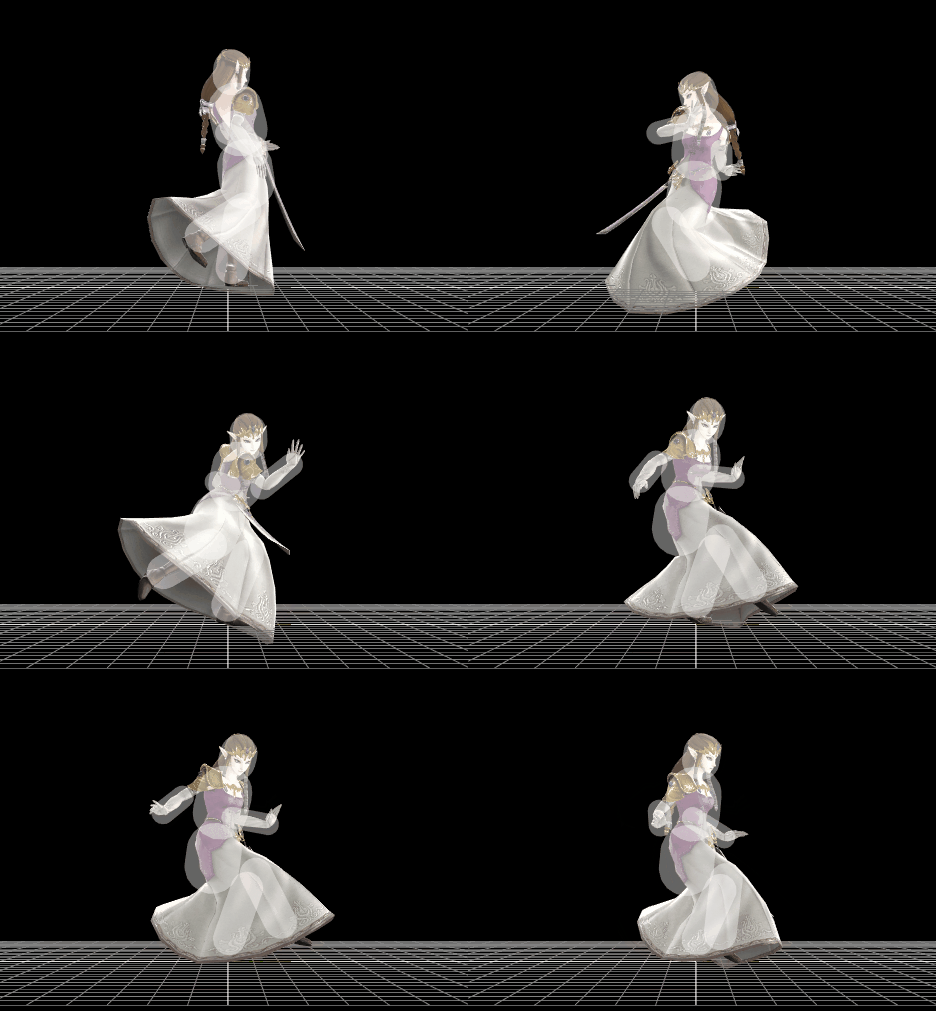
Zelda (SSB4)/Down smash: Difference between revisions
From SmashWiki, the Super Smash Bros. wiki
Jump to navigationJump to search
BrawlMatt202 (talk | contribs) mNo edit summary |
SuperSqank (talk | contribs) m (→Update history) |
||
| (8 intermediate revisions by 5 users not shown) | |||
| Line 1: | Line 1: | ||
{{ArticleIcons|ssb4=y}} | {{ArticleIcons|ssb4=y}} | ||
[[File:ZeldaDSmash.gif|thumb|270px|Hitbox visualization showing Zelda's down smash.]] | |||
{{competitive expertise}} | {{competitive expertise}} | ||
{{technical data}} | {{technical data}} | ||
==Update history== | |||
{{GameIcon|ssb4}} [[1.1.5]] | |||
*{{buff|Down smash has less ending lag (FAF 41 → 38).}} | |||
==Hitboxes== | ==Hitboxes== | ||
{{SSB4HitboxTableHeader|stretch=y}} | |||
{{SSB4HitboxTableHeader}} | |||
{{HitboxTableTitle|Hit 1|42}} | {{HitboxTableTitle|Hit 1|42}} | ||
{{SSB4HitboxTableRow | {{SSB4HitboxTableRow | ||
| Line 20: | Line 24: | ||
|ypos=3.0 | |ypos=3.0 | ||
|zpos=12.5 | |zpos=12.5 | ||
|ystretch=0.0 | |||
|zstretch=0.0 | |||
|type=Foot | |type=Foot | ||
|sdi=1.0 | |sdi=1.0 | ||
| Line 34: | Line 40: | ||
|ks=86 | |ks=86 | ||
|fkv=0 | |fkv=0 | ||
|r= | |r=3.0 | ||
|bn=0 | |bn=0 | ||
|xpos=0.0 | |xpos=0.0 | ||
|ypos=3.0 | |ypos=3.0 | ||
|zpos= | |zpos=11.0 | ||
|ystretch=5.0 | |||
|zstretch=7.0 | |||
|type=Foot | |type=Foot | ||
|sdi=1.0 | |sdi=1.0 | ||
| Line 59: | Line 67: | ||
|ypos=3.0 | |ypos=3.0 | ||
|zpos=-11.0 | |zpos=-11.0 | ||
|ystretch=0.0 | |||
|zstretch=0.0 | |||
|type=Foot | |type=Foot | ||
|sdi=1.0 | |sdi=1.0 | ||
| Line 78: | Line 88: | ||
|ypos=3.0 | |ypos=3.0 | ||
|zpos=-9.0 | |zpos=-9.0 | ||
|ystretch=7.0 | |||
|zstretch=-4.5 | |||
|type=Foot | |type=Foot | ||
|sdi=1.0 | |sdi=1.0 | ||
| Line 86: | Line 98: | ||
|} | |} | ||
==Timing== | |||
{|class="wikitable" | |||
!Charges between | |||
|1-2 | |||
|- | |||
!Hit 1 | |||
|5-6 | |||
|- | |||
!Hit 2 | |||
|13-14 | |||
|- | |||
!Interruptible | |||
|38 | |||
|- | |||
!Animation length | |||
|47 | |||
|} | |||
{{FrameStripStart}} | |||
{{FrameStrip|t=Lag|c=1|e=LagChargeS}}{{FrameStrip|t=Lag|c=3|s=LagChargeE}}{{FrameStrip|t=Hitbox|c=2}}{{FrameStrip|t=Lag|c=6}}{{FrameStrip|t=Hitbox|c=2}}{{FrameStrip|t=Lag|c=23}}{{FrameStrip|t=Interruptible|c=10}} | |||
{{FrameStripEnd}} | |||
{{FrameIconLegend|lag=y|charge=y|hitbox=y|interruptible=y}} | |||
{{MvSubNavZelda|g=SSB4}} | {{MvSubNavZelda|g=SSB4}} | ||
[[Category:Zelda (SSB4)]] | [[Category:Zelda (SSB4)]] | ||
[[Category:Down smashes (SSB4)]] | |||
Latest revision as of 14:51, March 2, 2023
Update history[edit]
 Down smash has less ending lag (FAF 41 → 38).
Hitboxes[edit]
Timing[edit]
| Charges between | 1-2 |
|---|---|
| Hit 1 | 5-6 |
| Hit 2 | 13-14 |
| Interruptible | 38 |
| Animation length | 47 |
Lag time |
Charge interval |
Hitbox |
Interruptible |
|


