Ridley (SSBU)/Forward tilt: Difference between revisions
m (Removed protection from "Ridley (SSBU)/Forward tilt": Bot: Unprotecting a list of files) |
(Added an overview.) |
||
| Line 13: | Line 13: | ||
|- | |- | ||
|} | |} | ||
==Overview== | ==Overview== | ||
{{SSBU|Ridley}} uses his tail to stab in front of him, as if it were a lance. This move is very important for Ridley's spacing game, as the tip of the tail is a disjoint. It can also be angled. Thanks to the low [[FAF]], this move can be seen as a low commitment to make. This move is often seen being used in neutral for these qualities, as well as the tipper's shield safety (-10 Tipper, -12 Early). | |||
Forward tilt's main asset is the downward angle, as it can 2-frame and hit opponent's ledgehangs. This is a large asset in edgeguarding and ledgetrapping opponents. This is also useful for poking through [[shield]]s. The upward angle can be used against jump-ins to get the opponent to back off as well, giving the move a great deal of versatility. Forward tilt can also be used to get [[tech chase]] situations, which Ridley can exploit well with [[lock]]s, [[Ridley (SSBU)/Neutral aerial|neutral aerial]] and more. | |||
The move has very few flaws, but they do exist. Even when angled up, forward tilt tends to lose to attacks from above, and even upper-diagonal jump-ins. The sourspot also tends to be a problem if it isn't sending into tumble. | |||
==Hitboxes== | ==Hitboxes== | ||
{{UltimateHitboxTableHeader}} | {{UltimateHitboxTableHeader}} | ||
Revision as of 11:46, June 13, 2020
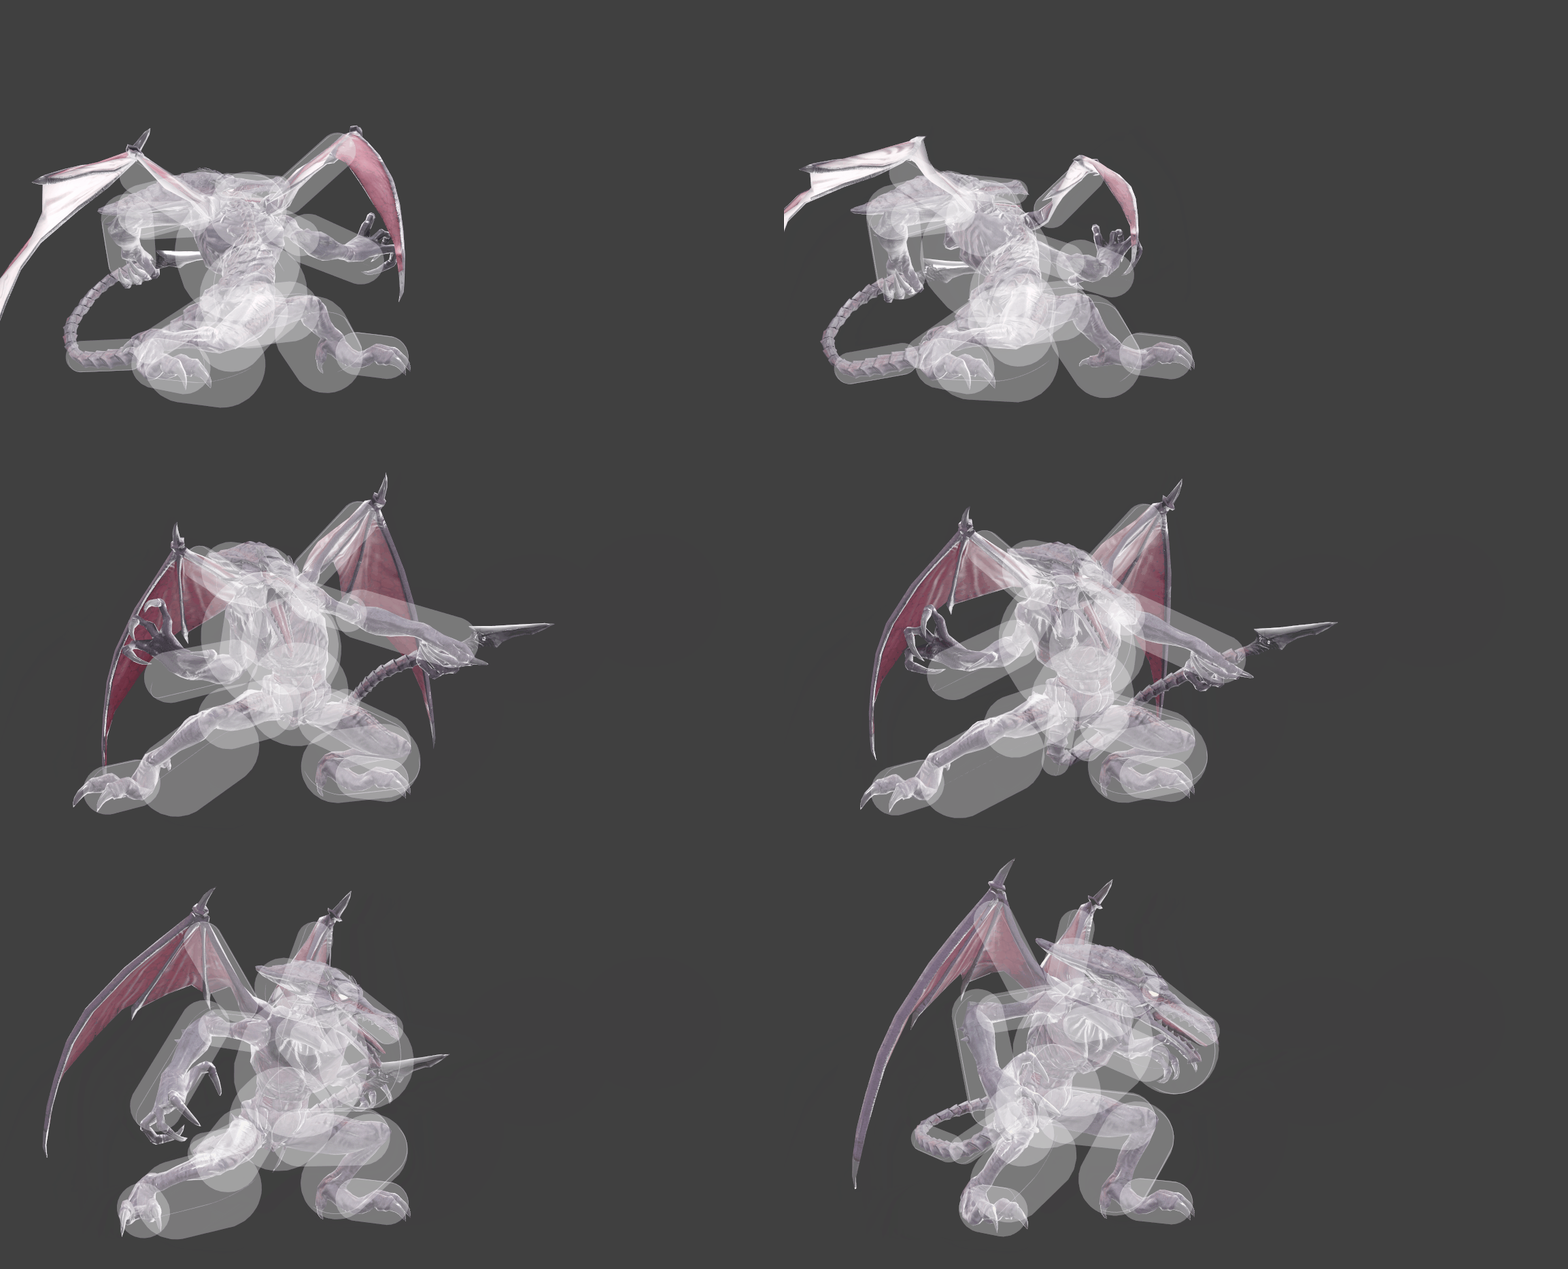
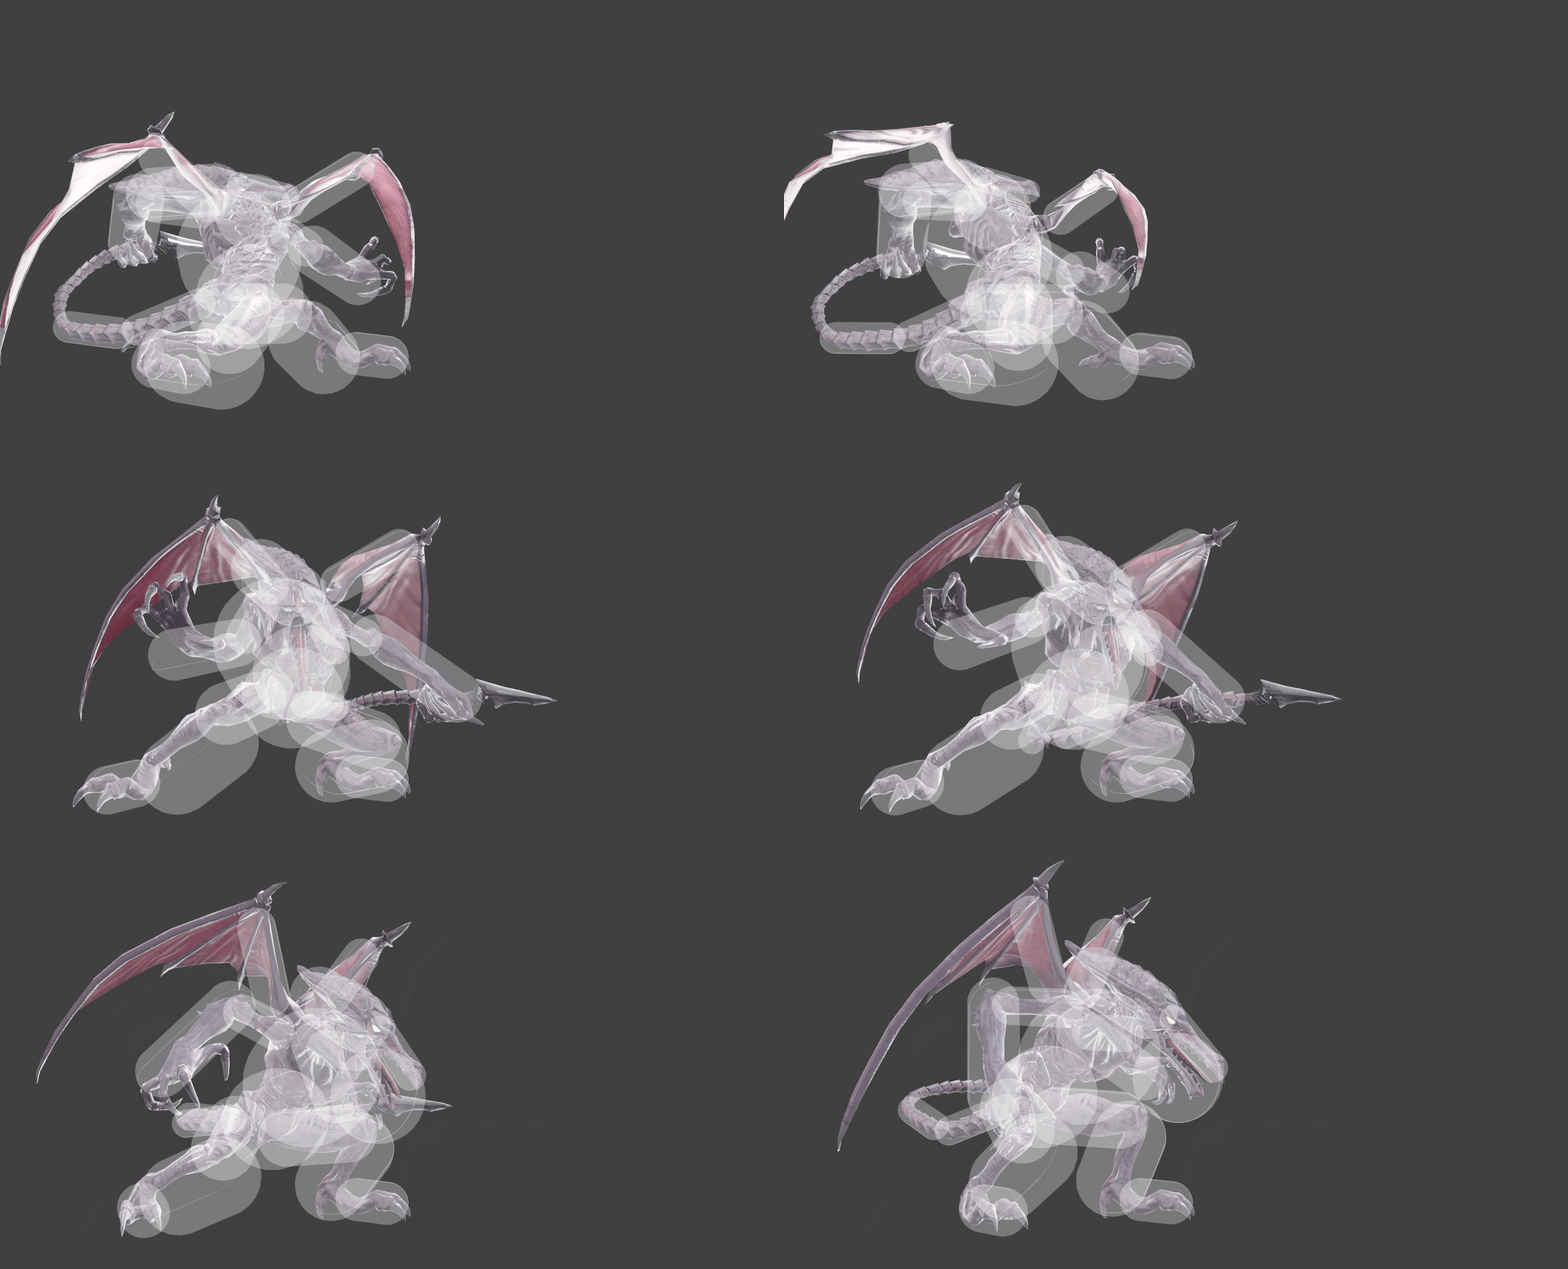
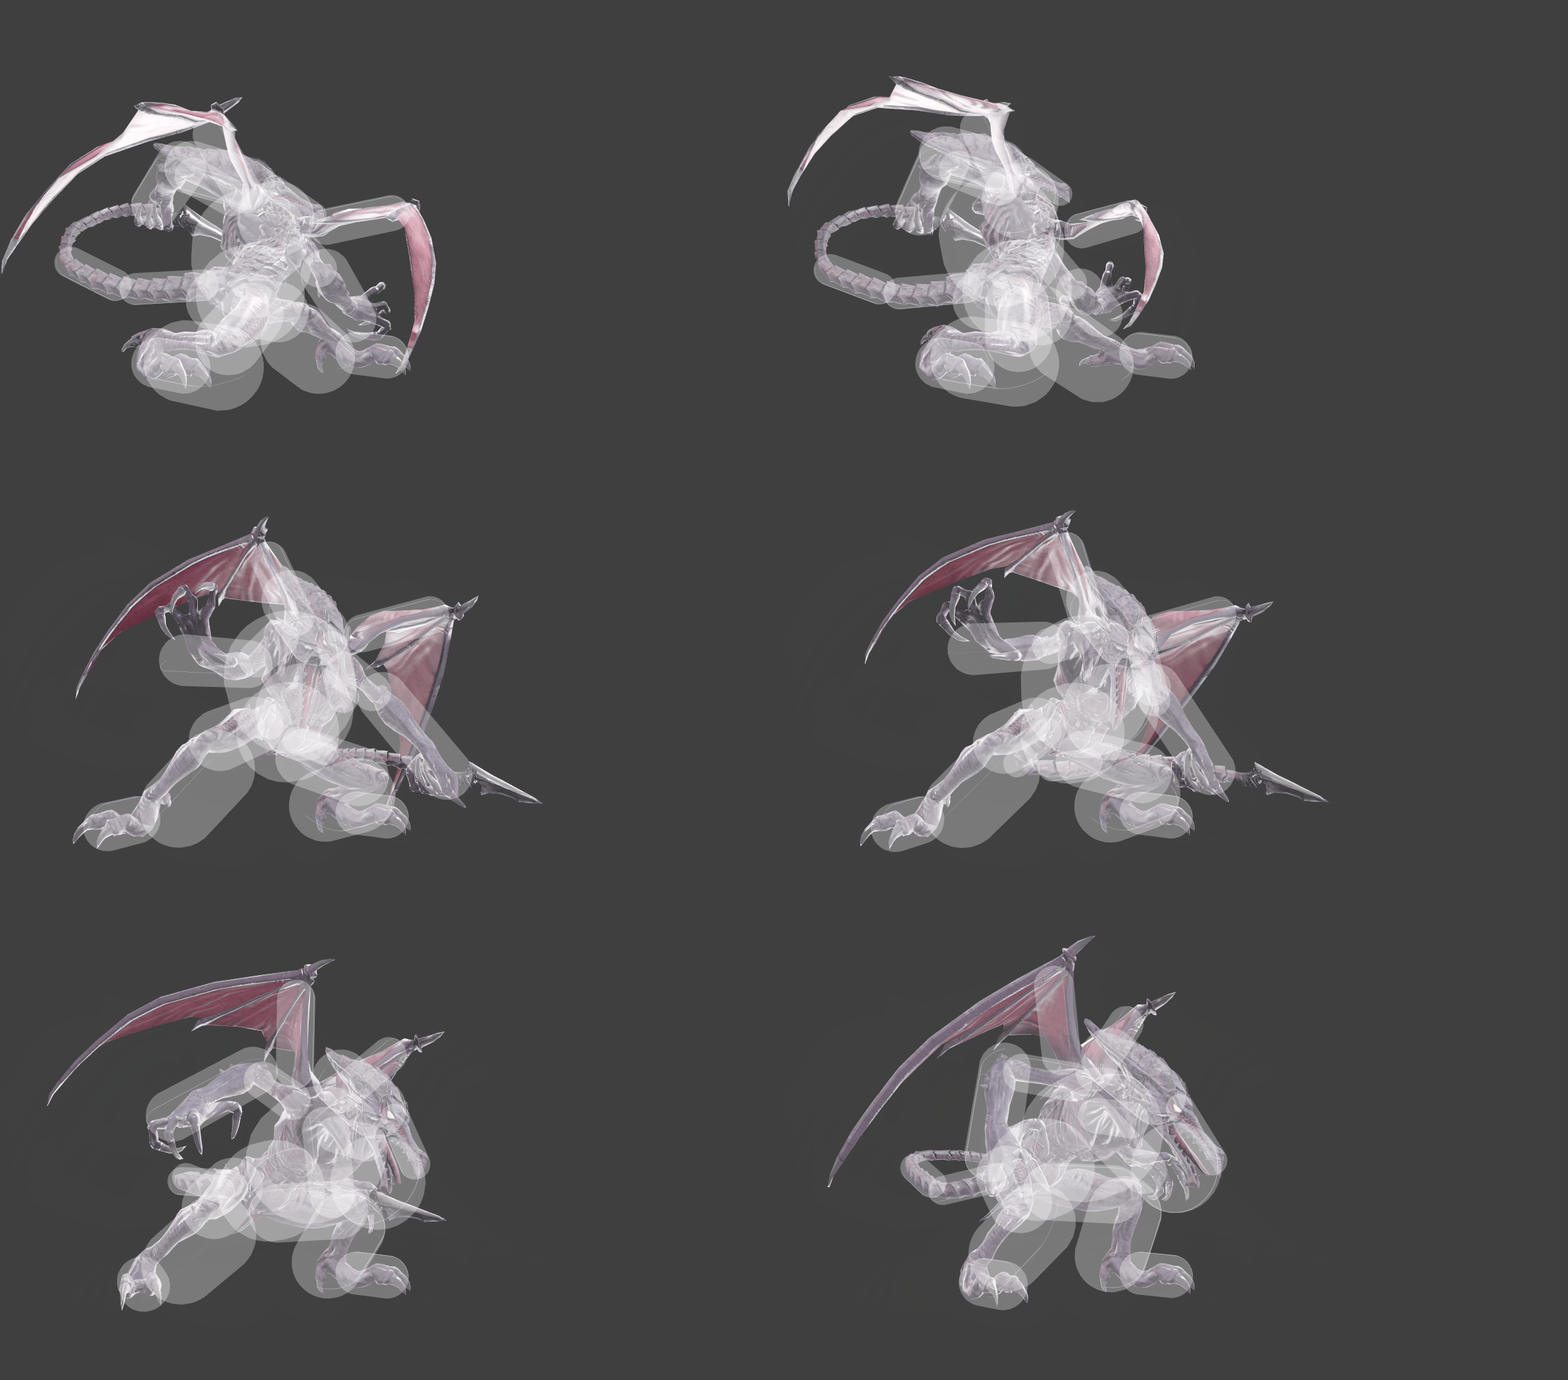
| Ridley forward tilt hitbox visualizations. | ||||
|---|---|---|---|---|
| ↗ | 
| |||
| → | 
| |||
| ↘ | 
| |||
Overview
Ridley uses his tail to stab in front of him, as if it were a lance. This move is very important for Ridley's spacing game, as the tip of the tail is a disjoint. It can also be angled. Thanks to the low FAF, this move can be seen as a low commitment to make. This move is often seen being used in neutral for these qualities, as well as the tipper's shield safety (-10 Tipper, -12 Early).
Forward tilt's main asset is the downward angle, as it can 2-frame and hit opponent's ledgehangs. This is a large asset in edgeguarding and ledgetrapping opponents. This is also useful for poking through shields. The upward angle can be used against jump-ins to get the opponent to back off as well, giving the move a great deal of versatility. Forward tilt can also be used to get tech chase situations, which Ridley can exploit well with locks, neutral aerial and more.
The move has very few flaws, but they do exist. Even when angled up, forward tilt tends to lose to attacks from above, and even upper-diagonal jump-ins. The sourspot also tends to be a problem if it isn't sending into tumble.
Hitboxes
Timing
| Hitboxes | 10-11 |
|---|---|
| Interruptible | 33 |
| Animation length | 42 |
Lag time |
Hitbox |
Interruptible |
|