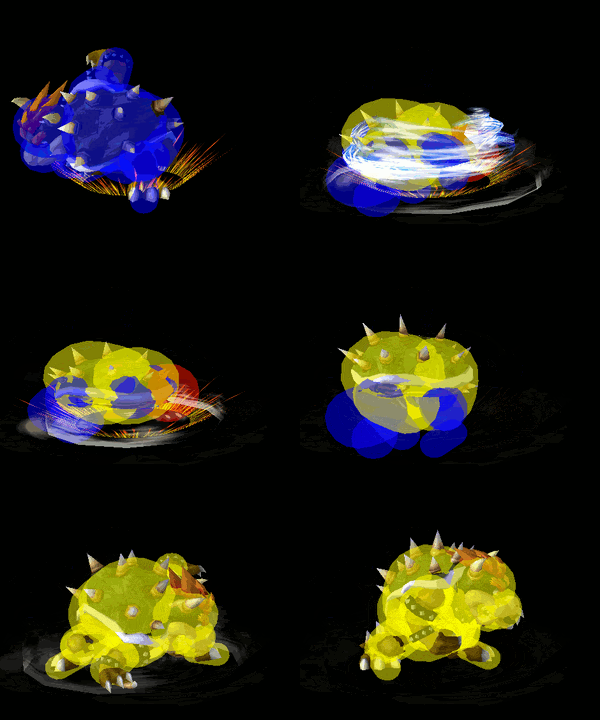
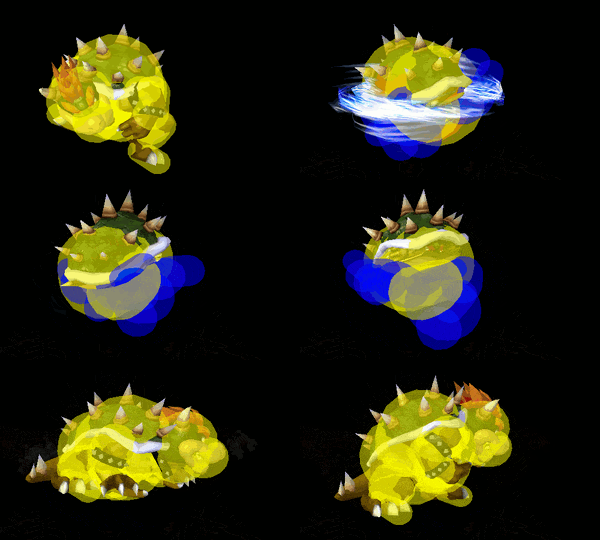
Overview
Bowser retreats into his shell and starts spinning. A recovery move with very little start up. The attack has great knockback when used on the ground, and in the air, it is good for racking up damage. The attack usually hits once on the ground, however if the move is started when too close to Bowser it can hit twice dealing 17% but usually denying kill attempts. In the air it hits multiple times and can rack up a max of 32%. It's a great horizontal recovery, but does not cover much vertical distance. Can be used to grab the ledge quickly when grounded facing either direction.
The grounded version is one of Bowser's fastest and best moves, intangible from frames 1-4 and hitting on frame 5 (multiple hits until frame 46). It also functions as a kill option particularly against floatier characters, killing Jigglypuff consistently at 80% except on Dreamland where it kills around 105%. However, its primary use is to threaten overly aggressive opponents and allow Bowser the breathing room to set up his other slower options.
It's also sometimes used as a combo starter due to its vertical angle and likelihood to trade with another move due to the first active frame being the first vulnerable frame and the move covering Bowser's entire body. This is known colloquially known as a Shell Shock and is caused by trading with a low knockback move such as Falco laser or Sheik needle or any other move that doesn't put Bowser in significant Hitstun and then following up out of the low Hitstun with some move.
Hitboxes
Ground
Air
Timing
Grounded
| Intangible | 1-4 |
|---|---|
| Clean Hit | 5-6 |
| Head and Limbs Intangible | 6-49 |
| Mid Hits | 7-10 11-14 14-18 19-22 23-26 |
| Late Hits | 27-30 31-34 35-38 38-42 42-46 |
| Animation length | 79 |
| Hitboxes | |||||||||||||||||||||||||||||||||||||||||||||||||||||||||||||||||||||||||||||||
| Entire body | |||||||||||||||||||||||||||||||||||||||||||||||||||||||||||||||||||||||||||||||
| Head and limbs |
Aerial
| Clean Hit | 5-6 |
|---|---|
| Head and Limbs Intangible | 7-49 |
| Hits 2-6 | 7-10 11-14 14-18 19-22 23-26 |
| Hits 7-11 | 27-30 31-34 35-38 38-42 42-46 |
| Animation length | 49 |
| Hitboxes | |||||||||||||||||||||||||||||||||||||||||||||||||
| Head and limbs |
Landing lag
| Animation length | 10 |
|---|
| Lag time |
Hitbox |
Hitbox change |
Vulnerable |
Intangible |
|

