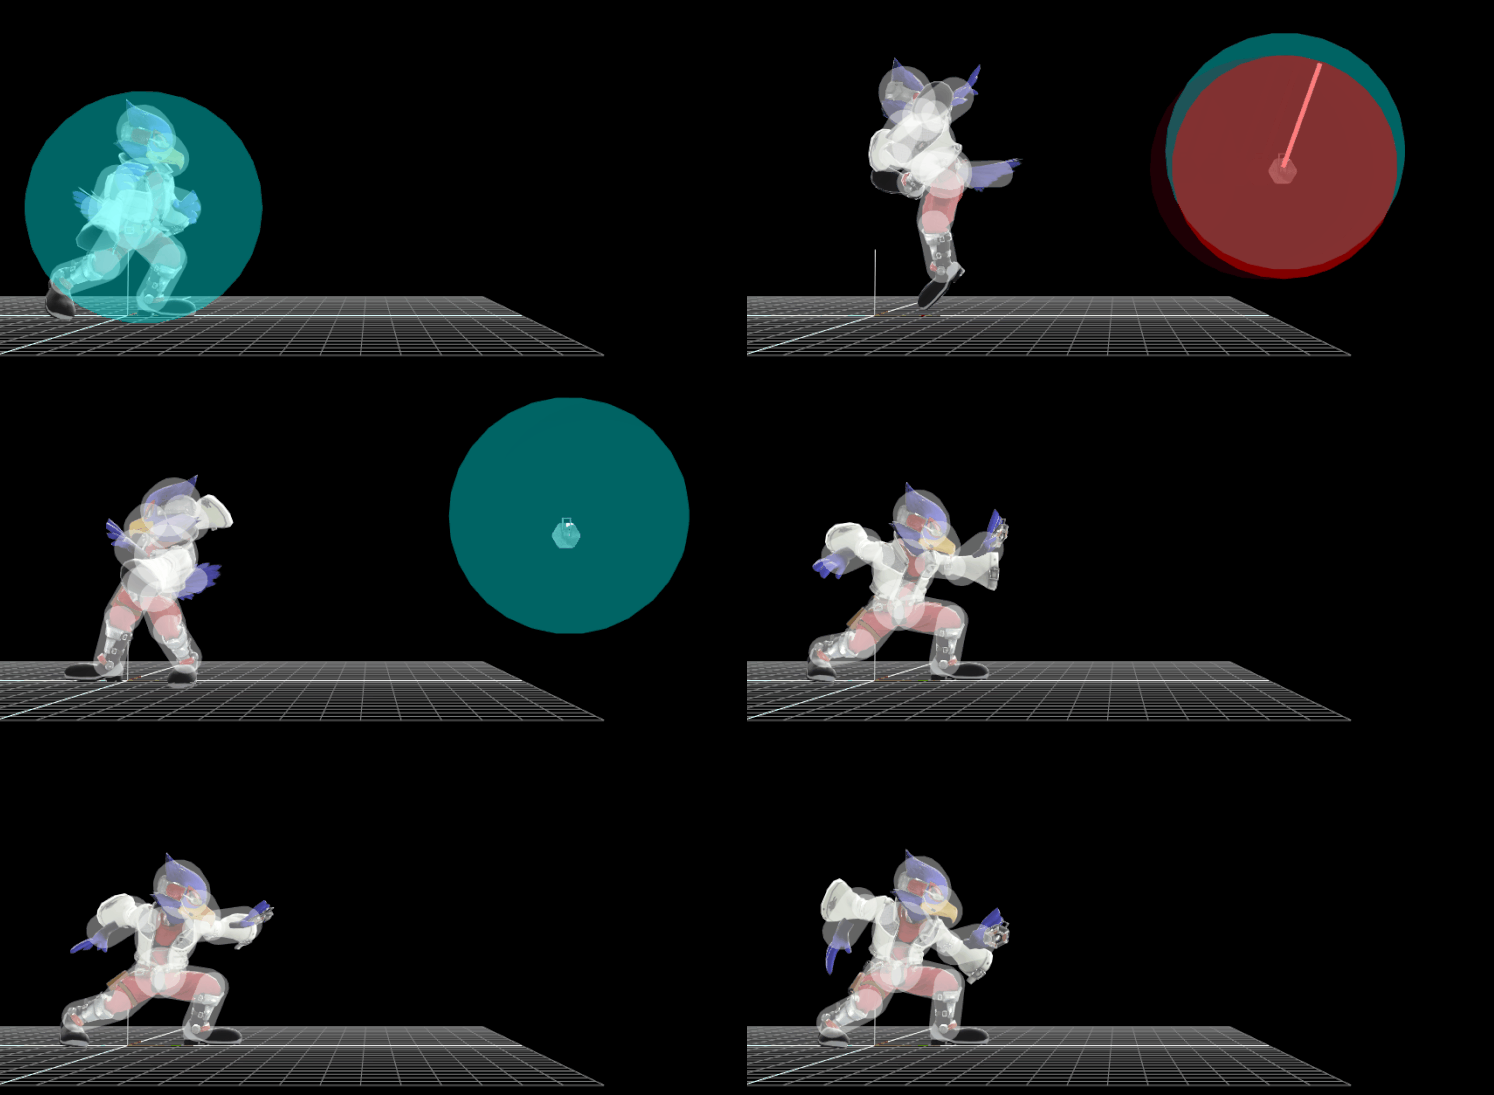
Falco (SSB4)/Down special/Custom 2: Difference between revisions
From SmashWiki, the Super Smash Bros. wiki
< Falco (SSB4) | Down special
Jump to navigationJump to search
(added hitbox visual) |
Daniel1204 (talk | contribs) mNo edit summary |
||
| Line 1: | Line 1: | ||
{{ArticleIcons|ssb4=y}} | {{ArticleIcons|ssb4=y}} | ||
[[File:FalcoReflectorC3.gif|thumb|270px|Hitbox visualization showing Falco's Reflector Void.]] | {{disambig2|the hitbox visualization in ''[[Super Smash Bros. 4]]''|the move itself|Reflector Void}}[[File:FalcoReflectorC3.gif|thumb|270px|Hitbox visualization showing Falco's Reflector Void.]] | ||
{{competitive expertise}} | {{competitive expertise}} | ||
| Line 31: | Line 31: | ||
{{MvSubNavFalco|g=SSB4}} | {{MvSubNavFalco|g=SSB4}} | ||
[[Category:Falco (SSB4)]] | [[Category:Falco (SSB4)]] | ||
[[Category:Special moves (SSB4)]] | |||
[[Category:Down special moves (SSB4)]] | [[Category:Down special moves (SSB4)]] | ||
[[Category:Custom Moves (SSB4)]] | [[Category:Custom Moves (SSB4)]] | ||
Revision as of 15:27, May 17, 2020
| ID | Part | Damage | SD | Angle | BK | KS | FKV | Radius | Bone | Offset | SDIx | H× | T% | Clang | Rebound | Type | Effect | G | A | Sound | Direct | ||
|---|---|---|---|---|---|---|---|---|---|---|---|---|---|---|---|---|---|---|---|---|---|---|---|
| 3 | 1002 | 9% | 5 | 60 | 80 | 0 | 8.5 | 0 | 1.2 | 0.0 | 0.0 | 0.0x | 1.0x | 0% | |||||||||
|

