User:Scr7/Falco (SSBM) Guide
| Falco in Super Smash Bros. Melee | |
|---|---|
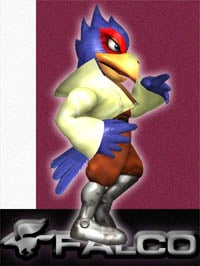 
| |
| Universe | Star Fox |
| Other playable appearance | in Brawl |
| Availability | Unlockable |
| Tier | S (2) |
This is a guide to Falco in SSBM made by Scr7.
Pros & Cons[edit]
Pros[edit]
- Great comboer
- Amazing spike
- Many KO options
- Amazing projectile
- Excellent approach
- Very high amount of favourable matchups.
Cons[edit]
- Terrible recovery
- High falling speed makes him a target for combos and chaingrabs.
Summary[edit]
Falco is a character with fast and powerful attacks, many combos (especially with shine techniques), an excellent projectile that can stop approaching opponents and has transcendent priority, and excellent matchups, with no disadvantageous ones. He is also a good edgeguarder, but despite that, he is in a bad position when offstage (other than edgeguarding) because of his terrible recovery - while he has high jumps and the ability to wall jump, his Phantasm and Fire Bird have linear problems and travel a short distance (especially the latter). This is further hampered by his very low air speed and very high falling speed, which also makes him a target for combos and chaingrabs. Falco's strengths greatly outweigh his weaknesses however, and he can do many amazing things onstage.
Matchups[edit]
| Avg. | |||||||||||||||||||||||||||
Moveset[edit]
Normal attacks[edit]
Jab[edit]
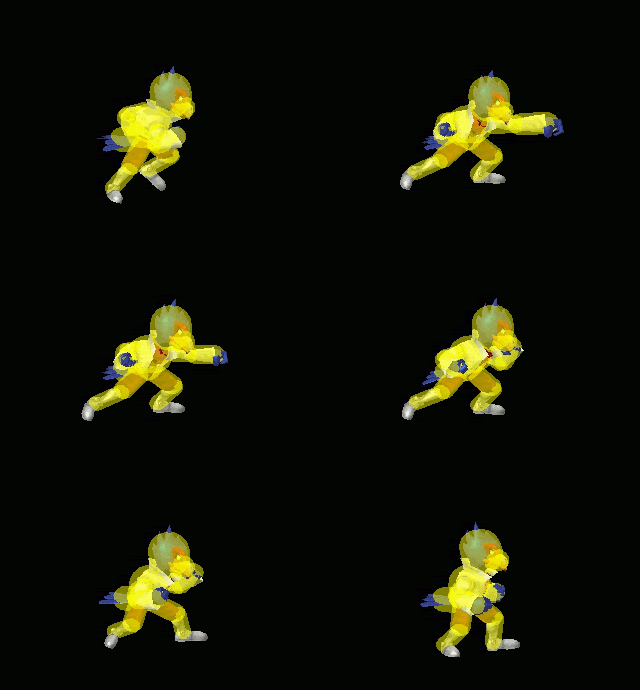
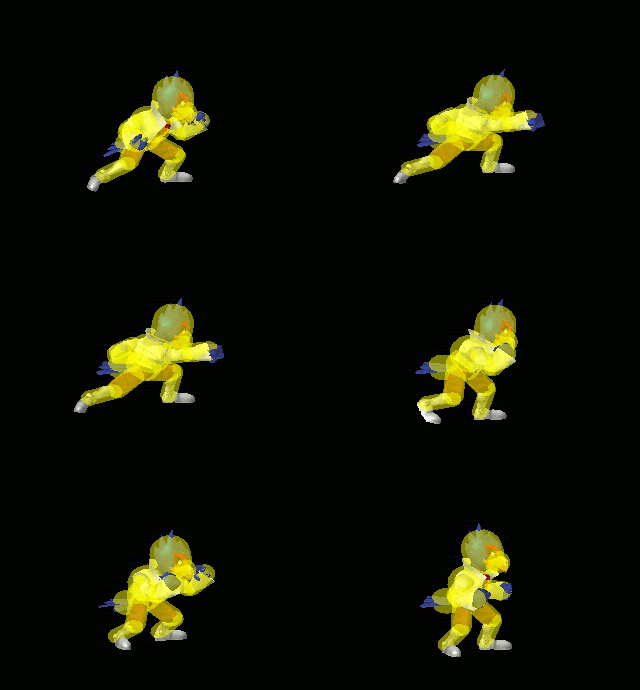
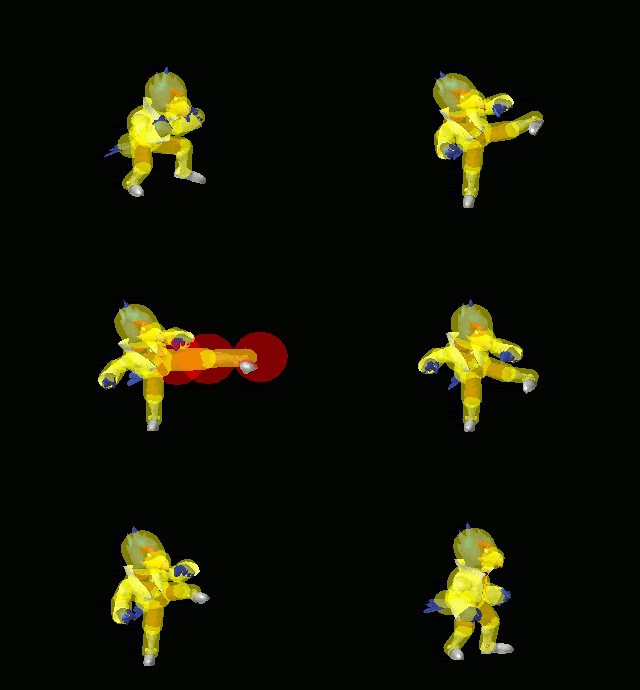
Damage: 4% (first jab), 4% (second jab), 1% (per kick)
Description: Two fast jabs (the second jab moves Falco forward slightly), and then a series of fast kicks. With the first two you can jab reset an opponent who doesn't tech a d-throw or dair. The input of the second jab can be buffered after the first. The kicks are near useless as they do hardly any damage and are easy to punish.
Frame data[edit]
Jab 1[edit]
| Total | 17 |
|---|---|
| Hits on | 2-3 |
| IASA | 16 |
| Window for jab 2 | 3-31 |
| Jab 2 starts | 6 (or later) |
Jab 2[edit]
| Total | 20 |
|---|---|
| Hits on | 3-4 |
| IASA | 19 |
| Window for jab 3 | 1-20 |
| Next jab starts | 7 |
Jab 3[edit]
| Hits | 3-4, 10-11, 17-18, 24-25, 31-32 |
|---|---|
| Full cycle | 36 |
Note: There are 6 frames between each kick.
Forward tilt[edit]
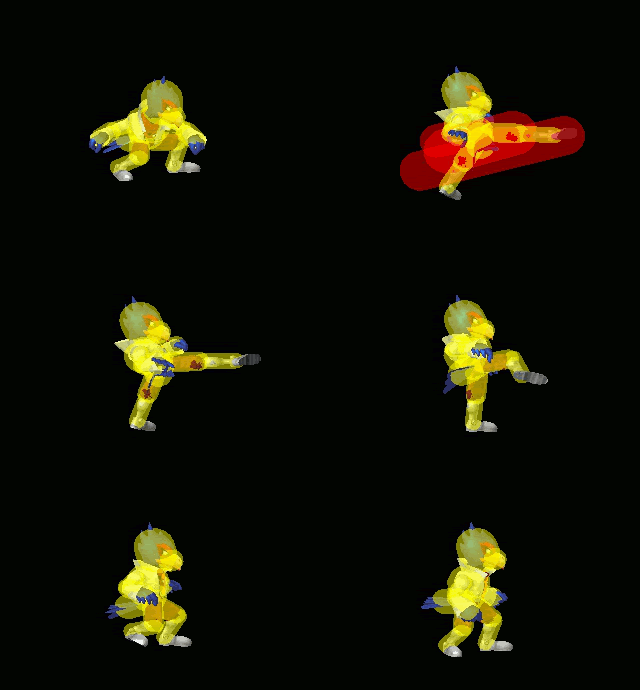


Damage: 9%
Description: A quick kick forward. It is fast and has impressive range for a tilt. It is quite useful for spacing. If angled down it covers the ledge (most reliable when angled down), so it can edgeguard [1].
Frame data[edit]
| Total | 26 |
|---|---|
| Hits | 5-9 |
Note: This will always be the same, regardless of how the move is angled.
Up tilt[edit]
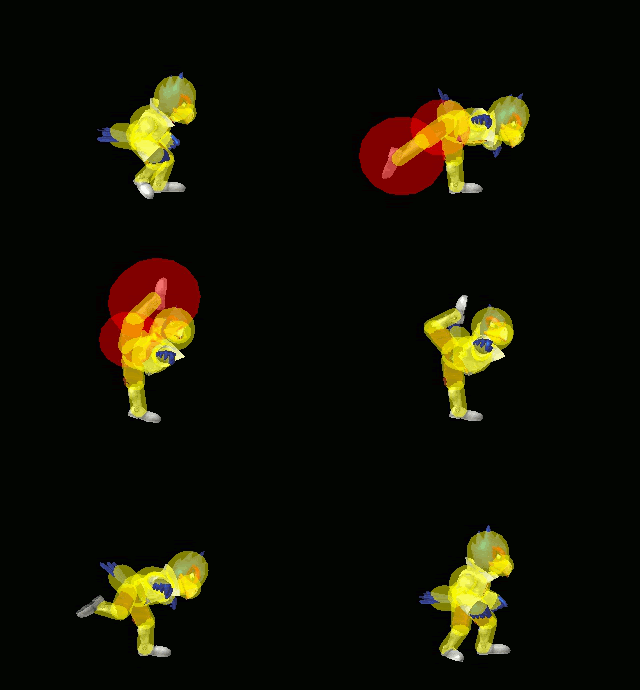
Damage: 9%
Description: Falco flips his leg behind himself. Very fast, knocks opponents into the air, and has incredible combo ability, able to follow up with aerials or a shine. Great range vertically, and good range horizontally, but you need to have your back towards the opponent if you're spacing (though there are hitboxes in front of Falco).
Frame data[edit]
| Total | 23 |
|---|---|
| Hits | 5-11 |
| IASA | 23 |
| Shield stun | 11 |
| Shield hitlag | 5 |
Down tilt[edit]
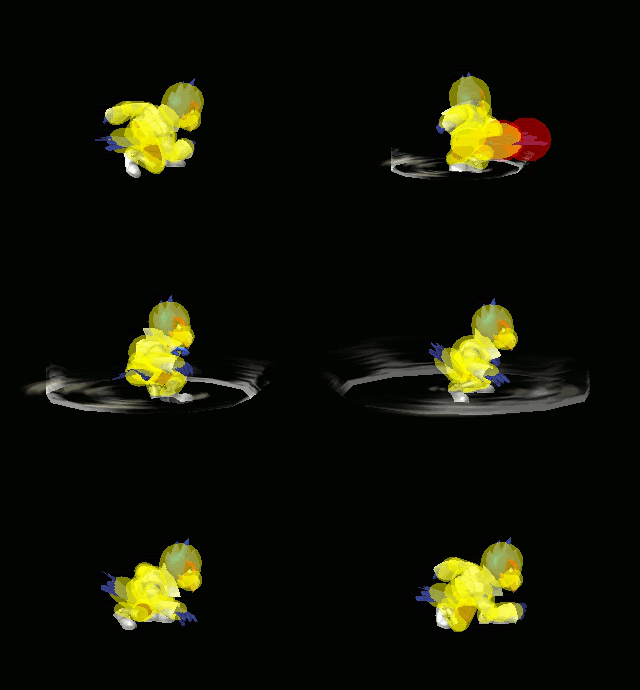
Damage: 13%
Description: Falco swipes his tail in front of himself. Unusually powerful damage and knockback for a tilt, it knocks opponents into the air and can KO some characters at around 90% if fresh. While it is considerably powerful, its extremely short range hampers its effectiveness.
Frame data[edit]
| Total | 29 |
|---|---|
| Hits | 7-9 |
| IASA | 28 |
Dash attack[edit]
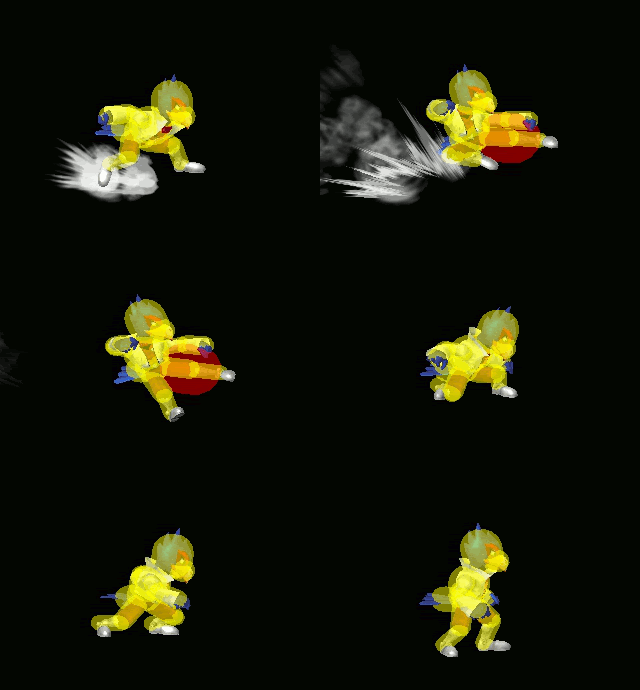
Damage: 9% maximum
Description: Falco does a quick leap forward, with his foot out. Damage depends on how late the opponent is hit, but the highest is 9%. Not that useful of a move.
Frame data[edit]
| Total | 39 |
|---|---|
| Hits | 4-17 |
| IASA | 36 |
Smash attacks[edit]
Forward smash[edit]
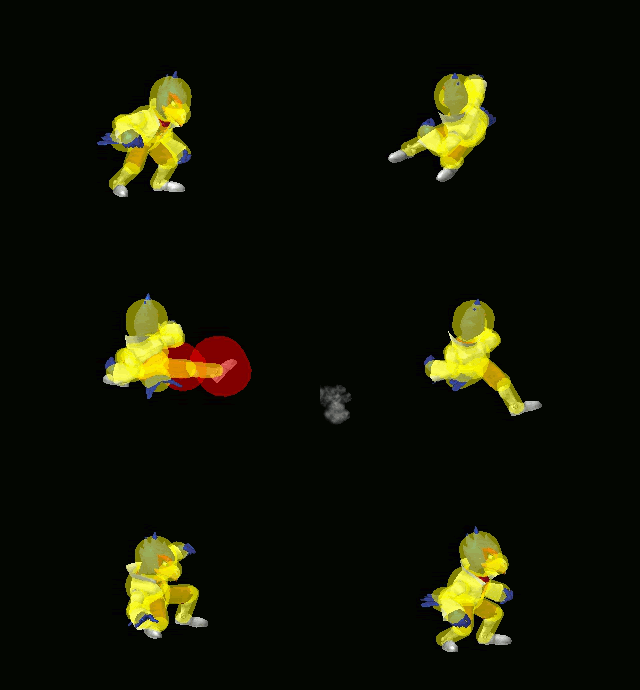
Damage: 14-17% uncharged, 19-23% fully charged
Description: Falco flips his body and kicks in front of himself. It has good range and is a very powerful move, usually KOing at around 90-110%, and is a good option against an opponent who is trying to get on the ledge, especially if they are above 100% damage [2].
Frame data[edit]
| Total | 39 |
|---|---|
| Hits | 12-21 |
| Charge frame | 7 |
Up smash[edit]
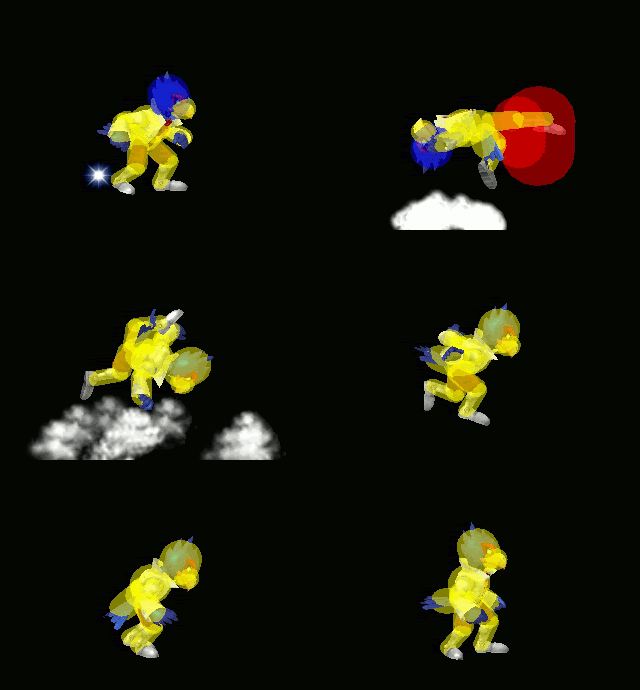
Damage: 14% uncharged, 19% fully charged
Description: Falco flips his whole body in a 360° spin from his standing point, feet extended, and lands. Is an okay juggler, but there are usually better options to get opponents into the air (u-tilt, shine). It can also hit behind Falco, albeit with significantly lower knockback.
Frame data[edit]
| Total | 43 |
|---|---|
| Hits | 7-15 |
| Head invincible (but not beak) | 1-10 |
| Charge frame | 2 |
Down smash[edit]
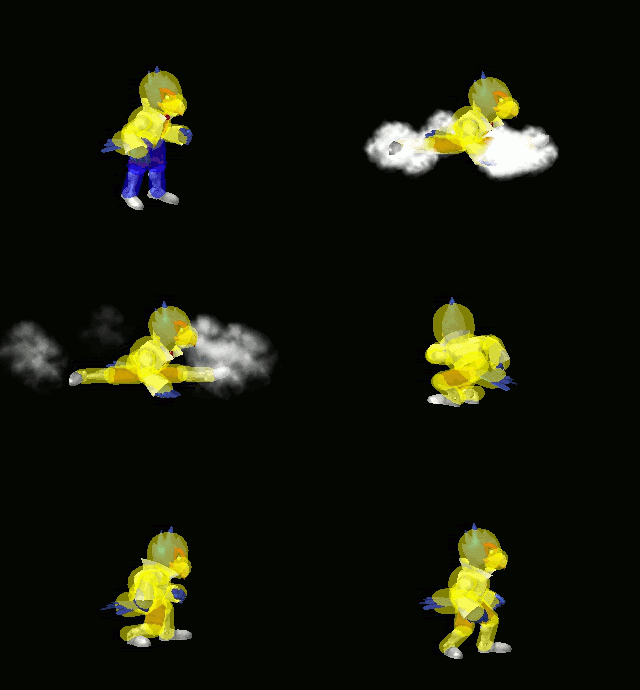
Damage: 16% uncharged, 21% fully charged
Description: Falco does a quick split. Being a powerful semi-spike, it is excellent for edgeguarding when you're on the edge of the stage and the opponent is recovering. High KO power. It does have rather short range though.
Frame data[edit]
| Total | 49 |
|---|---|
| Hits | 6-10 |
| Legs invincible | 1-6 |
| Charge frame | 2 |
| IASA | 46 |
Aerial attacks[edit]
Neutral aerial[edit]
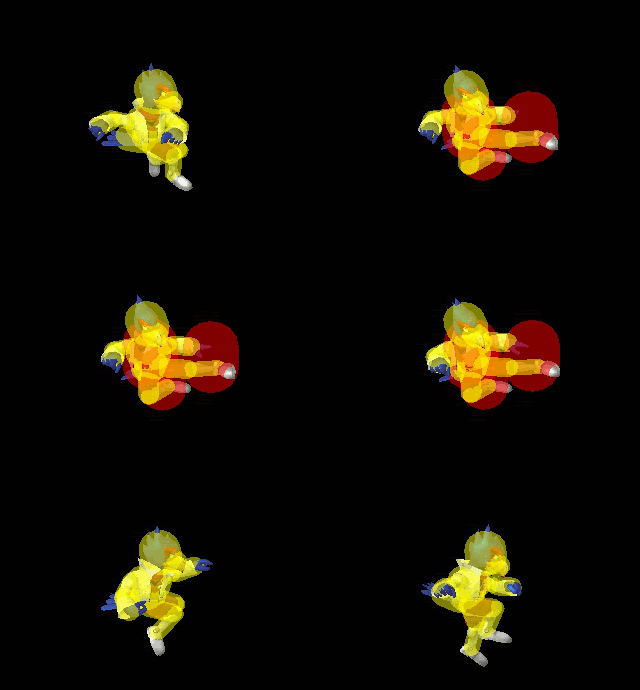
Damage: 12%
Description: A simple sex kick. High knockback when it first comes out, pretty good to use in a short hop. When L-canceled this really helps, it can even stop dash-dancing. While edgeguarding, if you don't know if your opponent is going to go for an instant or delayed recovery, this is a reliable option as its duration allows it to cover the spot they want to get to.
Frame data[edit]
| Total | 49 |
|---|---|
| Hits | 4-31 |
| IASA | 42 |
| Autocancel | <3 37> |
| Landing lag | 15 |
| Landing lag when L-canceled | 7 |
Forward aerial[edit]
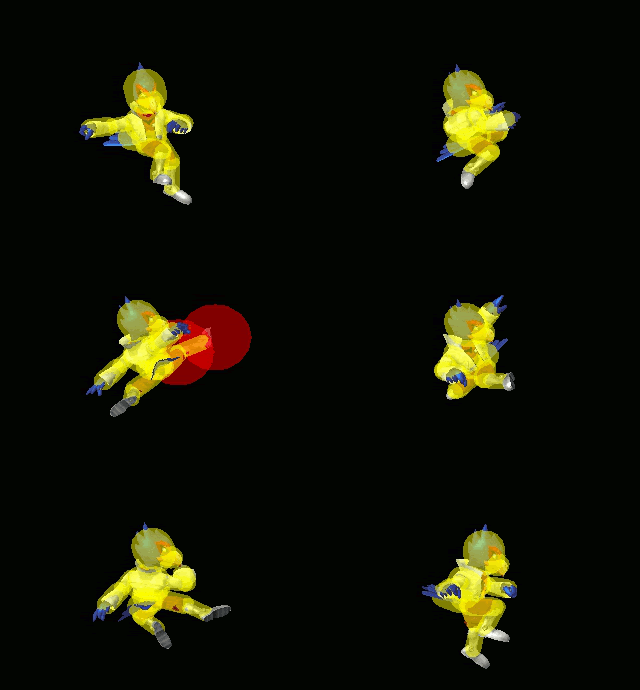
Damage: 27% if all hits connect
Description: Five kicks in front. While it does do a nice amount of damage if all hits connect, it's almost impossible to actually land all five kicks due to the high duration. However, it works much more reliably against floaty characters (recommended to L-cancel also), so then you can rack up damage with it much easier (it also has more range than the nair or bair, which would normally be a much better option). It also gives Falco a short time to react with another jump or recovery, so if you use it offstage below the ledge, you won't be able to get back up.
Frame data[edit]
| Total | 59 |
|---|---|
| Hits | 6-8, 16-18, 24-26, 33-35, 43-45 |
| IASA | 53 |
| Autocancel | <5 49> |
| Landing lag | 22 |
| Landing lag when L-canceled | 11 |
Back aerial[edit]
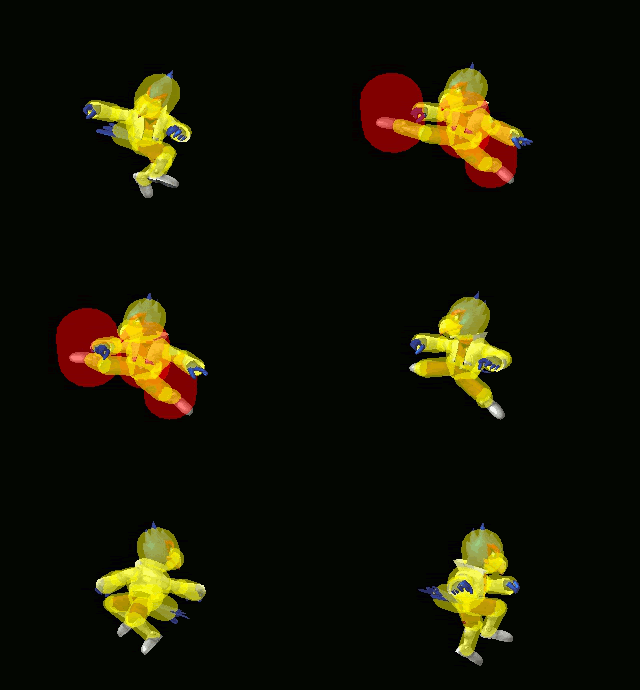
Damage: 9-15%
Description: Back kick. Another sex kick. Great for edgeguarding, good KO power, so it's a useful move. It can be used like the nair, but while it as around the same speed, it has shorter duration, so a nair would be better for edgeguarding near the ledge. Near the upper blast line this move is good for getting a Star KO, can follow a shine or uair (the former especially if you can jump-cancel it, also this works best on Yoshi's Story and Pokémon Stadium).
Frame data[edit]
| Total | 39 |
|---|---|
| Hits | 4-19 |
| IASA | 38 |
| Autocancel | <3 23> |
| Landing lag | 20 |
| Landing lag when L-canceled | 10 |
Up aerial[edit]
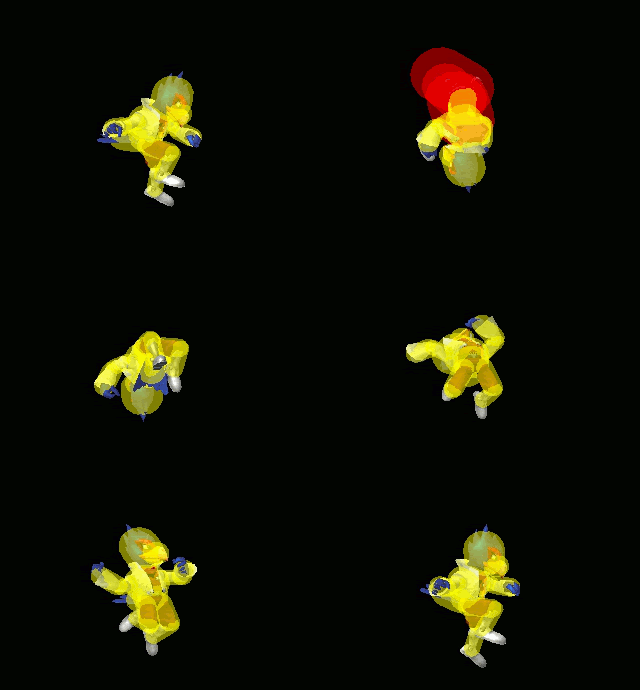
Damage: 15% if both hits connect
Description: Falco kicks up and extends his tail. Knocks opponents up, so it can be used for juggling, but it's not really that powerful. However, it's a great way to follow up a u-throw. The first hit does 6% and the second does 9%; if the opponent is hit by the center of Falco's body it does all the damage but no knockback, which you don't want.
Frame data[edit]
| Total | 39 |
|---|---|
| Hits | 8-9, 11-14 |
| IASA | 36 |
| Autocancel | <7 26> |
| Landing lag | 18 |
| Landing lag when L-canceled | 9 |
Down aerial[edit]
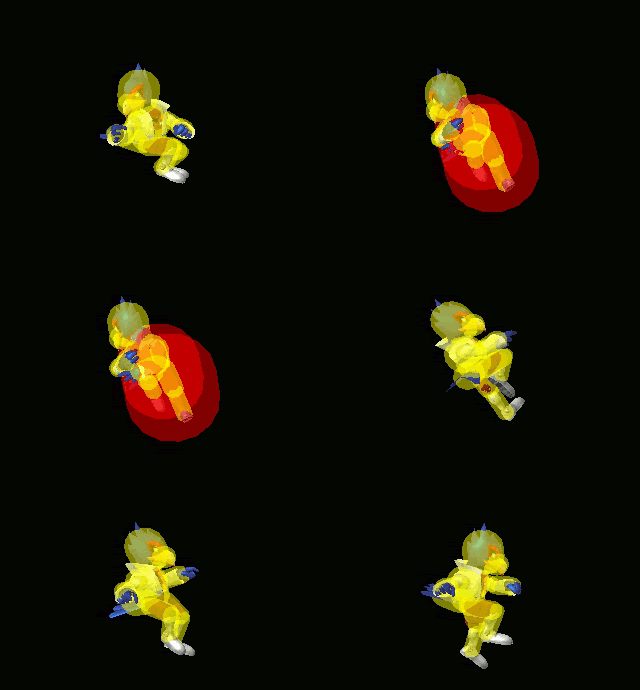
Damage: 9-12%
Description: Falco spins around in place at a downwards angle. Very strong spike and it can KO characters quickly and effeciently. You can do it out of a short hop near the ledge, or you can end an aerial combo with it if it knocks them offstage. For example, a shine/u-tilt done near the ledge combos into dair reliably. So it's an excellent KO move, but it's extremely risky to use it offstage due to the lag and Falco's terrible vertical recovery. Other than that, it's not too far from perfection.
Frame data[edit]
| Total | 49 |
|---|---|
| Hits | 5-24 |
| Autocancel | <4 30> |
| Landing lag | 18 |
| Landing lag when L-canceled | 9 |
Note: In the NTSC version both parts of the move spike, but in the PAL version, the second part does weak horizontal knockback instead.
Grabs & Throws[edit]
Grab[edit]
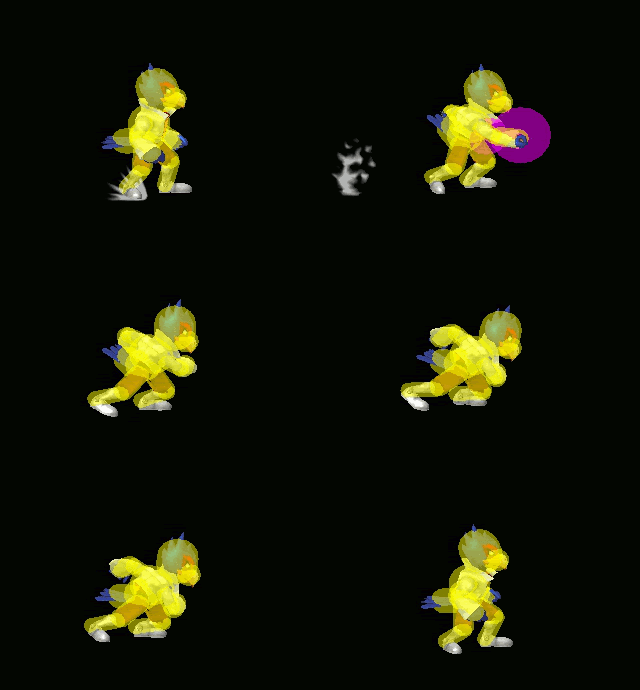
Frame data[edit]
| Total | 30 |
|---|---|
| Grab | 7-8 |
Dash grab[edit]
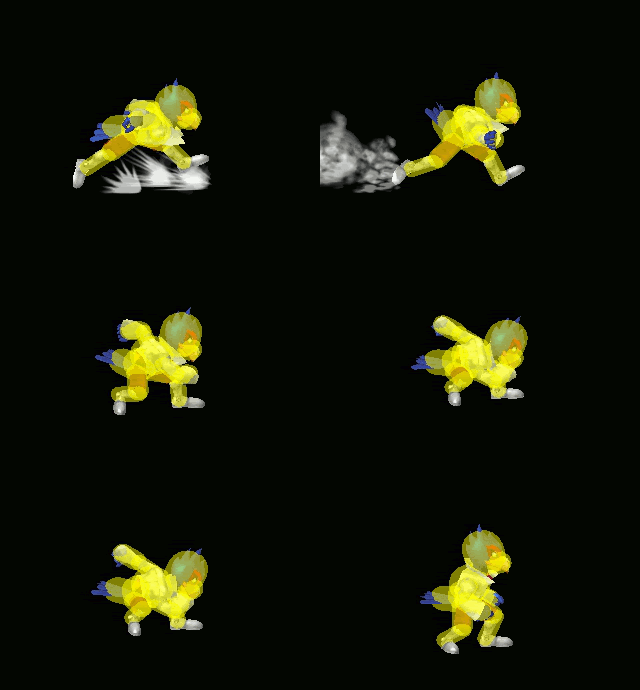
Frame data[edit]
| Total | 40 |
|---|---|
| Grab | 12-13 |
Pummel[edit]
Damage: 2-3% per pummel
Rating: N/A
Description: Falco knees the opponent, an alright pummel.
Forward throw[edit]
Damage: 7%
Description: Falco punches the opponent forward, not many comboing follow-ups are available, unless you use it to force opponents offstage for edgeguarding. It can chaingrab floaty characters (to some extent).
Back throw[edit]
Damage: 4% (toss), 4% (lasers)
Description: Falco tosses the opponent behind, then fires four quick Blaster shots. Again, like the f-throw, it doesn't have many comboing follow-ups, but can force opponents offstage. It is possible to tech-chase an opponent, depending on their DI, but that isn't very reliable.
Up throw[edit]
Damage: 3% (toss), 4% (lasers)
Description: Falco tosses the opponent up, then fires four quick Blaster shots. Excellent for setting up an aerial combo, particularly a uair, or a shine or dair. However, it can be DI'd out of at higher percentages, so watch out for that.
Down throw[edit]
Damage: 4%
Description: Falco slams the opponent onto the ground and shoots them four times. Doesn't knock the opponent back, it just keeps them on the floor - this means that if you can predict the opponent's reaction, you can follow up with a u-tilt or shine combo. Unfortunately, it's relatively easy to tech out of. If Falco grabs the opponent at the very edge of a platform, it can meteor smash opponents over the ledge.
Special moves[edit]
Neutral special - Blaster[edit]
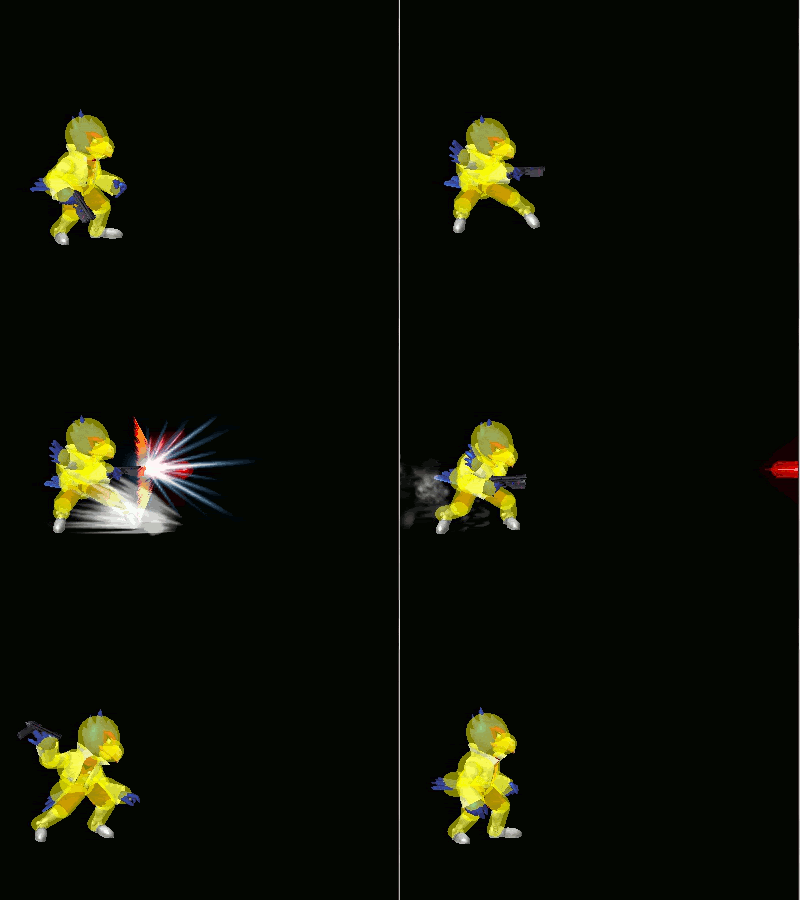
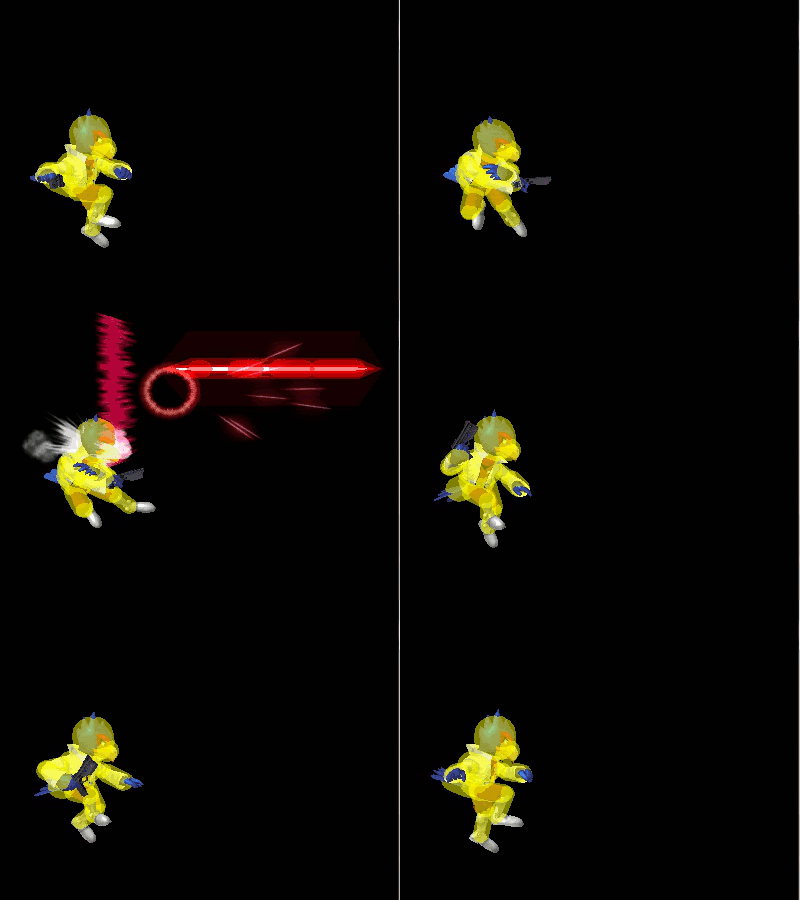
Damage: 3% per laser
Description: Falco fires a laser. Much slower than Fox's, but does more damage and actually makes the opponent flinch - for this reason alone, it is extremely useful as it can stop their approaches and stun them, allowing Falco to follow up with a grab or a u-tilt/shine if he's close and quick enough. This is the best way for Falco to approach - while running at your opponent, short hop, fire a laser, then fastfall. This is referred to as a Short Hop Laser. As Falco, you'll be using this move a lot.
Frame data[edit]
Grounded[edit]
| Total (single shot) | 57 |
|---|---|
| Shot comes out | 23 |
| Repeated shots available every | 24 |
Aerial[edit]
| Total (single shot) | 42 |
|---|---|
| Shot comes out | 13 |
| Repeated shots available every | 16 |
| Autocancel | Upon landing |
| Fastfall | Any time |
Universal[edit]
| Laser lasts for | 99 |
|---|
Side special - Falco Phantasm[edit]
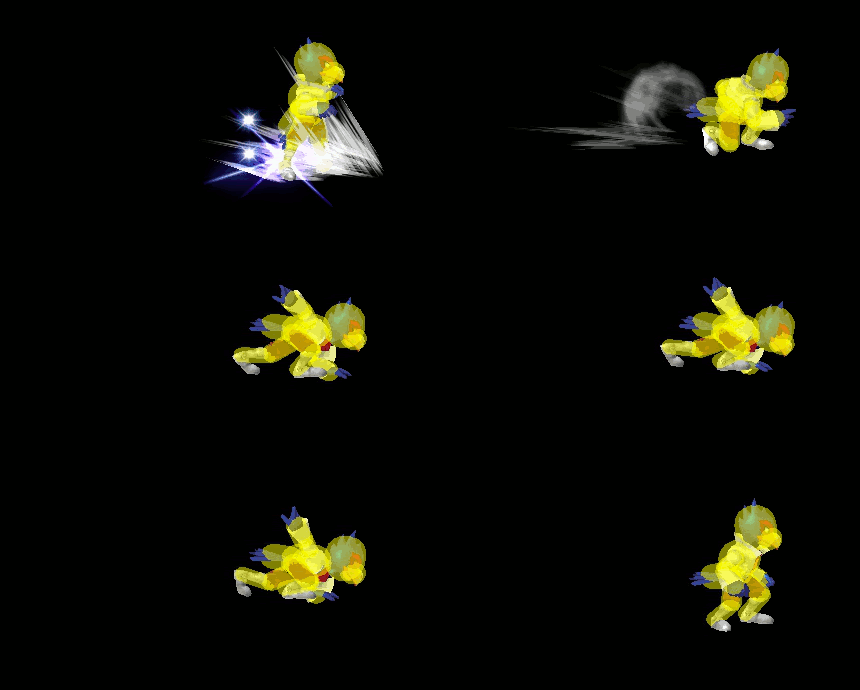
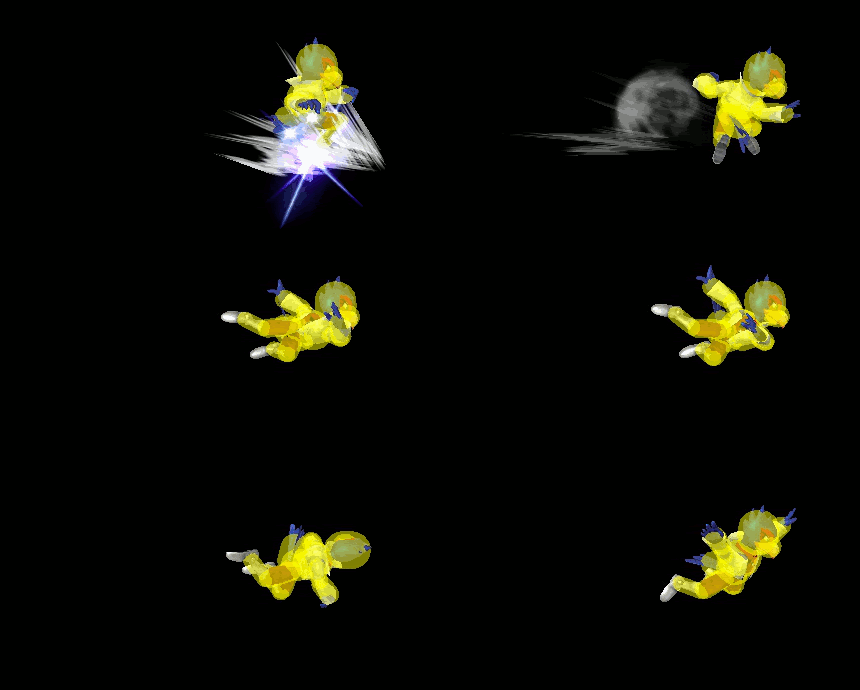
Damage: 7%
Description: Falco dashes forward, leaving an after-image that damages opponents. You should not use this as an attack because it sucks, but it's your best bet for horizontal recovery. If you get knocked off the stage, a midair jump (or a midair jump-canceled shine) followed by this move is the best way to recover, unless you're too far down. If you hit the opponent with this in the air, they will be meteor smashed!
Frame data[edit]
| Total | 59 |
|---|---|
| Falco starts moving away | 17 |
| Hits | 18-21 |
| Time to press B and stop Falco | 17-20 |
| Landing lag | 20 |
| Landfallspecial lag | 3 |
Note: This will always be the same, regardless of whether the move is done on the ground or in the air.
Note: Cancelling on frames 17-18 gives you the shortest Phantasm distance. Cancelling on frame 19 gives you the second shortest Phantasm distance. Cancelling on frame 20 gives you the third shortest Phantasm distance. Phantasm has 4 different lengths (the three shortens listed above as well as the full distance Phantasm).
Note: Can grab the edge as early as frame 25.
Up special - Fire Bird[edit]
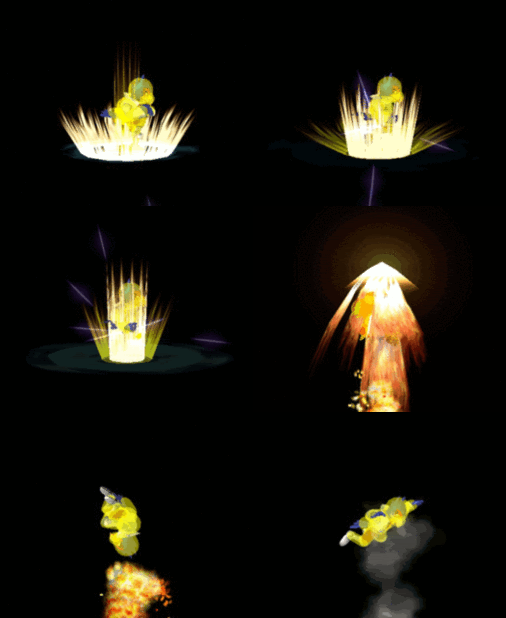
Damage: 8-16%
Description: Falco charges up in flames and blasts off in one direction, you can control this with the Control Stick. Unreliable as an attack due to the charge time (leaves Falco vulnerable). While it does deal decent vertical knockback and can Star KO, [3], a bair would still be a much safer and better option. You should only use this move for vertical recovery, but even then, it is not good as a recovery move because it travels a very short distance and it can't damage opponents during the charging, leaving Falco vulnerable to meteor smashes/spikes - with the right timing, it's even possible to meteor smash him during the blast. However, it's the only thing you can do for vertical recovery, so if you have to use it, use it.
Frame data[edit]
| Total | 84 |
|---|---|
| Hits | 43-64 |
| When to aim | 42 |
| Landing lag | 6 |
| Landfallspecial lag | 3 |
Note: Grabs nearby edges during charge up as early as frame 16.
Note: Grabs edges during moving part as early as frame 65 (going straight into wall).
Note: Grabs edges from downward angles.
Note: Grabs edges from either side.
Down special - Reflector (shine)[edit]
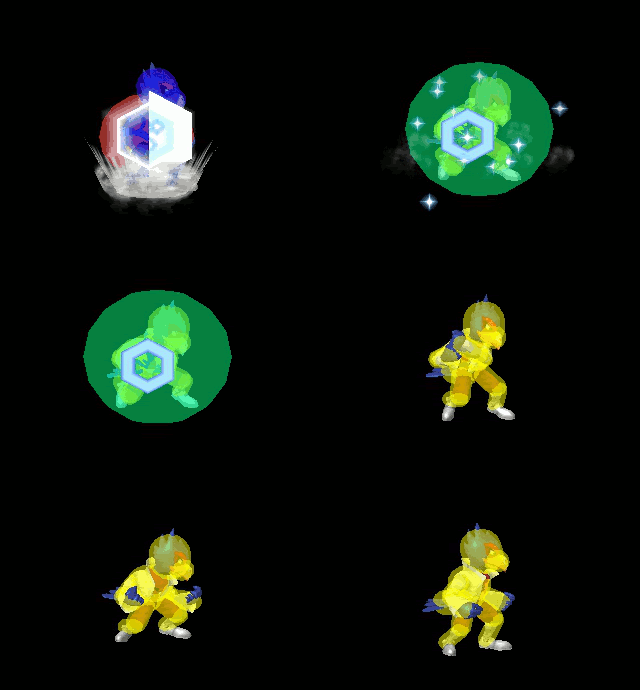
Damage: 8%
NOTE: This is called the Reflector in-game, but it is informally referred to as a shine.
Description: Another excellent special move. The shine normally just reflects projectiles back the way they came; that's the most basic use. If you hit an opponent with it, they will fly straight up with low knockback, making this move excellent for combos. It has little ending lag, and if you jump-cancel it (just jump immediately after using it), it has virtually no lag. You can even short hop out of it if your opponent is at a lower percentage. You can also midair jump-cancel it offstage. The most famous use for this is pillaring, using the jump-canceled shine along with a L-canceled dair to wear down enemy shields, which is commonly used by Falco professionals.
Frame data[edit]
| Total | 39 (or more) |
|---|---|
| Hits | 1 |
| Invincible | 1 |
| Reflects | 4-21 or release+1 |
| Lag upon release | 19 |
| Jump cancel | On the frames it reflects |
| Hitlag | 5 |
| Shield stun | 5 |
Rolls & Dodges[edit]
Forward roll[edit]
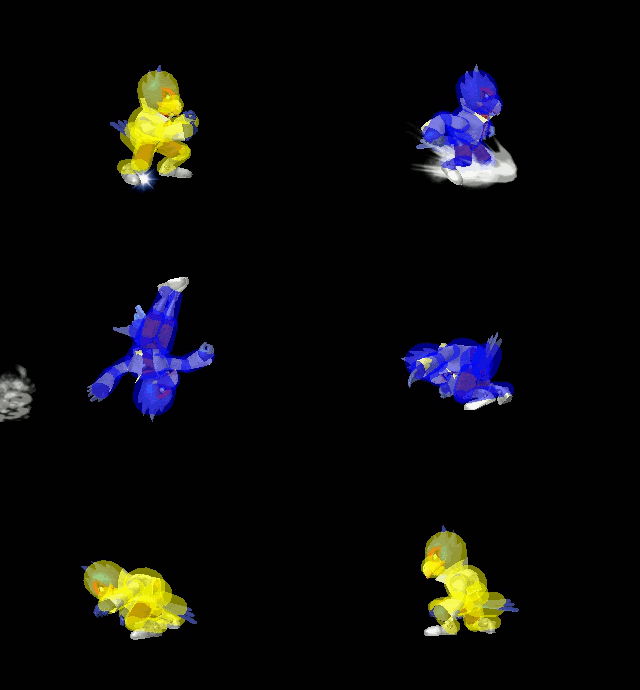
Frame data[edit]
| Total | 31 |
|---|---|
| Invulnerable | 4-19 |
Back roll[edit]
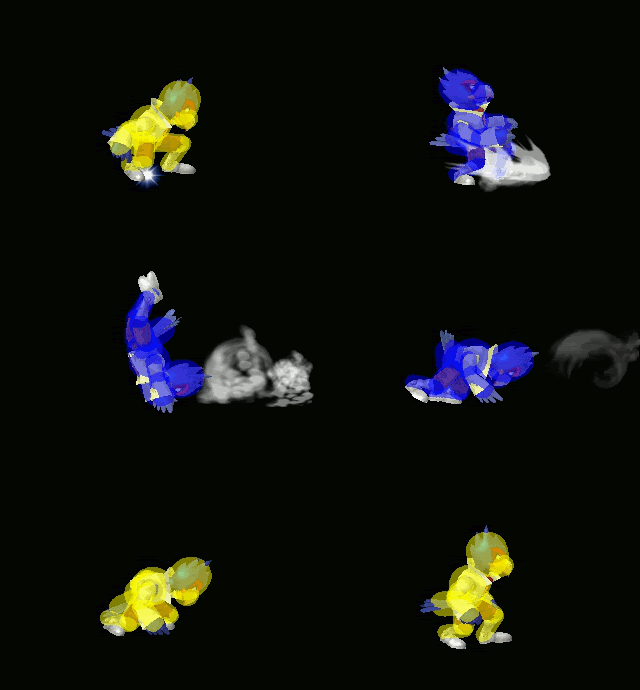
Frame data[edit]
| Total | 31 |
|---|---|
| Invulnerable | 4-19 |
Spot dodge[edit]
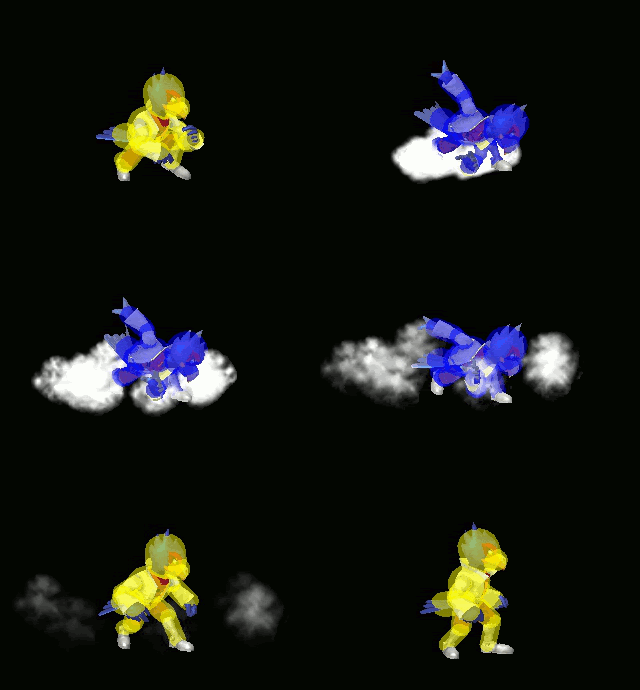
Frame data[edit]
| Total | 22 |
|---|---|
| Invulnerable | 2-15 |
Air dodge[edit]
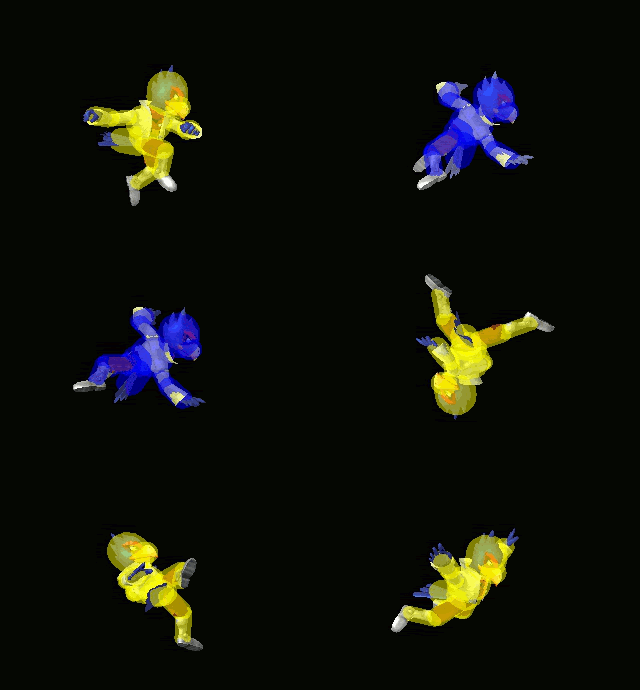
Frame data[edit]
| Total | 49 |
|---|---|
| Invulnerable | 4-29 |
Combos and techniques[edit]
Techniques[edit]
Short Hop Laser[edit]
This really helps while approaching, it allows Falco to camp easily, and it can disrupt the opponent's approaches. Basically you just short hop, fire a laser, then fastfall to the ground. You're fire the laser quickly and cancel all of the ending lag, then the fastfall allows you to immediately continue approaching. The laser stuns the opponent, so if you're close enough, you get a free grab or combo starter of your choice - shine, u-tilt, or you could even do an f-smash. Combine this with Falco's great SHFFL, and he has an excellent approach.
SHFFL[edit]
The other reason why Falco's approach is very good. This means Short Hop Fast Fall L-cancel, so while running, you short hop, then do an L-canceled aerial while fastfalling to the ground. A good idea is to do an nair. This move has high duration and if it hits late, you can follow up with a grab, shine, another nair, and so on. And if it hits clean and you're close to the ledge, you can basically quickly set up an edgeguard from an approach.
Waveshining[edit]
Waveshining is wavedashing out of a shine - shine, jump, air dodge into the ground. Falco cannot waveshine combo like Fox can, since his shine sends opponents straight up. The waveshine is generally used to aid in Falco's vertical dair and shine combos. It gives Falco the added horizontal distance such that he can jump up and catch up with his opponent. You can also SHL out of a waveshine.
Pillaring[edit]
It involves using the shine repeatedly while jump-canceling it to wear down the opponent's shield. Against a shielding opponent, the easiest way to pillar is to SHFFL a dair and immediately shine. The shine is then jump-canceled into another SHFFL'd down aerial, and the cycle continues. Pillaring can pressure an opponent in a shield, forcing them to roll out of it, which can be tech-chased. It is possible for Falco's dair pillar to be shield-grabbed, but it requires very good timing. If the opponent is not good at defending against pillaring, their shield may be broken. While this technique is commonly used in high level play, shield breaks are very rare.
Combos[edit]
- U-tilt -> shine -> aerial
- U-throw -> Uair
- Shine -> Bair
- Dair -> D-smash
More coming soon
Stages[edit]
Tournament Legal Stages[edit]
- Final Destination - The best stage for SHLs, as it's very large and has no platforms for the opponent to go on. Your SHLs and SHFFLs are really good here. Overall, a great stage for Falco.
- Battlefield - This isn't too good for Falco; the constricted space and the platforms can be quite a big problem. SHL isn't as effective here and is easier to avoid. Your aerials are quite important here.
- Fountain of Dreams - Similar to Battlefield. Don't wall jump off the wall under the ledge, you'll just jump further away from the stage.
- Yoshi's Story - The KO boundaries are much smaller than the other legal stages, which can slightly help Falco's terrible recovery. Other than that, it's really similar to BF again.
- Dream Land N64 - A pretty good stage for Falco, but not as good as FD. The platforms don't get in the way of ground attacks as much as they do on BF, FoD, and YS, plus the stage is larger than those three, giving more room for approaches. The KO boundaries are a lot larger than YS, but I'd still say that this stage is better for Falco.
- Pokémon Stadium - The initial transformation is decent for Falco.
- Fire Transformation - I don't like this because you can't really keep your distance reliably and the terrain is very rough, which both affect Falco's approach.
- Grass Transformation - The ground is somewhat rough, but this isn't bad, as there is quite a lot of space for you to approach and you can perform shine combos on the top platform reliably, where a shine -> bair would be a reliable way to KO at high percentages.
- Water Transformation - Definitely not bad for Falco, the best of the four transformations (along with the grass one). You can stay under the windmill at very high percentages and tech it to survive longer; if you feel that you're not very safe, you could try that.
- Rock Transformation - Worse than the fire transformation, you have almost no space to approach effectively. I'd stay away until the stage changes back.
Stages that aren't always legal[edit]
- Kongo Jungle N64 - This stage isn't too bad for Falco but it's not that good either. The platforms are placed pretty annoyingly.
- Brinstar - You have very little space to approach here. This stages focuses more on aerial combat. When the stage is low, you can't KO using spikes, but you can spike opponents into the acid to send them straight up.
- Rainbow Ride - I would avoid this stage.