SSB4 Icon.png

Mega Man (SSB4)/Down tilt: Difference between revisions

From SmashWiki, the Super Smash Bros. wiki
Jump to navigationJump to search
No edit summary
m (Text replacement - " " to " ")
Line 52: Line 52:
}}
}}
|}
|}


{{MvSubNavMegaMan|g=SSB4}}
[[Category:Mega Man (SSB4)]]
[[Category:Mega Man (SSB4)]]
[[Category:Down tilts (SSB4)]]
[[Category:Down tilts (SSB4)]]

Revision as of 15:24, September 13, 2020

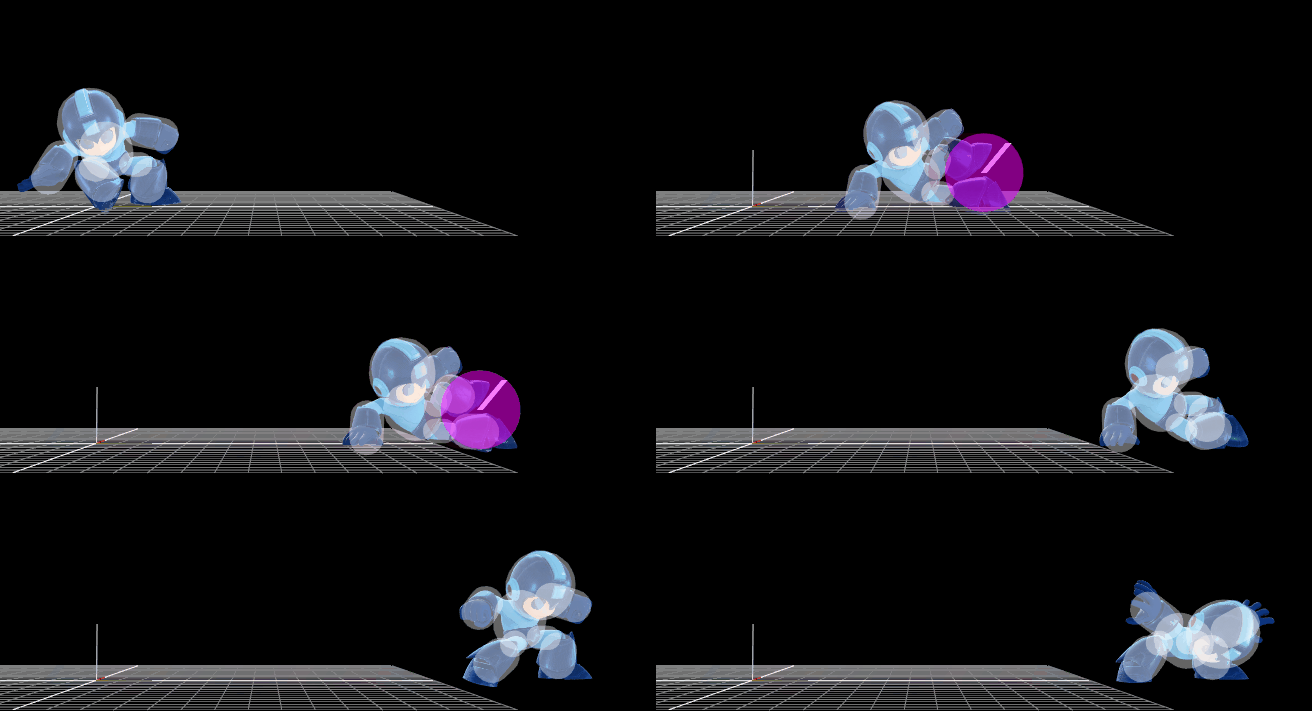
Hitbox visualization showing Mega Man's down tilt.
Competitive.png This article or section may require competitive expertise.
You can discuss this issue on the talk page or edit this page to improve it.
Data.png This article or section may require additional technical data.
You can discuss this issue on the talk page or edit this page to improve it.

Hitboxes

ID Part Damage SD Angle BK KS FKV Radius Bone Offset SDIx T% Clang Rebound Type Effect G A Sound Direct
Clean hit
0 0 8% 0 AngleIcon70.png 80 70 0 3.5 0 0.0 3.0 3.7 1.0x 1.0x 40% HitboxTableIcon(NoClang).png HitboxTableIcon(NoRebound).png TypeIcon(Foot).png EffectIcon(Normal).png HitboxTableIcon(GroundedTrue).png HitboxTableIcon(AerialTrue).png M Kick SpecialsDirect.png
Late hit
0 0 5% 0 AngleIcon50.png 80 56 0 3.5 0 0.0 3.0 3.7 1.0x 1.0x 40% HitboxTableIcon(NoClang).png HitboxTableIcon(NoRebound).png TypeIcon(Foot).png EffectIcon(Normal).png HitboxTableIcon(GroundedTrue).png HitboxTableIcon(AerialTrue).png S Kick SpecialsDirect.png