Marth (SSBB)/Forward aerial: Difference between revisions
m (adding new termination template) |
m (adding new termination template) |
||
| Line 86: | Line 86: | ||
|- | |- | ||
{{FrameStrip|t=Blank|c=26}}{{FrameStrip|t=Autocancel|c=13}} | {{FrameStrip|t=Blank|c=26}}{{FrameStrip|t=Autocancel|c=13}} | ||
{{FrameStripEnd}} | |||
===Landing lag=== | ===Landing lag=== | ||
Revision as of 18:50, April 27, 2014
Overview
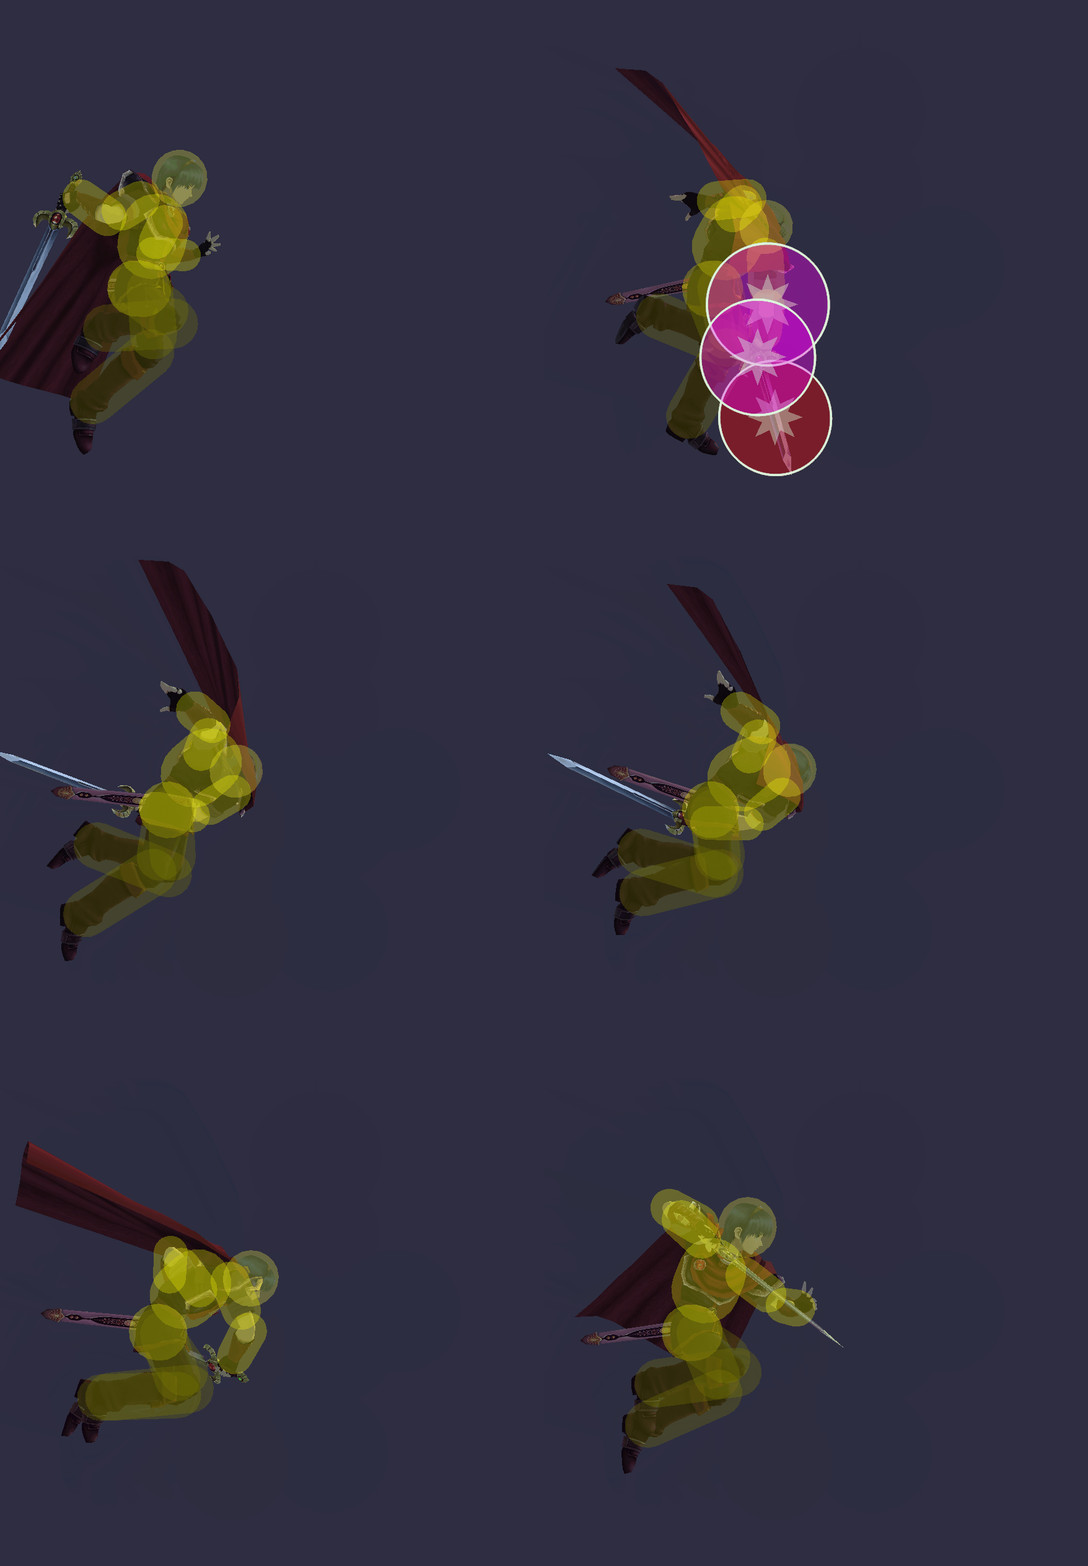
Marth does a forward vertical slash from top to bottom with his sword, doing 10% damage on the base of the sword and 13% with the tip. Although it doesn't have much knockback if hit on its base, it has KOing potential at around 150% when hit on the tip, and can KO earlier when used near the edges of the stage. Hits with an arc which covers his entire front body within frames 4 to 7. An extremely useful move for spacing, edgeguarding, and aerial approaches, due to its very quick speed and a long-ranged disjointed hitbox that gives it a long, safe range, and when used properly with reads on a recovering opponent, can create a wall that is difficult to get through without being damaged. With its range, speed and having low amount of ending lag it can be a great tool to offensively pressure Marth's opponent when spaced correctly. A spaced full hop retreating forward aerial is for example a fairly safe way of trying to hit the opponent, because even if he hits the opponent's shield or they choose any other non-attacking option, Marth ends up getting away from their punish. At low percents, due to its low ending lag and good damage, it is an excellent combo move and is commonly used multiple times in a row to rack up damage, or combined with other aerial attacks. With its disjoints, even against longer ranged moves (which greatly extend their hitbox, like King Dedede's Back aerial) it is possible to space away and still hit them with Fair without Marth himself getting hit by taking advantage of the opponent's extending of their hurtbox. This Forward aerial has a frame advantage on shield of -4 when not tippered and -8 when tippered, both in the case of hitting a shield exactly one frame before landing (excluding shield hitlag). Albeit risky, it is possible to Dolphin Slash or sidestep a frame perfectly shield grab if he hits their shield with an untippered Forward aerial one or two frames (in the case of Dolphin Slash) before landing on the ground, again excluding shield hitlag to those frames. Has 8 frames landing lag. Considered Marth's best aerial and arguably the best forward aerial in the game. Its only noticeable flaw is its low hitbox duration, making it require precise timing to consistently space with it.
Hitboxes
| ID | Part | Damage | SD | Angle | BK | KS | FKV | Radius | Bone | Offset | SDIx | H× | T% | Clang | Rebound | Type | Effect | G | A | Sound | Direct | ||
|---|---|---|---|---|---|---|---|---|---|---|---|---|---|---|---|---|---|---|---|---|---|---|---|
| 0 | 0 | 10% | 0 | 40 | 70 | 0 | 4.0 | Hilt | 0.0 | 0.0 | 1.0 | 1.0x | 0.7x | 0% | File:TypeIcon().png | File:EffectIcon().png | File:HitboxTableIcon(Sound).png | ||||||
| 1 | 0 | 10% | 0 | 40 | 70 | 0 | 4.0 | Right lower arm | 0.0 | 0.0 | 0.0 | 1.0x | 0.7x | 0% | File:TypeIcon().png | File:EffectIcon().png | File:HitboxTableIcon(Sound).png | ||||||
| 2 | 0 | 13% | 0 | 40 | 80 | 0 | 4.0 | Hilt | 0.0 | 0.0 | 5.8 | 1.0x | 1.25x | 0% | File:TypeIcon().png | File:EffectIcon().png | File:HitboxTableIcon(Sound).png | ||||||
Timing
Attack
| Hitboxes | 4-7 |
|---|---|
| Ending autocancel | 27- |
| Interruptible | 34 |
| Animation length | 39 |
Landing lag
| Animation length | 9 |
|---|
Lag time |
Hitbox |
Autocancel |
Interruptible |
|
