Captain Falcon (SSB4)/Back throw: Difference between revisions
From SmashWiki, the Super Smash Bros. wiki
Jump to navigationJump to search
mNo edit summary |
Tag: Mobile edit |
||
| Line 3: | Line 3: | ||
==Overview== | ==Overview== | ||
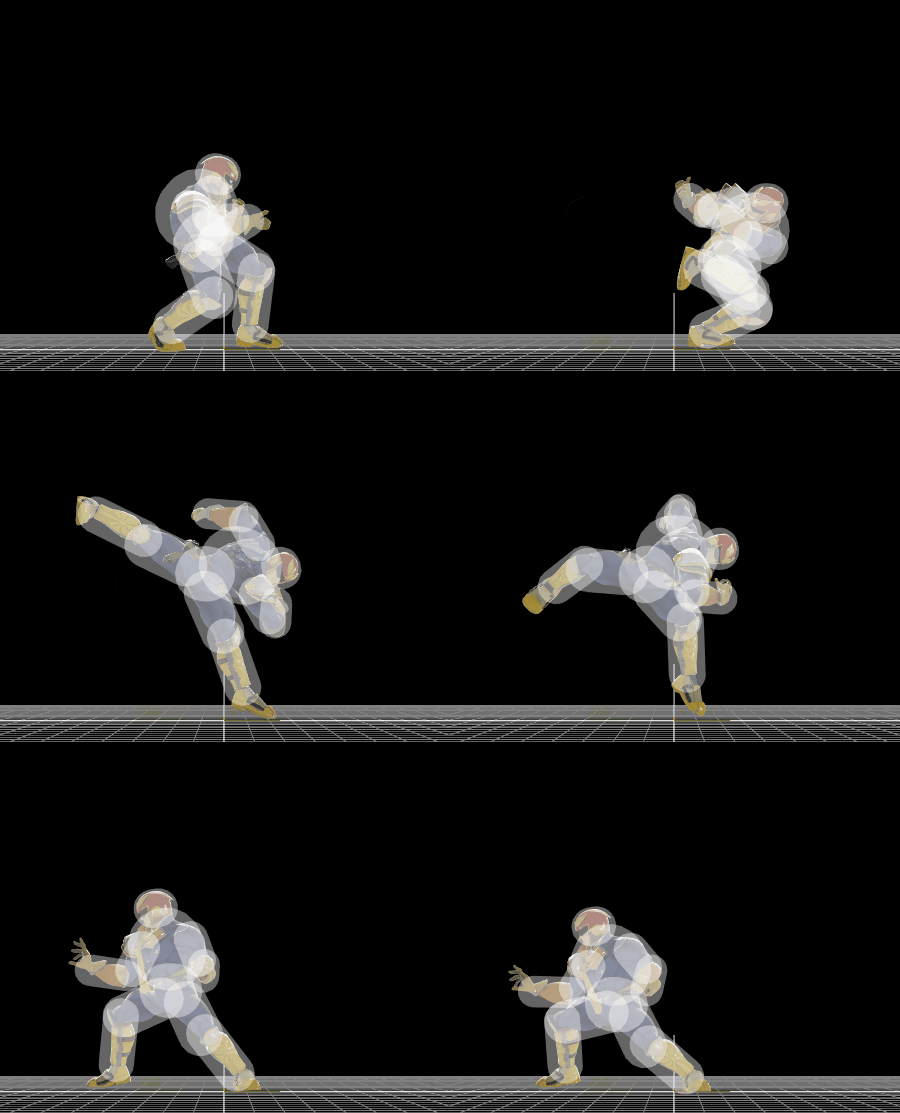
Captain Falcon puts the opponent behind him, then kicks them away. His strongest kill throw, being able to kill at around 130% | Captain Falcon puts the opponent behind him, then kicks them away. His strongest kill throw, being able to kill middleweights at around 130% at the ledge with rage. It is also tied with forward throw as his most damaging throw, dealing 9%. Other than simply being used to get opponents offstage, it doesn't serve much purpose at lower percentages, especially seeing as down throw has much more combo potential at such percent ranges. | ||
===Throw=== | ===Throw=== | ||
Revision as of 21:05, June 5, 2019
Overview
Captain Falcon puts the opponent behind him, then kicks them away. His strongest kill throw, being able to kill middleweights at around 130% at the ledge with rage. It is also tied with forward throw as his most damaging throw, dealing 9%. Other than simply being used to get opponents offstage, it doesn't serve much purpose at lower percentages, especially seeing as down throw has much more combo potential at such percent ranges.
Throw
| Hitbox type | Damage | Angle | Base knockback | Knockback scaling | Fixed knockback value | Weight dependent |
|---|---|---|---|---|---|---|
| Throw | 4% | 135 | 60 | 130 | 0 | No |
Collateral
|
