Bayonetta (SSB4)/Pummel: Difference between revisions
From SmashWiki, the Super Smash Bros. wiki
Jump to navigationJump to search
(Created page with "{{ArticleIcons|ssb4=y}} ==Overview== {{competitive expertise}} ==Hitboxes== {{SSB4HitboxTableHeader}} {{HitboxTableTitle|Hit 1|24}} {{SSB4HitboxTableRow |id=0 |damage=1.6% |a...") |
(Description added.) Tag: Mobile edit |
||
| (One intermediate revision by one other user not shown) | |||
| Line 1: | Line 1: | ||
{{ArticleIcons|ssb4=y}} | {{ArticleIcons|ssb4=y}} | ||
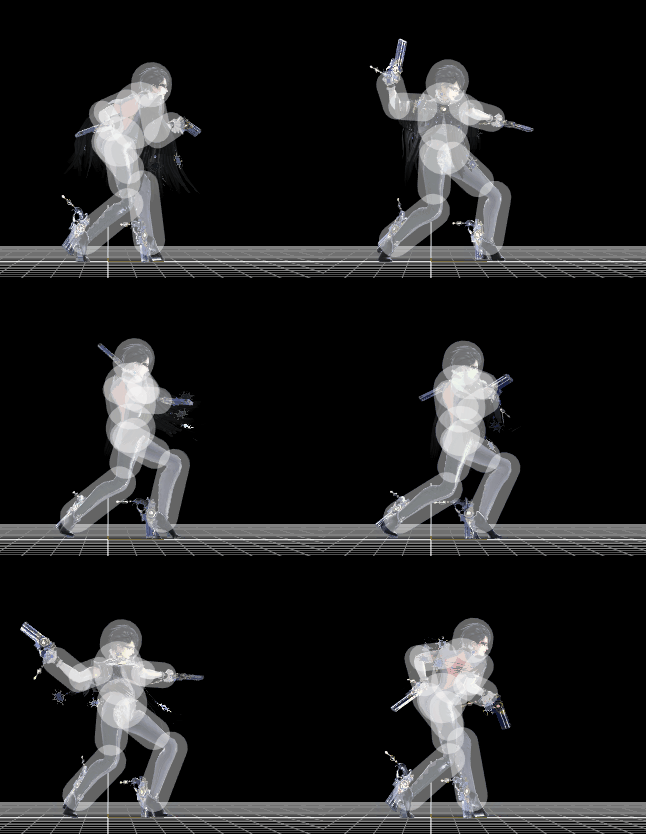
[[File:BayonettaPummelSSB4.gif|thumb|400px|Hitbox visualization showing Bayonetta's pummel.]] | |||
==Overview== | ==Overview== | ||
The '''Slap Punish Attack'''. It has average speed, but is unique in that it consists of two hits per input. As a result, it is possible for the opponent to break free in the middle of the pummel, and thus the second hit entirely. | |||
==Hitboxes== | ==Hitboxes== | ||
{{SSB4HitboxTableHeader}} | {{SSB4HitboxTableHeader}} | ||
Latest revision as of 18:08, January 14, 2021
Overview[edit]
The Slap Punish Attack. It has average speed, but is unique in that it consists of two hits per input. As a result, it is possible for the opponent to break free in the middle of the pummel, and thus the second hit entirely.
Hitboxes[edit]
Timing[edit]
| Hitboxes | 7, 14 |
|---|---|
| Animation length | 20 |
Lag time |
Hitbox |
|
