SSB4 Icon.png

Zero Suit Samus (SSB4)/Neutral attack/Hit 3: Difference between revisions

From SmashWiki, the Super Smash Bros. wiki
Jump to navigationJump to search
mNo edit summary
No edit summary
Line 1: Line 1:
{{ArticleIcons|ssb4=y}}
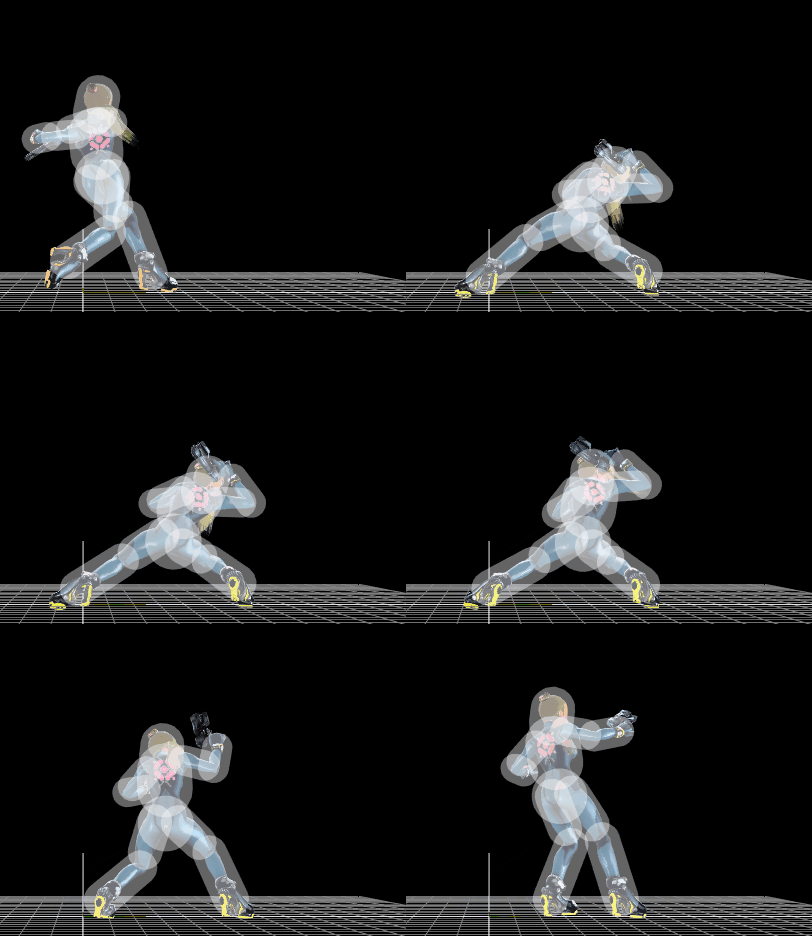
[[File:ZSSJab3.gif|thumb|270px|Hitbox visualization showing Zero Suit Samus's third jab.]]
{{competitive expertise}}
{{technical data}}
{{technical data}}

Revision as of 18:48, December 10, 2017

Hitbox visualization showing Zero Suit Samus's third jab.
Competitive.png This article or section may require competitive expertise.
You can discuss this issue on the talk page or edit this page to improve it.
Data.png This article or section may require additional technical data.
You can discuss this issue on the talk page or edit this page to improve it.

Hitboxes

ID Part Damage SD Angle BK KS FKV Radius Bone Offset SDIx T% Clang Rebound Type Effect G A Sound Direct
0 0 3% 0 AngleIcon45.png 60 100 0 4.2 0 0.0 9.0 6.0 1.0x 1.0x 0% HitboxTableIcon(Clang).png HitboxTableIcon(Rebound).png TypeIcon(Hand).png EffectIcon(Normal).png HitboxTableIcon(GroundedTrue).png HitboxTableIcon(AerialTrue).png M Kick SpecialsDirect.png
1 0 3% 0 AngleIcon45.png 60 100 0 3.0 0 0.0 9.0 2.0 1.0x 1.0x 0% HitboxTableIcon(Clang).png HitboxTableIcon(Rebound).png TypeIcon(Hand).png EffectIcon(Normal).png HitboxTableIcon(GroundedTrue).png HitboxTableIcon(AerialTrue).png M Kick SpecialsDirect.png