Samus (SSB4)/Up throw: Difference between revisions
From SmashWiki, the Super Smash Bros. wiki
Jump to navigationJump to search
BrawlMatt202 (talk | contribs) No edit summary |
Serpent King (talk | contribs) No edit summary |
||
| Line 1: | Line 1: | ||
{{ArticleIcons|ssb4=y}} | {{ArticleIcons|ssb4=y}} | ||
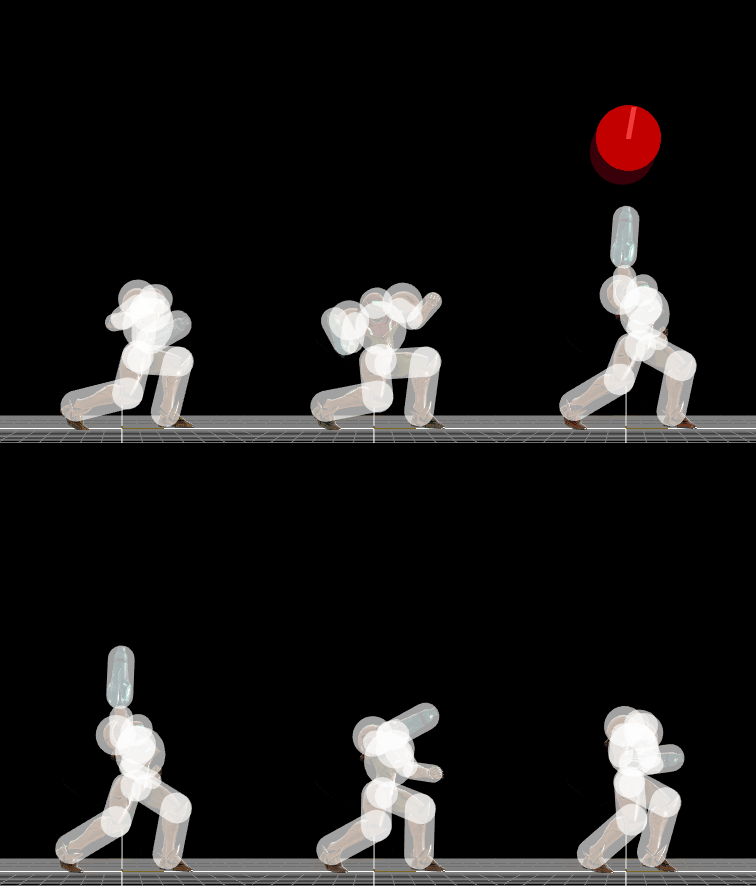
[[File:SamusThrowUp.gif|thumb|270px|Hitbox visualization of Samus's up throw.]] | |||
{{competitive expertise}} | {{competitive expertise}} | ||
{{technical data}} | {{technical data}} | ||
Revision as of 18:13, December 10, 2017
Hitboxes
Throw
| Hitbox type | Damage | Angle | Base knockback | Knockback scaling | Fixed knockback value | Weight dependent |
|---|---|---|---|---|---|---|
| Throw | 4% | 90 | 80 | 70 | 0 | Yes |
Collateral
Hitbox loops five times.
| ID | Part | Damage | SD | Angle | BK | KS | FKV | Radius | Bone | Offset | SDIx | H× | T% | Clang | Rebound | Type | Effect | G | A | Sound | Direct | ||
|---|---|---|---|---|---|---|---|---|---|---|---|---|---|---|---|---|---|---|---|---|---|---|---|
| 0 | 0 | 1% | 0 | 10 | 100 | 0 | 4.0 | 26 | 0.0 | 0.0 | 0.0 | 0.0x | 1.0x | 0% | |||||||||
|


