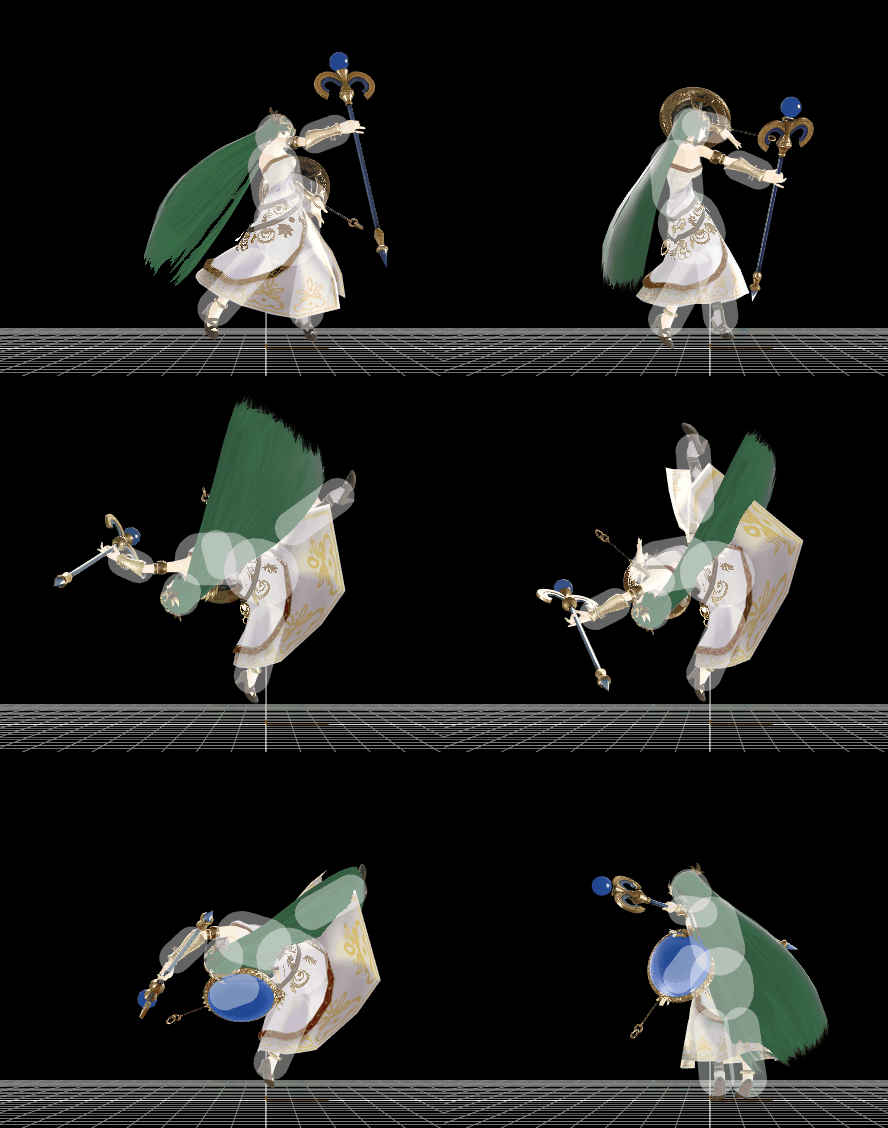
Palutena (SSB4)/Back throw: Difference between revisions
From SmashWiki, the Super Smash Bros. wiki
Jump to navigationJump to search
m (→Hitboxes) |
SuperSqank (talk | contribs) m (→Timing) |
||
| (4 intermediate revisions by 3 users not shown) | |||
| Line 1: | Line 1: | ||
{{ArticleIcons|ssb4=y}} | {{ArticleIcons|ssb4=y}} | ||
[[File:PalutenaThrowBack.gif|thumb|270px|Hitbox visualization showing Palutena's back throw.]] | |||
==Overview== | |||
Palutena elevates the opponent, then performs a ballet kick to the air, which magically launches the opponent back. Despite it being her strongest throw (KOing at 155% with no DI), it sends the opponent at an unfavorable angle, which is the [[Sakurai angle]]. Due to this, this throw is among the easiest to DI to avoid getting KOd. As such, it is recommended to not [[stale-move negation|stale]] this throw as well as only use it with high [[rage]] to KO middle-heavy to lightweight characters, or characters with bad recovery moves like {{SSB4|Cloud}}, while using it on heavyweight characters to reliably rack up damage. | |||
== | ==Throw Data== | ||
{{SSB4ThrowTableHeader}} | |||
{{SSB4ThrowTableRow | |||
|id=0 | |||
|type=Throwing | |||
|damage=10% | |||
|angle=361 | |||
|af=3 | |||
|bk=65 | |||
|ks=70 | |||
|fkv=0 | |||
|noff=t | |||
|bn=0 | |||
|effect=Normal | |||
|sfx=None | |||
|slvl=S | |||
}} | |||
{{SSB4ThrowTableRow | |||
|id=1 | |||
|damage=3% | |||
|angle=361 | |||
|af=3 | |||
|bk=60 | |||
|ks=100 | |||
|fkv=0 | |||
|noff=t | |||
|bn=0 | |||
|type=Throwing | |||
|sfx=None | |||
|slvl=S | |||
}} | |||
|} | |||
== | ==Timing== | ||
{|class="wikitable" | {|class="wikitable" | ||
! | !Invincibility | ||
|1-18 | |||
|- | |- | ||
!Throw Release | |||
|20 | |||
|- | |||
!Interruptible | |||
|55 | |||
|- | |||
!Animation length | |||
|59 | |||
|} | |} | ||
{{FrameStripStart}} | |||
{{FrameStrip|t=Lag|c=19|e=LagThrowS}}{{FrameStrip|t=Lag|c=35|s=LagThrowE}}{{FrameStrip|t=Interruptible|c=5}} | |||
|- | |||
{{FrameStrip|t=Invincible|c=18}}{{FrameStrip|t=Vulnerable|c=41}} | |||
{{FrameStripEnd}} | |||
{{FrameIconLegend|lag=y|throw=y|interruptible=y|vulnerable=y|invincible=y}} | |||
{{MvSubNavPalutena|g=SSB4}} | {{MvSubNavPalutena|g=SSB4}} | ||
[[Category:Palutena (SSB4)]] | [[Category:Palutena (SSB4)]] | ||
[[Category:Back throws (SSB4)]] | [[Category:Back throws (SSB4)]] | ||
Latest revision as of 07:18, July 13, 2020
Overview[edit]
Palutena elevates the opponent, then performs a ballet kick to the air, which magically launches the opponent back. Despite it being her strongest throw (KOing at 155% with no DI), it sends the opponent at an unfavorable angle, which is the Sakurai angle. Due to this, this throw is among the easiest to DI to avoid getting KOd. As such, it is recommended to not stale this throw as well as only use it with high rage to KO middle-heavy to lightweight characters, or characters with bad recovery moves like Cloud, while using it on heavyweight characters to reliably rack up damage.
Throw Data[edit]
| ID | Damage | Angle | BK | KS | FKV | Bone | FFx | Type | Effect | Sound | |
|---|---|---|---|---|---|---|---|---|---|---|---|
| 0 | 10% | Forwards | 65 | 70 | 0 | 0 | None | ||||
| 1 | 3% | Forwards | 60 | 100 | 0 | 0 | None | ||||
Timing[edit]
| Invincibility | 1-18 |
|---|---|
| Throw Release | 20 |
| Interruptible | 55 |
| Animation length | 59 |
Lag time |
Vulnerable |
Invincible |
Throw point |
Interruptible |
|
