Cloud (SSB4)/Up throw: Difference between revisions
From SmashWiki, the Super Smash Bros. wiki
Jump to navigationJump to search
(fixed throw table) |
No edit summary |
||
| Line 1: | Line 1: | ||
{{ArticleIcons|ssb4=y}} | {{ArticleIcons|ssb4=y}} | ||
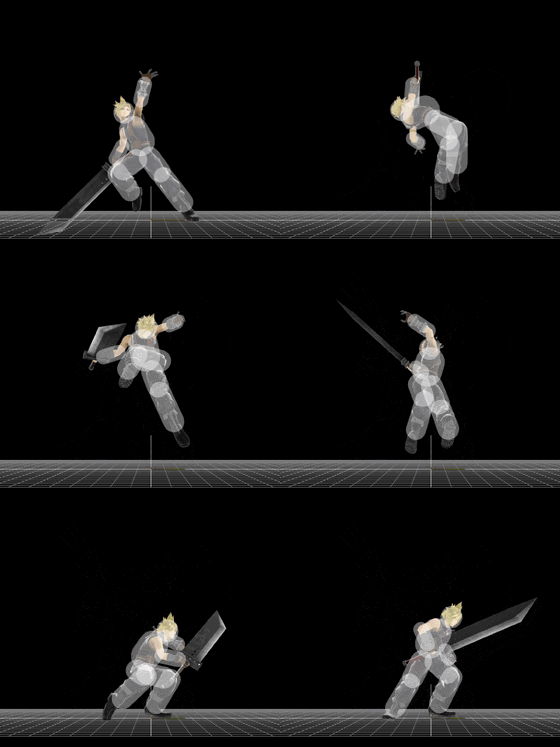
[[File:CloudThrowU.gif|thumb|280px|Hitbox visualization showing Cloud's up throw.]] | |||
==Overview== | ==Overview== | ||
Cloud does a butterfly kick that is similar in animation to {{SSB4|Sonic}}'s up tilt and {{SSB4|Captain Falcon}}'s up smash. Unusually for a throw, it hits three times. It is useful for setting up a [[Juggle|juggle]] situation and is Cloud's strongest throw in the middle of the stage, being able to KO some character around 160% with rage. However, it is still very weak compared to other throws. | Cloud does a butterfly kick that is similar in animation to {{SSB4|Sonic}}'s up tilt and {{SSB4|Captain Falcon}}'s up smash. Unusually for a throw, it hits three times. It is useful for setting up a [[Juggle|juggle]] situation and is Cloud's strongest throw in the middle of the stage, being able to KO some character around 160% with rage. However, it is still very weak compared to other throws. | ||
Revision as of 21:46, November 6, 2018
Overview
Cloud does a butterfly kick that is similar in animation to Sonic's up tilt and Captain Falcon's up smash. Unusually for a throw, it hits three times. It is useful for setting up a juggle situation and is Cloud's strongest throw in the middle of the stage, being able to KO some character around 160% with rage. However, it is still very weak compared to other throws.
The throw's first hit animation looks similar to that of the Waterkick Limit Break used by Tifa Lockhart in Final Fantasy VII.
Hitboxes
Throw
| ID | Damage | Angle | BK | KS | FKV | Bone | FFx | Type | Effect | Sound | |
|---|---|---|---|---|---|---|---|---|---|---|---|
| 0 | 4% | Forwards | 78 | 97 | 0 | 0 | 1.0x | ||||
| 1 | 3% | Forwards | 40 | 100 | 0 | 0 | None | ||||
Collateral
|

