SSBU Icon.png

Mii Gunner (SSBU)/Down special/Custom 2

< Mii Gunner (SSBU)‎ | Down special
Revision as of 18:08, February 11, 2022 by Zeckemyro (talk | contribs) (→‎Timing: Mii Gunner's minimum loop is very short.)
This article is about the hitbox visualization in Super Smash Bros. Ultimate. For the move itself, see Absorbing Vortex.
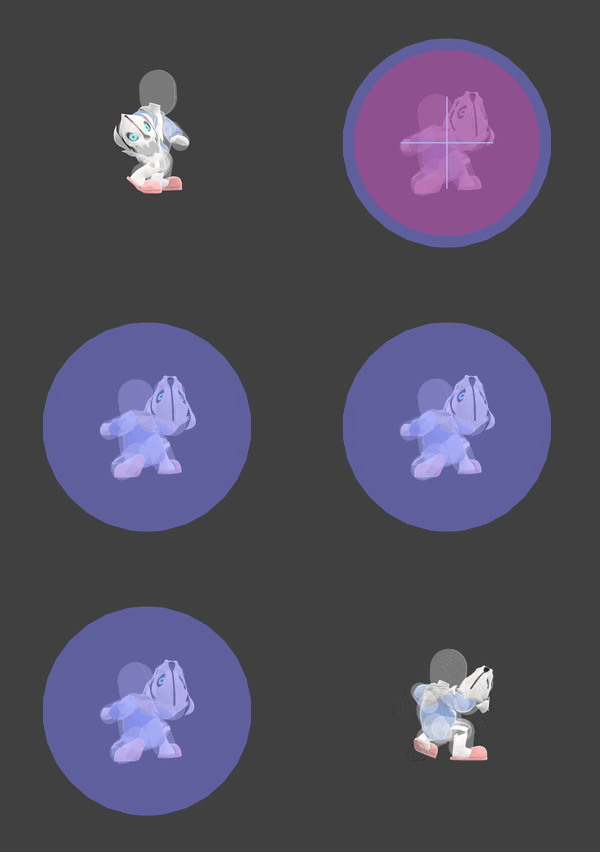
Hitbox visualization showing Mii Gunner's down special 3, Absorbing Vortex.


Competitive.png This article or section may require competitive expertise.
You can discuss this issue on the talk page or edit this page to improve it.

Overview

Hitboxes

ID Part Rehit rate Damage SD Angle Angle type BK KS FKV Set weight Radius Bone Offset SDI× T% Clang Rebound Effect Type G A Sound Direct Hit bits Hit part Blockable Reflectable Absorbable Flinchless No GFX Heedless
Hitbox
0 0 10 4.0% 0   Standard 0 100 40   12.5 top 0.0 6.5 0.0 1.0× 1.0× 0%               Magic   All All            
Windbox
0 0 6 0.0% 0   Standard 0 100 30   16.0 top 0.0 6.5 0.0 0.0× 0.0× 0%               None   All All            

Timing

The hitbox does not reappear with the absorption loop.

Hitbox 1-6
Absorption 7-18+
Loop points 6-7, 18-19
Windbox (from loop) 1-2
Interruptible (from loop) 25 (7)
Animation length (from loop) 44 (26)
                                                                                       
                                                                                       
Legend (1 square = 1 frame)
 
Lag time
 
Hitbox
  
Loop point
 
Absorb
 
Flinchless hitbox