Mr. Game & Watch (SSB4)/Forward smash: Difference between revisions
From SmashWiki, the Super Smash Bros. wiki
Jump to navigationJump to search
BrawlMatt202 (talk | contribs) No edit summary |
m (Text replacement - "== ([^=])" to "== $1") |
||
| (4 intermediate revisions by 3 users not shown) | |||
| Line 1: | Line 1: | ||
{{ArticleIcons|ssb4=y}} | {{ArticleIcons|ssb4=y}} | ||
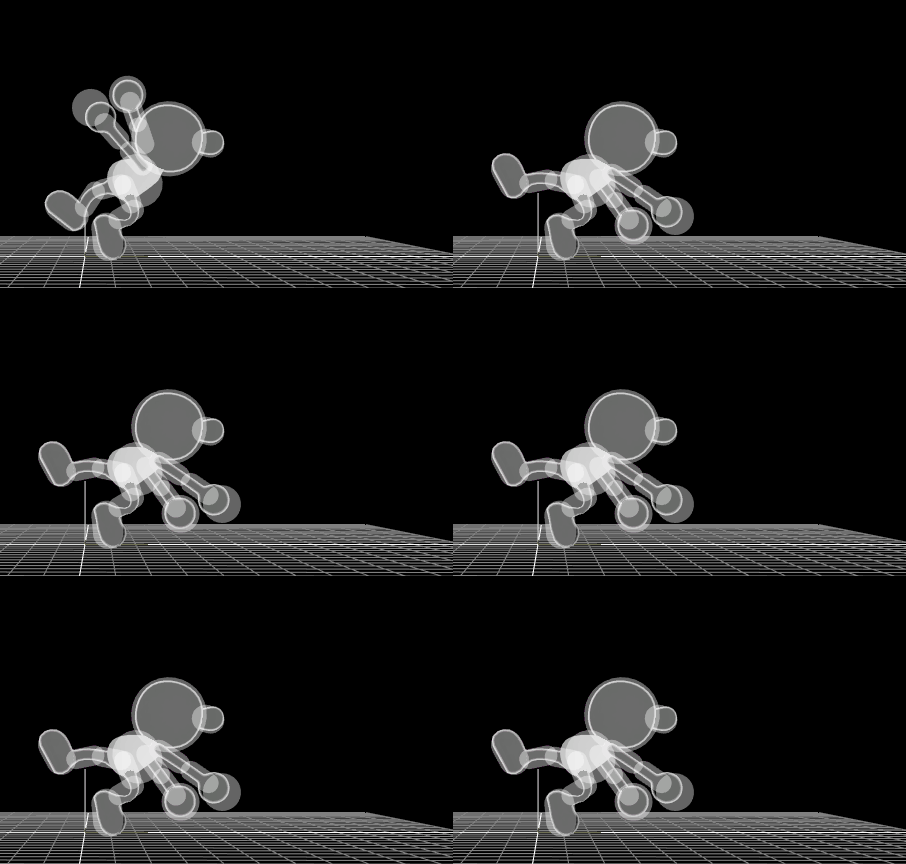
[[File:MrG&WFSmash.gif|thumb|270px|Hitbox visualization showing Mr. Game & Watch's forward smash.]] | |||
{{competitive expertise}} | {{competitive expertise}} | ||
{{technical data}} | {{technical data}} | ||
==Hitboxes== | ==Hitboxes== | ||
{{SSB4HitboxTableHeader}} | {{SSB4HitboxTableHeader}} | ||
{{SSB4HitboxTableRow | {{SSB4HitboxTableRow | ||
|id=0 | |id=0 | ||
|part=0 | |part=0 | ||
|damage=14 | |damage={{ChargedSmashDmgSSB4|14}} | ||
|angle=53 | |angle=53 | ||
|bk=44 | |bk=44 | ||
| Line 28: | Line 28: | ||
|id=1 | |id=1 | ||
|part=0 | |part=0 | ||
|damage=18 | |damage={{ChargedSmashDmgSSB4|18}} | ||
|angle=53 | |angle=53 | ||
|bk=48 | |bk=48 | ||
| Line 47: | Line 47: | ||
|} | |} | ||
==Timing== | |||
{|class="wikitable" | |||
!Charges between | |||
|7-8 | |||
|- | |||
!Hitboxes | |||
|17-18 | |||
|- | |||
!Animation length | |||
|42 | |||
|} | |||
{{FrameStripStart}} | |||
{{FrameStrip|t=Lag|c=7|e=LagChargeS}}{{FrameStrip|t=Lag|c=9|s=LagChargeE}}{{FrameStrip|t=Hitbox|c=2}}{{FrameStrip|t=Lag|c=24}} | |||
{{FrameStripEnd}} | |||
{{FrameIconLegend|lag=y|charge=y|hitbox=y}} | |||
{{MvSubNavMrGame&Watch|g=SSB4}} | {{MvSubNavMrGame&Watch|g=SSB4}} | ||
[[Category:Mr. Game & Watch (SSB4)]] | [[Category:Mr. Game & Watch (SSB4)]] | ||
[[Category:Forward smashes (SSB4)]] | [[Category:Forward smashes (SSB4)]] | ||
Latest revision as of 23:10, April 12, 2022
Hitboxes[edit]
Timing[edit]
| Charges between | 7-8 |
|---|---|
| Hitboxes | 17-18 |
| Animation length | 42 |
Lag time |
Charge interval |
Hitbox |
|


