Super Smash Bros. Melee

Ness (SSBM)/Neutral attack/Hit 1

From SmashWiki, the Super Smash Bros. wiki
Jump to navigationJump to search
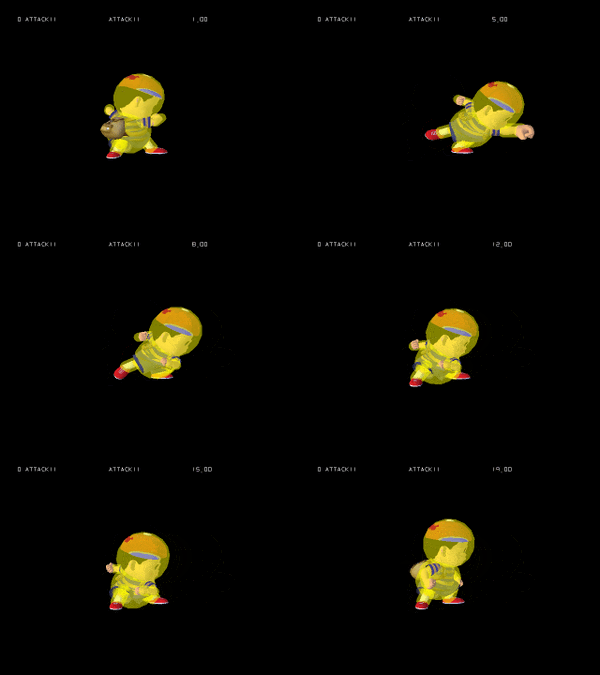
Hitbox visualization showing Ness's first jab.
Competitive.png This article or section may require competitive expertise.
You can discuss this issue on the talk page or edit this page to improve it.

Overview[edit]

Hitboxes[edit]

ID Part Damage SD Angle BK KS FKV Radius Bone Offset Clang Rebound Effect G A Sound
0 0 3% 0 Sakurai angle 8 50 0 3.5154 11 0.0 0.0 0.0 HitboxTableIcon(Clang).png HitboxTableIcon(Rebound).png Normal (effect) HitboxTableIcon(GroundedTrue).png HitboxTableIcon(AerialTrue).png S Punch
1 0 3% 0 Sakurai angle 8 50 0 3.1248 10 0.0 0.0 0.0 HitboxTableIcon(Clang).png HitboxTableIcon(Rebound).png Normal (effect) HitboxTableIcon(GroundedTrue).png HitboxTableIcon(AerialTrue).png S Punch
1 0 3% 0 Sakurai angle 8 50 0 2.3436 0 1.1718 3.1248 0.0 HitboxTableIcon(Clang).png HitboxTableIcon(Rebound).png Normal (effect) HitboxTableIcon(GroundedTrue).png HitboxTableIcon(AerialTrue).png S Punch

Timing[edit]

Hitboxes 3-4
Earliest continuable 5
Animation length 19
FrameIcon(Lag).png FrameIcon(Lag).png FrameIcon(Hitbox).png FrameIcon(HitboxContinuableS).png FrameIcon(LagContinuableE).png FrameIcon(Lag).png FrameIcon(Lag).png FrameIcon(Lag).png FrameIcon(Lag).png FrameIcon(Lag).png FrameIcon(Lag).png FrameIcon(Lag).png FrameIcon(Lag).png FrameIcon(Lag).png FrameIcon(Lag).png FrameIcon(Lag).png FrameIcon(Lag).png FrameIcon(Lag).png FrameIcon(Lag).png
Legend (1 square = 1 frame)
Lag
Lag time
Hitbox
Hitbox
FrameIcon(BlankContinuableS).pngFrameIcon(BlankContinuableE).png
Earliest continuable point