Pikachu (SSB)/Up smash: Difference between revisions
MHStarCraft (talk | contribs) m (→Overview) |
m (→Overview) |
||
| Line 3: | Line 3: | ||
==Overview== | ==Overview== | ||
[[File:Pikachu Up Smash Hitbox Smash 64.gif|thumb|The hitbox of Pikachu's u-smash.]] | [[File:Pikachu Up Smash Hitbox Smash 64.gif|thumb|The hitbox of Pikachu's u-smash.]] | ||
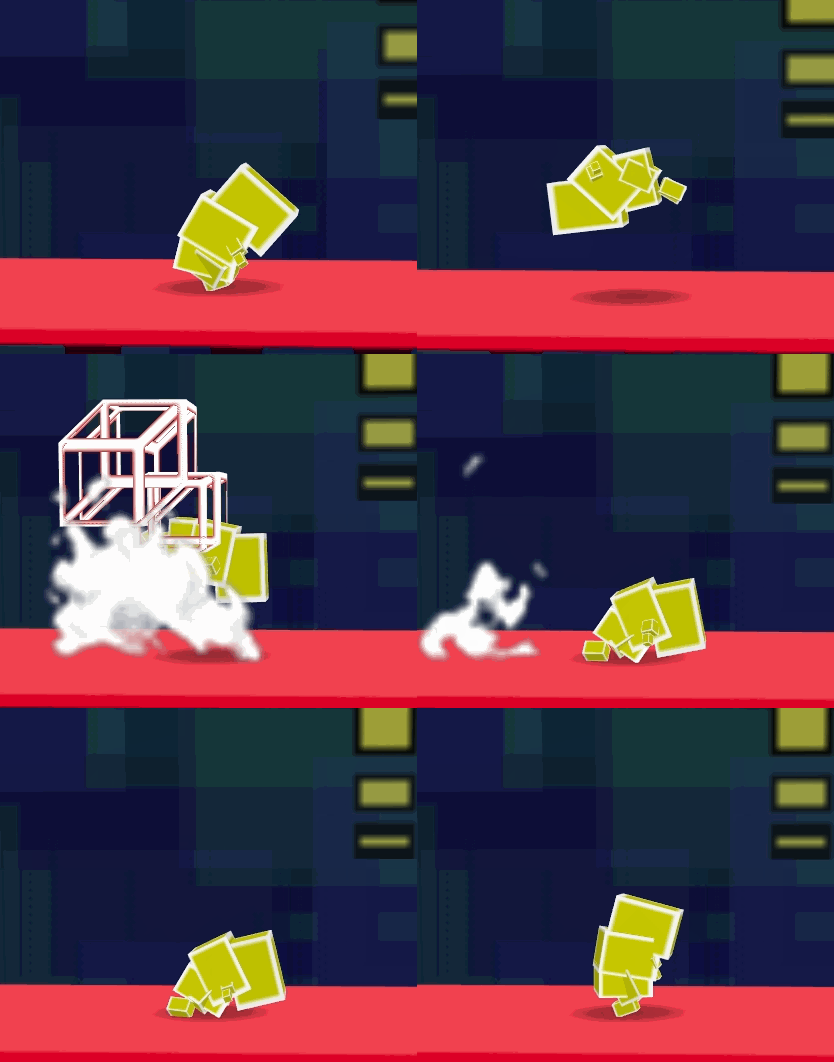
Pikachu does a quick back flip, hurting any opponent who is near it with its tail, doing 18% damage when [[fresh]] and powerful vertical knockback. This is similar to {{SSB|Captain Falcon}}'s {{mvsub|Captain Falcon|SSB|up smash}} but with more range, power, and lag. Its overall an versatile and excellent comboing move, where it can combo into itself when used against heavier characters as well as any of Pikachu's aerials. An effective strategy that Pikachu can use is that it's up smash can follow with [[Thunder]] which can KO opponents once the up smash gets them near the upper line. This technique, known as "[[Thunderspiking]]", allows Pikachu to KO characters 20%-30% quicker. An easy but effective way to reach the up smash -> Thunderspike combo is with a barrage of {{mvsub|Pikachu|SSB|up tilt}}s, which can be done as a [[0-death]] combo. Additionally, hitting with the move when Pikachu isn't facing the opponent does weak knockback and about halved damage that can [[juggle]] and chain into itself at high percentages, as well as being able to combo into an aerial. | Pikachu does a quick back flip, hurting any opponent who is near it with its tail, doing 18% damage when [[fresh]] and powerful vertical knockback. This is similar to {{SSB|Captain Falcon}}'s {{mvsub|Captain Falcon|SSB|up smash}} but with more range, power, and lag. Its overall an versatile and excellent comboing move, where it can combo into itself when used against heavier characters as well as any of Pikachu's aerials. An effective strategy that Pikachu can use is that it's up smash can follow with [[Thunder]] which can KO opponents once the up smash gets them near the upper line. This technique, known as "[[Thunderspiking]]", allows Pikachu to KO characters 20%-30% quicker. An easy but effective way to reach the up smash -> Thunderspike combo is with a barrage of {{mvsub|Pikachu|SSB|up tilt}}s, which can be done as a [[0-death]] combo. Additionally, hitting with the move when Pikachu isn't facing the opponent, or with the tip of Pikachu's tail when the opponent is directly above it, does weak knockback and about halved damage that can [[juggle]] and chain into itself at high percentages, as well as being able to combo into an aerial or the strong hitbox of the up smash. | ||
==Hitboxes== | ==Hitboxes== | ||
Revision as of 14:49, September 28, 2013
Overview
Pikachu does a quick back flip, hurting any opponent who is near it with its tail, doing 18% damage when fresh and powerful vertical knockback. This is similar to Captain Falcon's up smash but with more range, power, and lag. Its overall an versatile and excellent comboing move, where it can combo into itself when used against heavier characters as well as any of Pikachu's aerials. An effective strategy that Pikachu can use is that it's up smash can follow with Thunder which can KO opponents once the up smash gets them near the upper line. This technique, known as "Thunderspiking", allows Pikachu to KO characters 20%-30% quicker. An easy but effective way to reach the up smash -> Thunderspike combo is with a barrage of up tilts, which can be done as a 0-death combo. Additionally, hitting with the move when Pikachu isn't facing the opponent, or with the tip of Pikachu's tail when the opponent is directly above it, does weak knockback and about halved damage that can juggle and chain into itself at high percentages, as well as being able to combo into an aerial or the strong hitbox of the up smash.
Hitboxes
Timing
| Clean hit | 10-12 |
|---|---|
| Late hit | 13-18 |
| Animation length | 38 |
