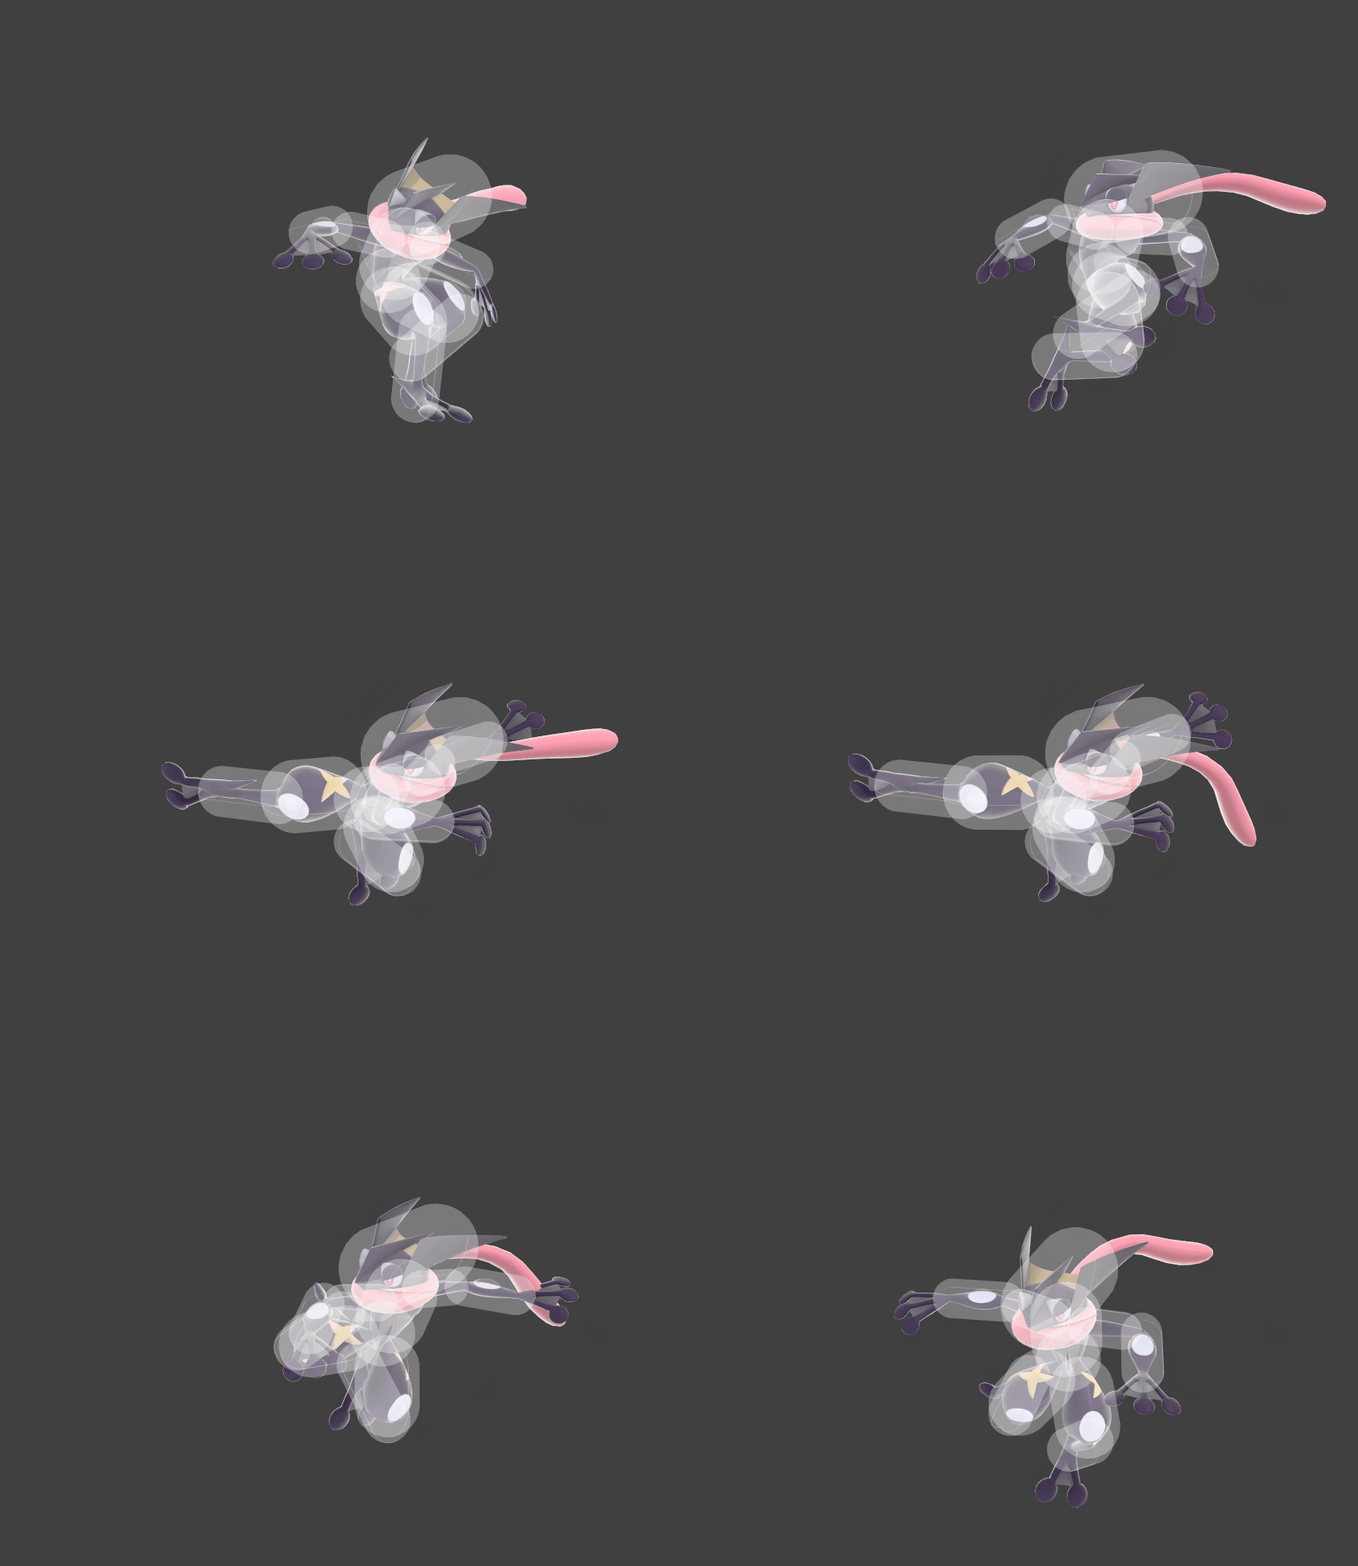
Greninja (SSBU)/Back aerial: Difference between revisions
From SmashWiki, the Super Smash Bros. wiki
Jump to navigationJump to search
m (Protected "Greninja (SSBU)/Back aerial": Bot: Protecting a list of files. ([Edit=Allow only autoconfirmed users] (indefinite) [Move=Allow only autoconfirmed users] (indefinite))) |
BrawlMatt202 (talk | contribs) mNo edit summary |
||
| Line 11: | Line 11: | ||
[[Category:Greninja (SSBU)]] | [[Category:Greninja (SSBU)]] | ||
[[Category:Back aerials (SSBU)]] | |||
Revision as of 16:47, January 11, 2020
Tips
- Using it repeatedly when the enemy is at a low percentage can make an effective Wall of pain, on or off stage.
- Running off the stage and then jumping back on while using it is can easily catch opponents off guard.
- Running off the stage and then using it without jumping is one of the quickest ways to catch ledgehangers or opponents trying to recover.
|


