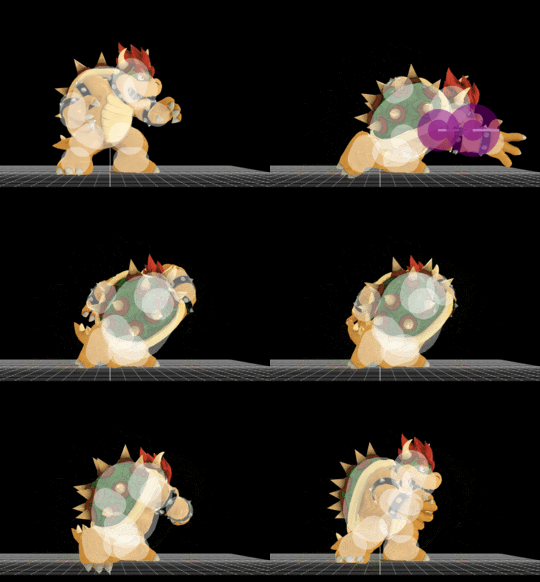
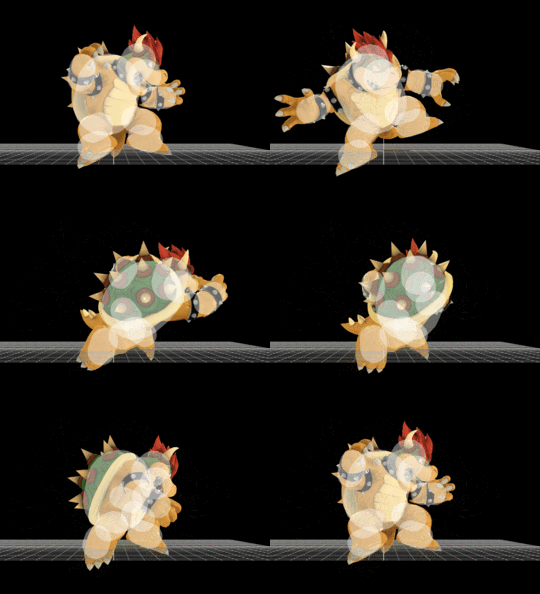
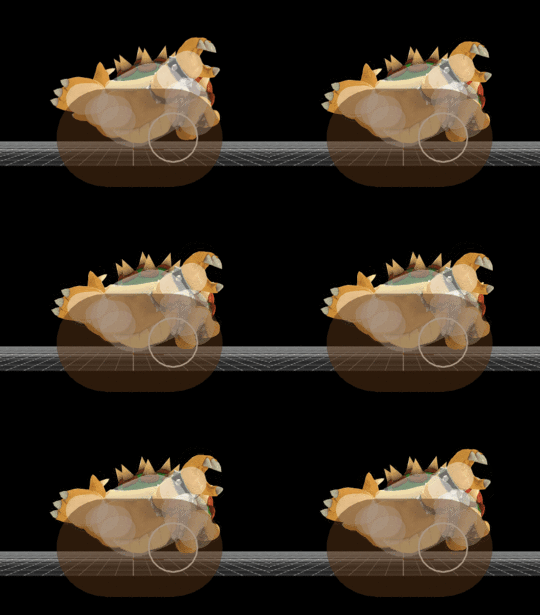
Update history
- Self-destructs using Flying Slam now KO Bowser first instead of the opponent. When Bowser is KO'd, the opponent is released from the grab, potentially allowing them to recover back onto the stage.
- Bowser has more control over Flying Slam's trajectory.
- Flying Slam's grab to slam transition speed increased. This makes it function similarly to how it did in Brawl.
- All variations of Flying Slam now have invincibility frames before Bowser leaves the ground.
- All variations of Flying Slam's grab range increased.
- Ground Hand Hitbox Size: 4/3 → 5/4.
- Large Hitbox X Position: 17 → 17.5.
- Ground to Air Hand Hitbox: 1/1 → 2/2.
- Outer Hitbox X Position: 17 → 17.5.
- Air Hand Hitbox: 5/3.5 → 6/4.5.
- Large Hitbox X Position: 15 → 15.5.
Hitboxes
Throw
| Hitbox type | Damage | Angle | Base knockback | Knockback scaling | Fixed knockback value | Weight dependent |
|---|---|---|---|---|---|---|
| Throw | 18% | 60 | 80 | 60 | 0 | No |
Collateral
| ID | Part | Damage | SD | Angle | BK | KS | FKV | Radius | Bone | Offset | SDIx | H× | T% | Clang | Rebound | Type | Effect | G | A | Sound | Direct | Stretch | ||||
|---|---|---|---|---|---|---|---|---|---|---|---|---|---|---|---|---|---|---|---|---|---|---|---|---|---|---|
| 0 | 0 | 15% | 1 | 80 | 80 | 0 | 8.0 | 0 | 0.0 | 2.0 | 6.5 | 1x | 1x | 0% | Kick | 0.0 | 2.0 | -4.5 | ||||||||
|


