OverviewEdit
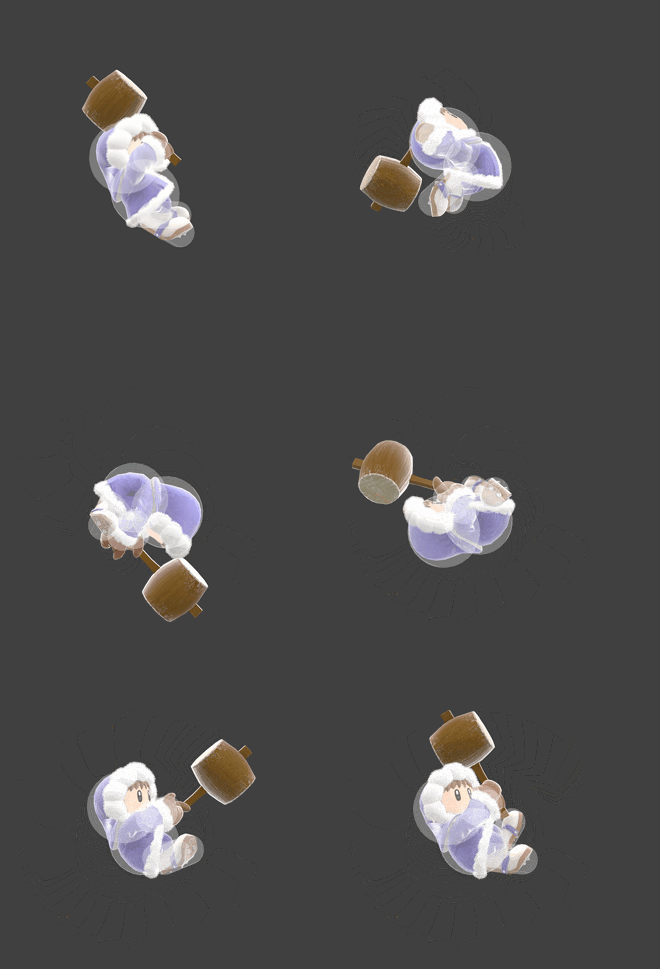
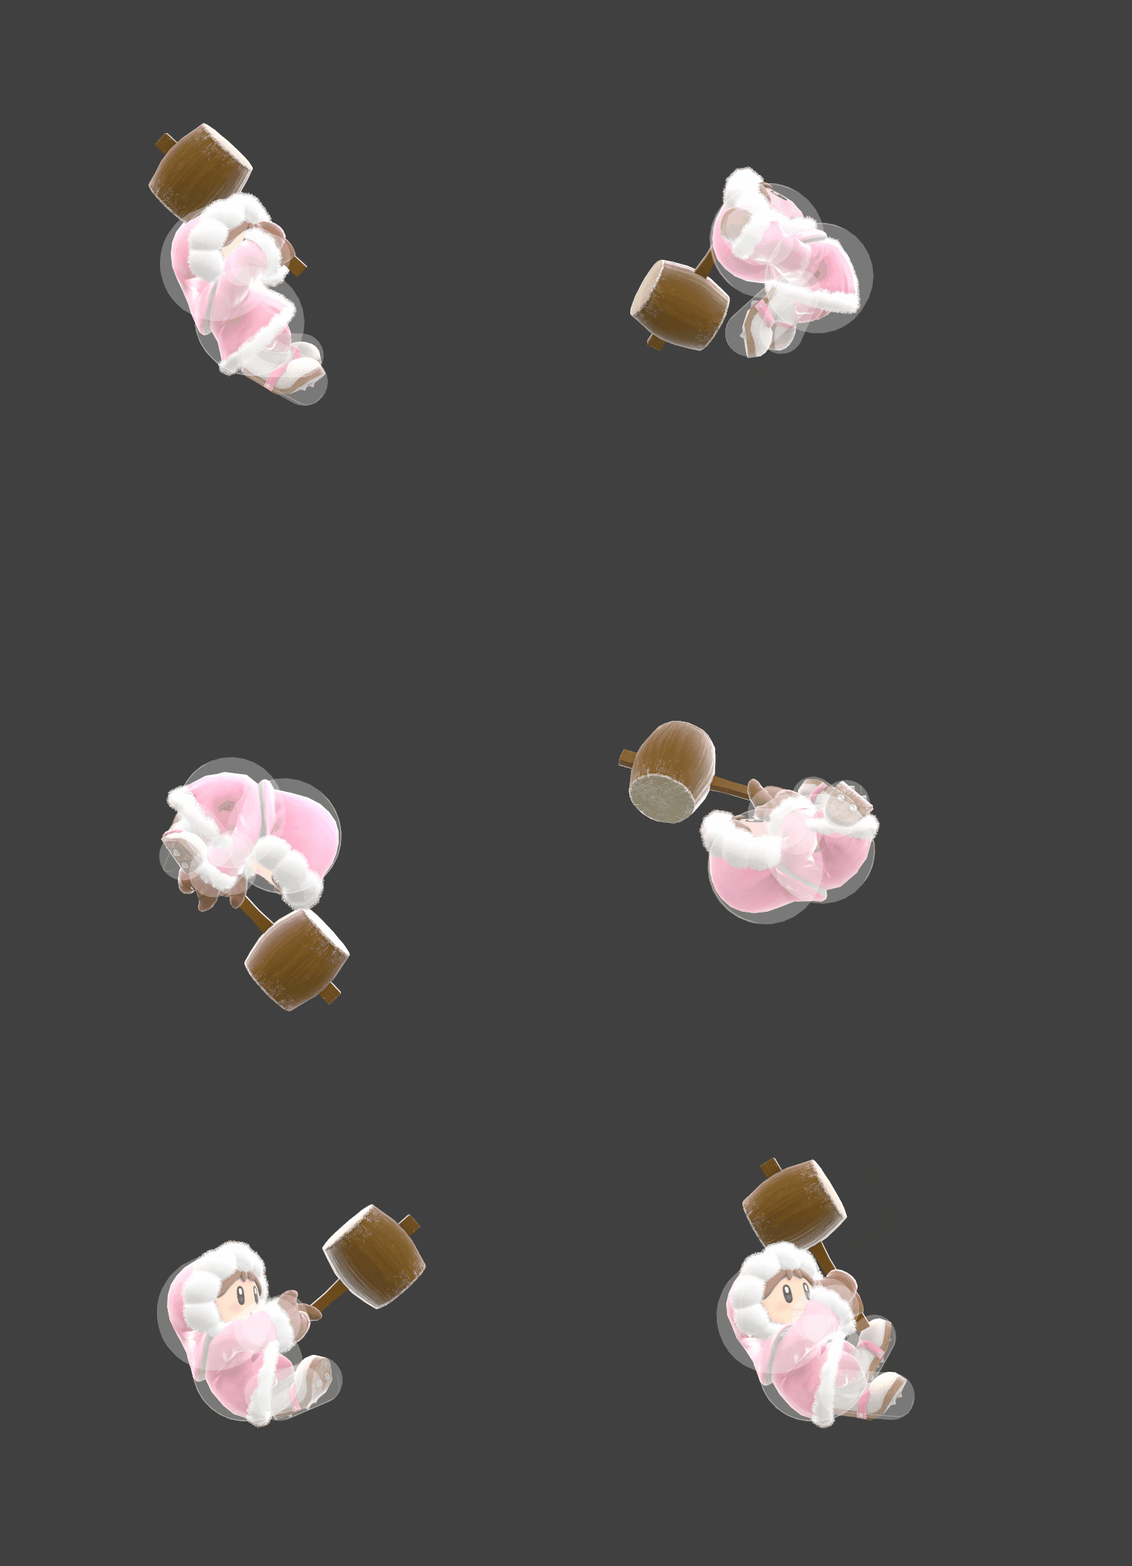
Each of the duo rolls forward and slams their mallet down overhead. It appears to be another case of a "slow but strong forward air that spikes" in a similar vein to Donkey Kong, Yoshi, or Cloud. It has surprisingly low landing lag for a move of its kind. This on top of its major shieldstun make it unreasonably safe, giving the Climbers a 3 frame advantage on shield. As such, it's one of the safest moves in the game. Despite leaving next to no openings afterward, their forward air does not give up on power in the process. The move deals staggering damage, almost thirty percent if the partner's sweetspot connects, and has solid launch power as well.
While it's main purpose is as a low-risk kill move, the Ice Climbers' forward aerial still has its fair share of combo potential, both into and out of it. Thanks to its low landing lag, it can lead to a dash attack at low percents to rack up colossal amounts of damage with the aerial strings that follow. Despite its lengthy windup, it's also possible to use forward air as a combo finisher out of a down throw or up aerial (rising or landing) at certain percents. This can lead to a relatively early KO if the sweetspot lands on its victim, and does great damage either way. As per the norm with these two, forward air gains a variety of additional uses with the help of some desyncing. If the lead Climber is made to hit an opponent with a neutral attack close to the edge, the partner's forward aerial can be used as a conversion to take an early stock. Through a tight window, the leader's back throw can put an opponent in just the right spot for the partner's forward air to finish them off. But a far better known and more reliable alternative involves setting up a spike by the edge with their forward throw, whose longer startup makes timing the 2nd Climber's attack much more doable. A desynced Squall Hammer with just the 1st Climber can carry the opposition across a large chunk of the stage while granting the 2nd Climber plenty of time to spike the opponent. When attempting this, their forward air should be done out of a dash to make sure they're close enough to land it if the aforementioned Squall Hammer knocks the target away. The moves can also be done the other way around, having the duo's leader use a forward air. While this can KO at high percents, it's not nearly as potent as the one that spikes. While spiking an opponent off the stage is usually the most desirable position, converting to a forward aerial still has its merits onstage, as with many spikes, the low knockback and high hitstun can allow for easy combo extensions and even a slew of kill confirms.
As the only move in the Ice Climbers' kit that spikes, it's one of their most dangerous (but not easiest to land) edgeguarding tools. It can also serve as a reverse-edgeguarding tool. If both climbers are knocked offstage, they can use forward aerial to a rhythm, warding off or punishing edgeguarding attempts with the constant desynced swinging until the duo finds a safe position to recover. If both of the duo's attacks connect with a particular timing, there launch angles strangely merge together, creating a nastily powerful semi-spike that's even better at gimping it's victims than usual. This however, seems to be an unpredictable and impractical quirk, and therefore not worth fishing for.
While the Hammer Slam has a lot going for it, just like any move, it's not without its weaknesses. On top of being slow to start, most of the big, round motion is a lie. It only lasts for two frames near the middle, offering next to no vertical coverage or leeway on lining up an attack, which can cause players to end up moving too early and/or landing right before the move comes out.
Unsurprisingly, the Ice Climbers' forward aerial undergoes a major downgrade upon isolation, losing most of its incredible damage output and combo potential, while also becoming much less safe. In spite of all this, it's still fairly powerful and very difficult to punish, being vulnerable to shields for only five frames. In this state, it's one of a lonesome Climber's better moves, being used often as a strong spacing tool or safe pressure to bait an out of shield option. While the move's coverage and activity are disappointing, its extreme upsides greatly outweigh its questionable hitbox placement, making for an overall great attack for a variety of situations that even has important and respectable use in its weakest state.
HitboxesEdit
LeaderEdit
PartnerEdit
The sweetspot has two possible X offsets depending on whether the partner is facing right or left (respectively), preventing issues with the Z-axis.
TimingEdit
AttackEdit
| Initial autocancel | 1-2 |
|---|---|
| Leader | 19-20 |
| Partner (clean, late) | 19, 20 |
| Ending autocancel | 49- |
| Interruptible | 57 |
| Animation length | 64 |
| Leader | ||||||||||||||||||||||||||||||||||||||||||||||||||||||||||||||||
|---|---|---|---|---|---|---|---|---|---|---|---|---|---|---|---|---|---|---|---|---|---|---|---|---|---|---|---|---|---|---|---|---|---|---|---|---|---|---|---|---|---|---|---|---|---|---|---|---|---|---|---|---|---|---|---|---|---|---|---|---|---|---|---|---|
| Partner | ||||||||||||||||||||||||||||||||||||||||||||||||||||||||||||||||
| Autocancel |
Landing lagEdit
| Interruptible | 11 |
|---|---|
| Animation length | 16 |
| Lag time |
Hitbox |
Hitbox change |
Autocancel |
Interruptible |
TriviaEdit
- The partner's late hit is erroneously coded as a hand-type attack, rather than a hammer-type attack like the clean hit and the leader's attack.
|

