Yoshi (SSB4)/Side special/Default: Difference between revisions
From SmashWiki, the Super Smash Bros. wiki
< Yoshi (SSB4) | Side special
Jump to navigationJump to search
Serpent King (talk | contribs) No edit summary |
Daniel1204 (talk | contribs) mNo edit summary |
||
| Line 1: | Line 1: | ||
{{ArticleIcons|ssb4=y}} | {{ArticleIcons|ssb4=y}} | ||
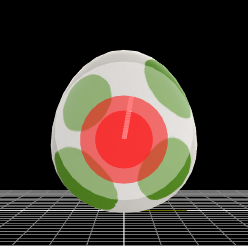
[[File:YoshiEggRoll.png|thumb|270px|Hitbox visualization showing Yoshi's Egg Roll.]] | {{disambig2|the hitbox visualization in ''[[Super Smash Bros. 4]]''|the move itself|Egg Roll}}[[File:YoshiEggRoll.png|thumb|270px|Hitbox visualization showing Yoshi's Egg Roll.]] | ||
{{competitive expertise}} | {{competitive expertise}} | ||
{{technical data}} | {{technical data}} | ||
| Line 52: | Line 52: | ||
{{MvSubNavYoshi|g=SSB4}} | {{MvSubNavYoshi|g=SSB4}} | ||
[[Category:Yoshi (SSB4)]] | [[Category:Yoshi (SSB4)]] | ||
[[Category:Special | [[Category:Special moves (SSB4)]] | ||
[[Category:Side special moves (SSB4)]] | [[Category:Side special moves (SSB4)]] | ||
Revision as of 14:34, May 17, 2020
Hitboxes
|


