No edit summary |
m (Text replacement - "== ([^=])" to "== $1") |
||
| (2 intermediate revisions by 2 users not shown) | |||
| Line 1: | Line 1: | ||
{{ArticleIcons|ssb4=y}} | {{ArticleIcons|ssb4=y}} | ||
{{disambig2|the hitbox visualization in ''[[Super Smash Bros. 4]]''|the move itself|Boomerang}} | |||
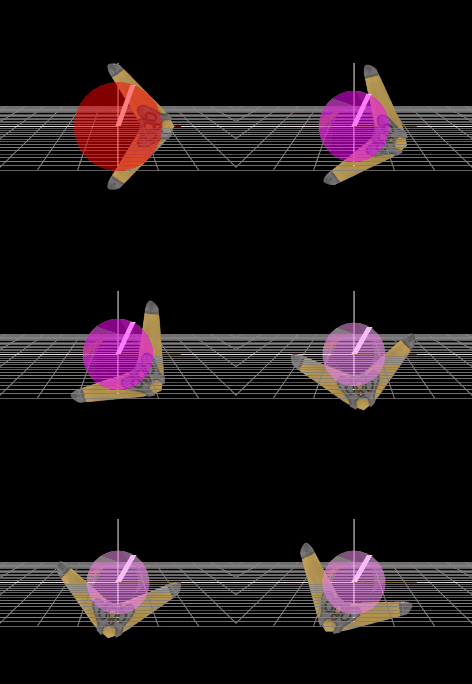
[[File:ToonLinkBoomerang.gif|thumb|270px|Hitbox visualization showing Toon Link's boomerang.]] | [[File:ToonLinkBoomerang.gif|thumb|270px|Hitbox visualization showing Toon Link's boomerang.]] | ||
{{competitive expertise}} | {{competitive expertise}} | ||
| Line 5: | Line 6: | ||
==Hitboxes== | ==Hitboxes== | ||
{{SSB4HitboxTableHeader}} | {{SSB4HitboxTableHeader}} | ||
{{HitboxTableTitle|Clean hit|42}} | {{HitboxTableTitle|Clean hit|42}} | ||
| Line 71: | Line 71: | ||
}} | }} | ||
|} | |} | ||
{{MvSubNavToonLink|g=SSB4}} | {{MvSubNavToonLink|g=SSB4}} | ||
[[Category:Toon Link (SSB4)]] | [[Category:Toon Link (SSB4)]] | ||
[[Category:Special | [[Category:Special moves (SSB4)]] | ||
[[Category:Side special moves (SSB4)]] | |||
Latest revision as of 00:36, April 13, 2022
HitboxesEdit
|


